
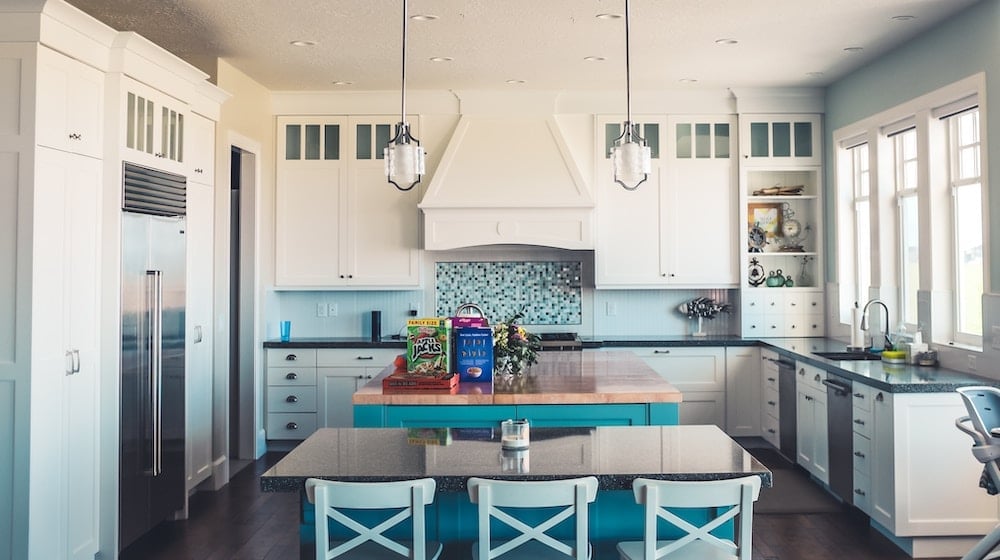

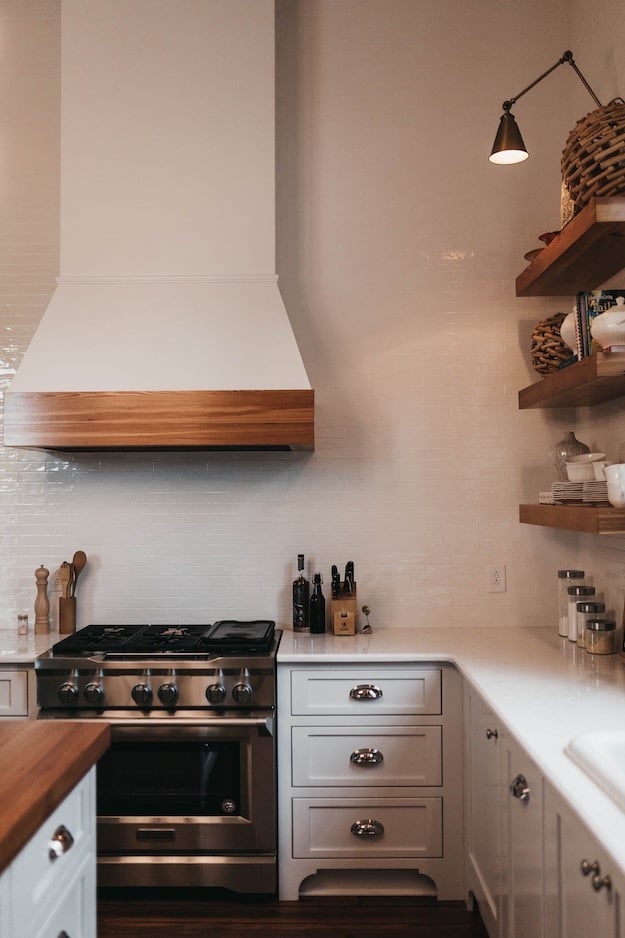
Venthood serves an important purpose in the kitchen. It removes and or filters out smoke, odors, heat, steam airborne grease, fume and combustion products from an area. Shanty 2 Chic created their very own Farmhouse Vent Hood with just some basic materials and $150, and so can you. Check out this easy to follow tutorial from Ryobitools.
Learn to Make a Farmhouse Vent Hood
https://www.instagram.com/p/BeQxy4njdY_/
TOOLS USED
- 18V ONE+™ 18GA CORDLESS BRAD NAILER
- 18V ONE+™ ORBITAL JIG SAW
- 18V ONE+™ COMPACT DRILL/DRIVER KIT
- 18V ONE+™ 3-SPEED ¼ IN. IMPACT DRIVER
- 18V ONE+™ 10 IN. BRUSHLESS DUAL BEVEL SLIDING MITER SAW
MATERIALS USED
- (1) 48″ X 96″ HARDWOOD PLYWOOD-BIRCH OR OAK
- (2) 1X6X8 PINE OR WHITEWOOD
- (1) 1X6X4 PINE OR WHITEWOOD
- (1) 1X3X8 PINE OR WHITEWOOD
- (1) 1X3X4 PINE OR WHITEWOOD
- (1) 2X4X8 FRAMING LUMBER
STEPS
1. Build the top box first. Attach the sides of the box to the top and bottom cleats using 1.25” Spax or wood screws and wood glue.
2. Now build the middle frame. The easiest way to cut the front plywood piece is to draw it out by these measurements, and use a jigsaw to make the cuts. Attach the side pieces to both cleat pieces using wood glue and 1.25” Spax or wood screws. Then, attach the large front pieces also using wood glue and screws.
3. To build the bottom frame, start by building two sides. You want to make sure you know the exact opening of the vent assembly you plan to use. You can also install just a light assembly if you don’t want the vent. This opening you are building needs to match those measurements exactly.
4. The next step is to attach the back cleat board to the two sides using wood glue and 1.25” Spax or wood screws. This is the board you will attach to the wall when hanging it up.
5. Attach the front face board to the side pieces using wood glue and screws. At this point, the opening you see should be the measurement of the exact opening you need for your assembly.
6. Now attach the inside support boards. Use wood glue and nails to attach these boards through both the front and back boards as well as the flat bottom boards.
7. The final step is attaching the vent to the wall.
https://www.instagram.com/p/BpCV_qhBCMS/
For the full tutorial check out ryobitools
https://diyprojects.com/woodworking-projects/


