

Want to know how to drill into concrete but don’t know where to start? Then this article is just for you. I’ll give you a step by step guide on what to do.
How to Drill into Concrete: A Step by Step Guide
Learning how to drill into concrete is easy. Working with power tools can look and feel intimidating at first, but once you get the hang of it, you’ll find that there is nothing to be afraid of. It won’t be long until you shake off all the nerves of a beginner.
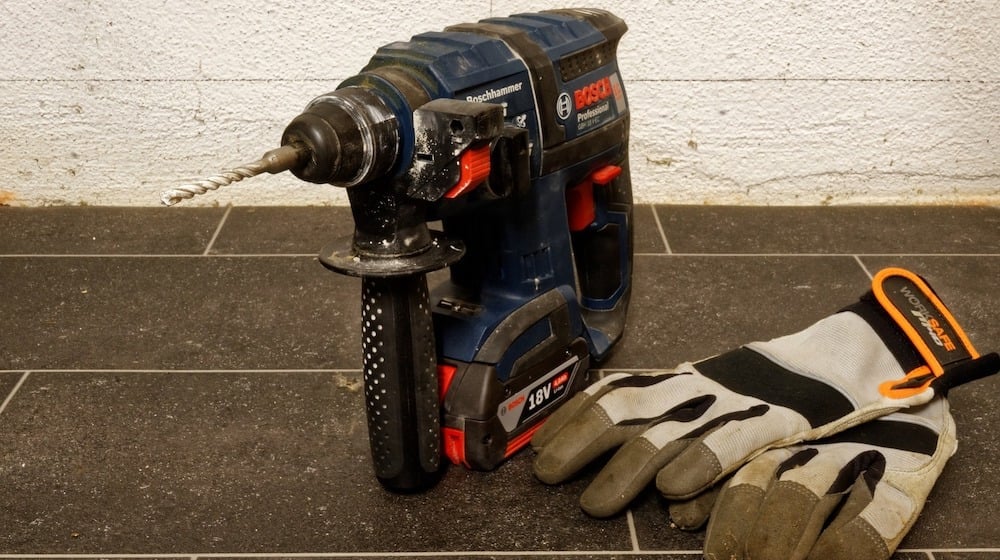
Here’s what you’ll need:
Step 1. Select Drill Bit
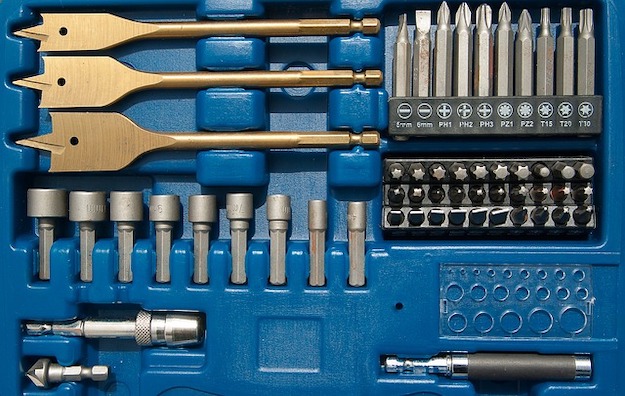
For the purpose of this article, it’s best to go with the masonry bit (the second drill bit in the photo) when working with concrete. This drill bit will also be your best bet for brick, block, stone, or quarry. For other materials, use the drywall bit (first drill bit) if you’re handling sheetrock or plasterboard, and use the spur point bit (third drill bit) if you’re drilling into wood. On the other hand, if you’re dealing with ceramic, tile, or glass, use the tile bit (fourth drill bit).
Step 2. Be Wary of the Drilling Area

Be careful not to drill near any electrical outlets or light switches. If there is an electrical outlet or light switch on the second floor, then don’t drill below it on the first floor. Need extra help? Grab or borrow a stud finder with a live wire detector. This will help you check if there are any hidden wires near the drilling area. Consequently, it’s also good to be cautious when drilling next to a bathroom or a radiator, as you could run the risk of damaging the pipes installed.
Step 3. Mark Your Spot
Use a pencil to mark your chosen spot. Before you grab your drill, take your hammer and countersink to make a small indentation on the pencil mark. This will ensure the drill to fit snug to prevent it from going all over the place.
Step 4. Increase Speed
Once you’ve got a bigger indentation, increase the drill’s speed and pressure. If you’ve achieved your desired depth, it’s important to remember not to stop abruptly. Instead, reduce the speed slowly pull the drill bit away from the hole. Once you’re done, you can then put in your anchor and screw to resume your DIY project.
Press play to watch the full video tutorial:
Congratulations, now you know how to drill into concrete! Once you follow these steps, you’ll be able to hang almost anything on your concrete wall, much like this rustic wine rack. You can even go all out and accent your wall with wood pallets. The possibilities are endless!
Now that you know how to drill into concrete, what DIY projects are you planning to start on? Let us know in the comments!
Did you know you can use your drill in the kitchen? Here are some drill food prep hacks!
![]() Stay connected with us on Facebook, Twitter, Pinterest and Instagram!
Stay connected with us on Facebook, Twitter, Pinterest and Instagram!
Feature image via Help & Advice


