

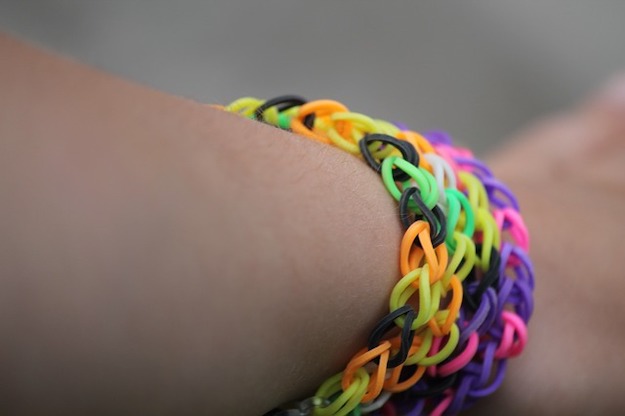
Want to make a colorful loom bracelet? Check out this post as we share how to make a triple multicolor rubber band bracelet.
Colorful loom bracelets are everywhere! It may take a bit of instruction, but after getting the hang of it, you’ll be able to make these bracelets easily whenever you want! Read on as we share the step-by-step instructions on how to make a loom bracelet. It’s simple, easy, and a lot of fun!
How to Make a Colorful Loom Bracelet
Making your own loom bracelet is a fun and exciting activity to do with kids of all ages. If you’re a beginner, looking for simple tutorials, check out this post as we share these easy-to-follow instructions on making your own loom bracelet. Once you have accomplished the basic pattern, you’ll be on your way to creating more advanced designs. So, gather your supplies and let’s get started!
Making a Triple Multicolor Rubber Band Bracelet
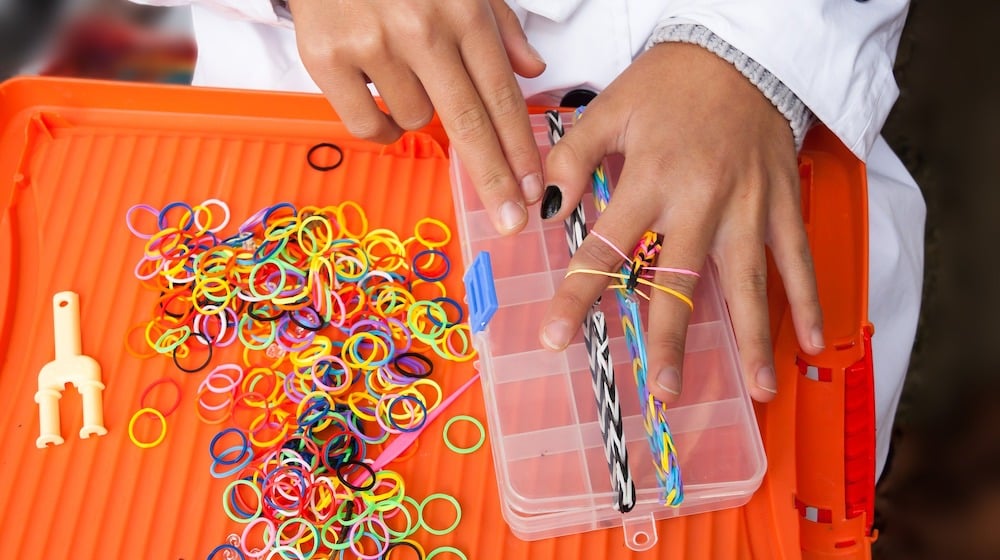
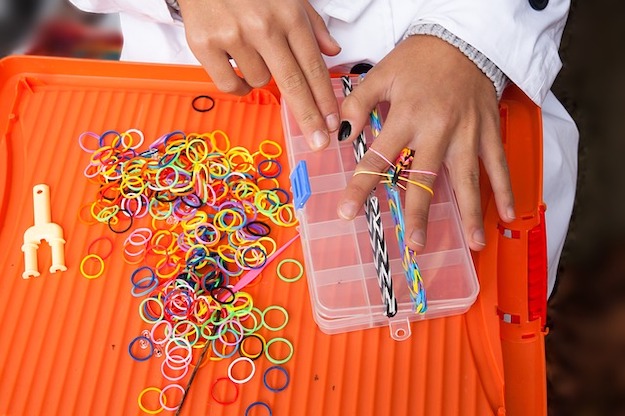
To make a triple multicolor rubber bands bracelet you’ll need:
Materials:
- 2 Looms
- Hook / Crochet Hook
- Loom / Rubber Bands
- C-Clip
Rubber Band List:
- 11 Neon Green
- 6 Yellow
- 6 Neon Orange
- 6 Orange
- 6 Red
- 6 Pink
- 6 Fuchsia
- 6 Purple
- 6 Dark Blue
- 6 Ocean Blue
- 6 Turquoise
- 6 Dark Green
- 25 Black
Step 1: Setting Up The First Layer
Place the rubber bands on the loom, starting with the neon green. Keep the order of the colors as listed (except the black rubber bands). When you get to the dark green, start again with the neon green. Do 2 rounds and finish with neon green. You should have 2 neon green rubber bands left.
Step 2: Setting up Second Layer
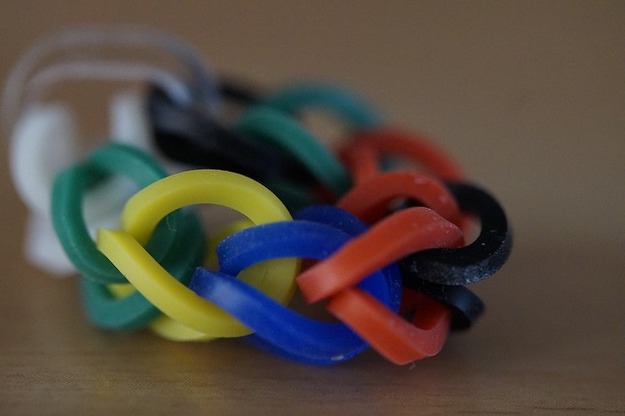
Make a second layer with the black rubber bands, creating small triangles around three pegs.
Step 3: Hook Black Rubber Bands
Turn the loom around. Start hooking the black rubber bands.
Step 4: Closing the Bracelet
To close the bracelet nicely, pick up the middle rubber band and place it on the left one. Then take both hands back to the middle. Take the right band and put it on the middle peg.
Making your own jewelry is fun! Check out these awesome #DIY bracelet ideas: http://t.co/8xUXd4Gx0r pic.twitter.com/NRhImvHbAD
— DIY Projects (@DIY Projects) April 10, 2015
Step 5: Securing the Bracelet
Place a new neon green rubber band on the left peg. Grab the new rubber band through the three bands. Then clip it.
Step 6: Removing the Bracelet
Remove the bracelet from the loom.
Step 7: Joining Both Ends
Take the hook and go through the three bands on the other side of the bracelet and pull the last green rubber band through the three of them. Place both ends on the C-clip.
Step 8: Cut It Out

Cut out the extra rubber band. And you are ready to go.
Note: You can do it with a glow in the dark background bands!
Watch the video below from Arty Crafty for the full tutorial:
What do you think of this loom bracelet? Will you give it a try? Let us know below in the comments!Stay connected with us on Facebook, Twitter, Pinterest and Instagram!![]()
LIKE this? Then you’ll LOVE:
VIDEO: How to Make a Paracord Bracelet 25 Paracord Projects | Paracord Knots & Ideas
 DIY Beaded Bracelets You Bead Crafts Lovers Should Be Making


