
At a Glance: Upcycle Vintage Suitcases
- Pick the right case. Paint a common, scuffed one. Leave a rare one, or one with a maker’s label inside, alone.
- Seven easy ideas. From a coffee table to a dog bed, each with what it needs.
- Paint that lasts. Clean it, paint two thin coats, let it dry overnight, then wax it.
Want to upcycle vintage suitcases without ruining them? Start by choosing the right case, then pick a project. Jump to the paint-or-keep call, the seven ideas, the paint steps, or the cost tiers.
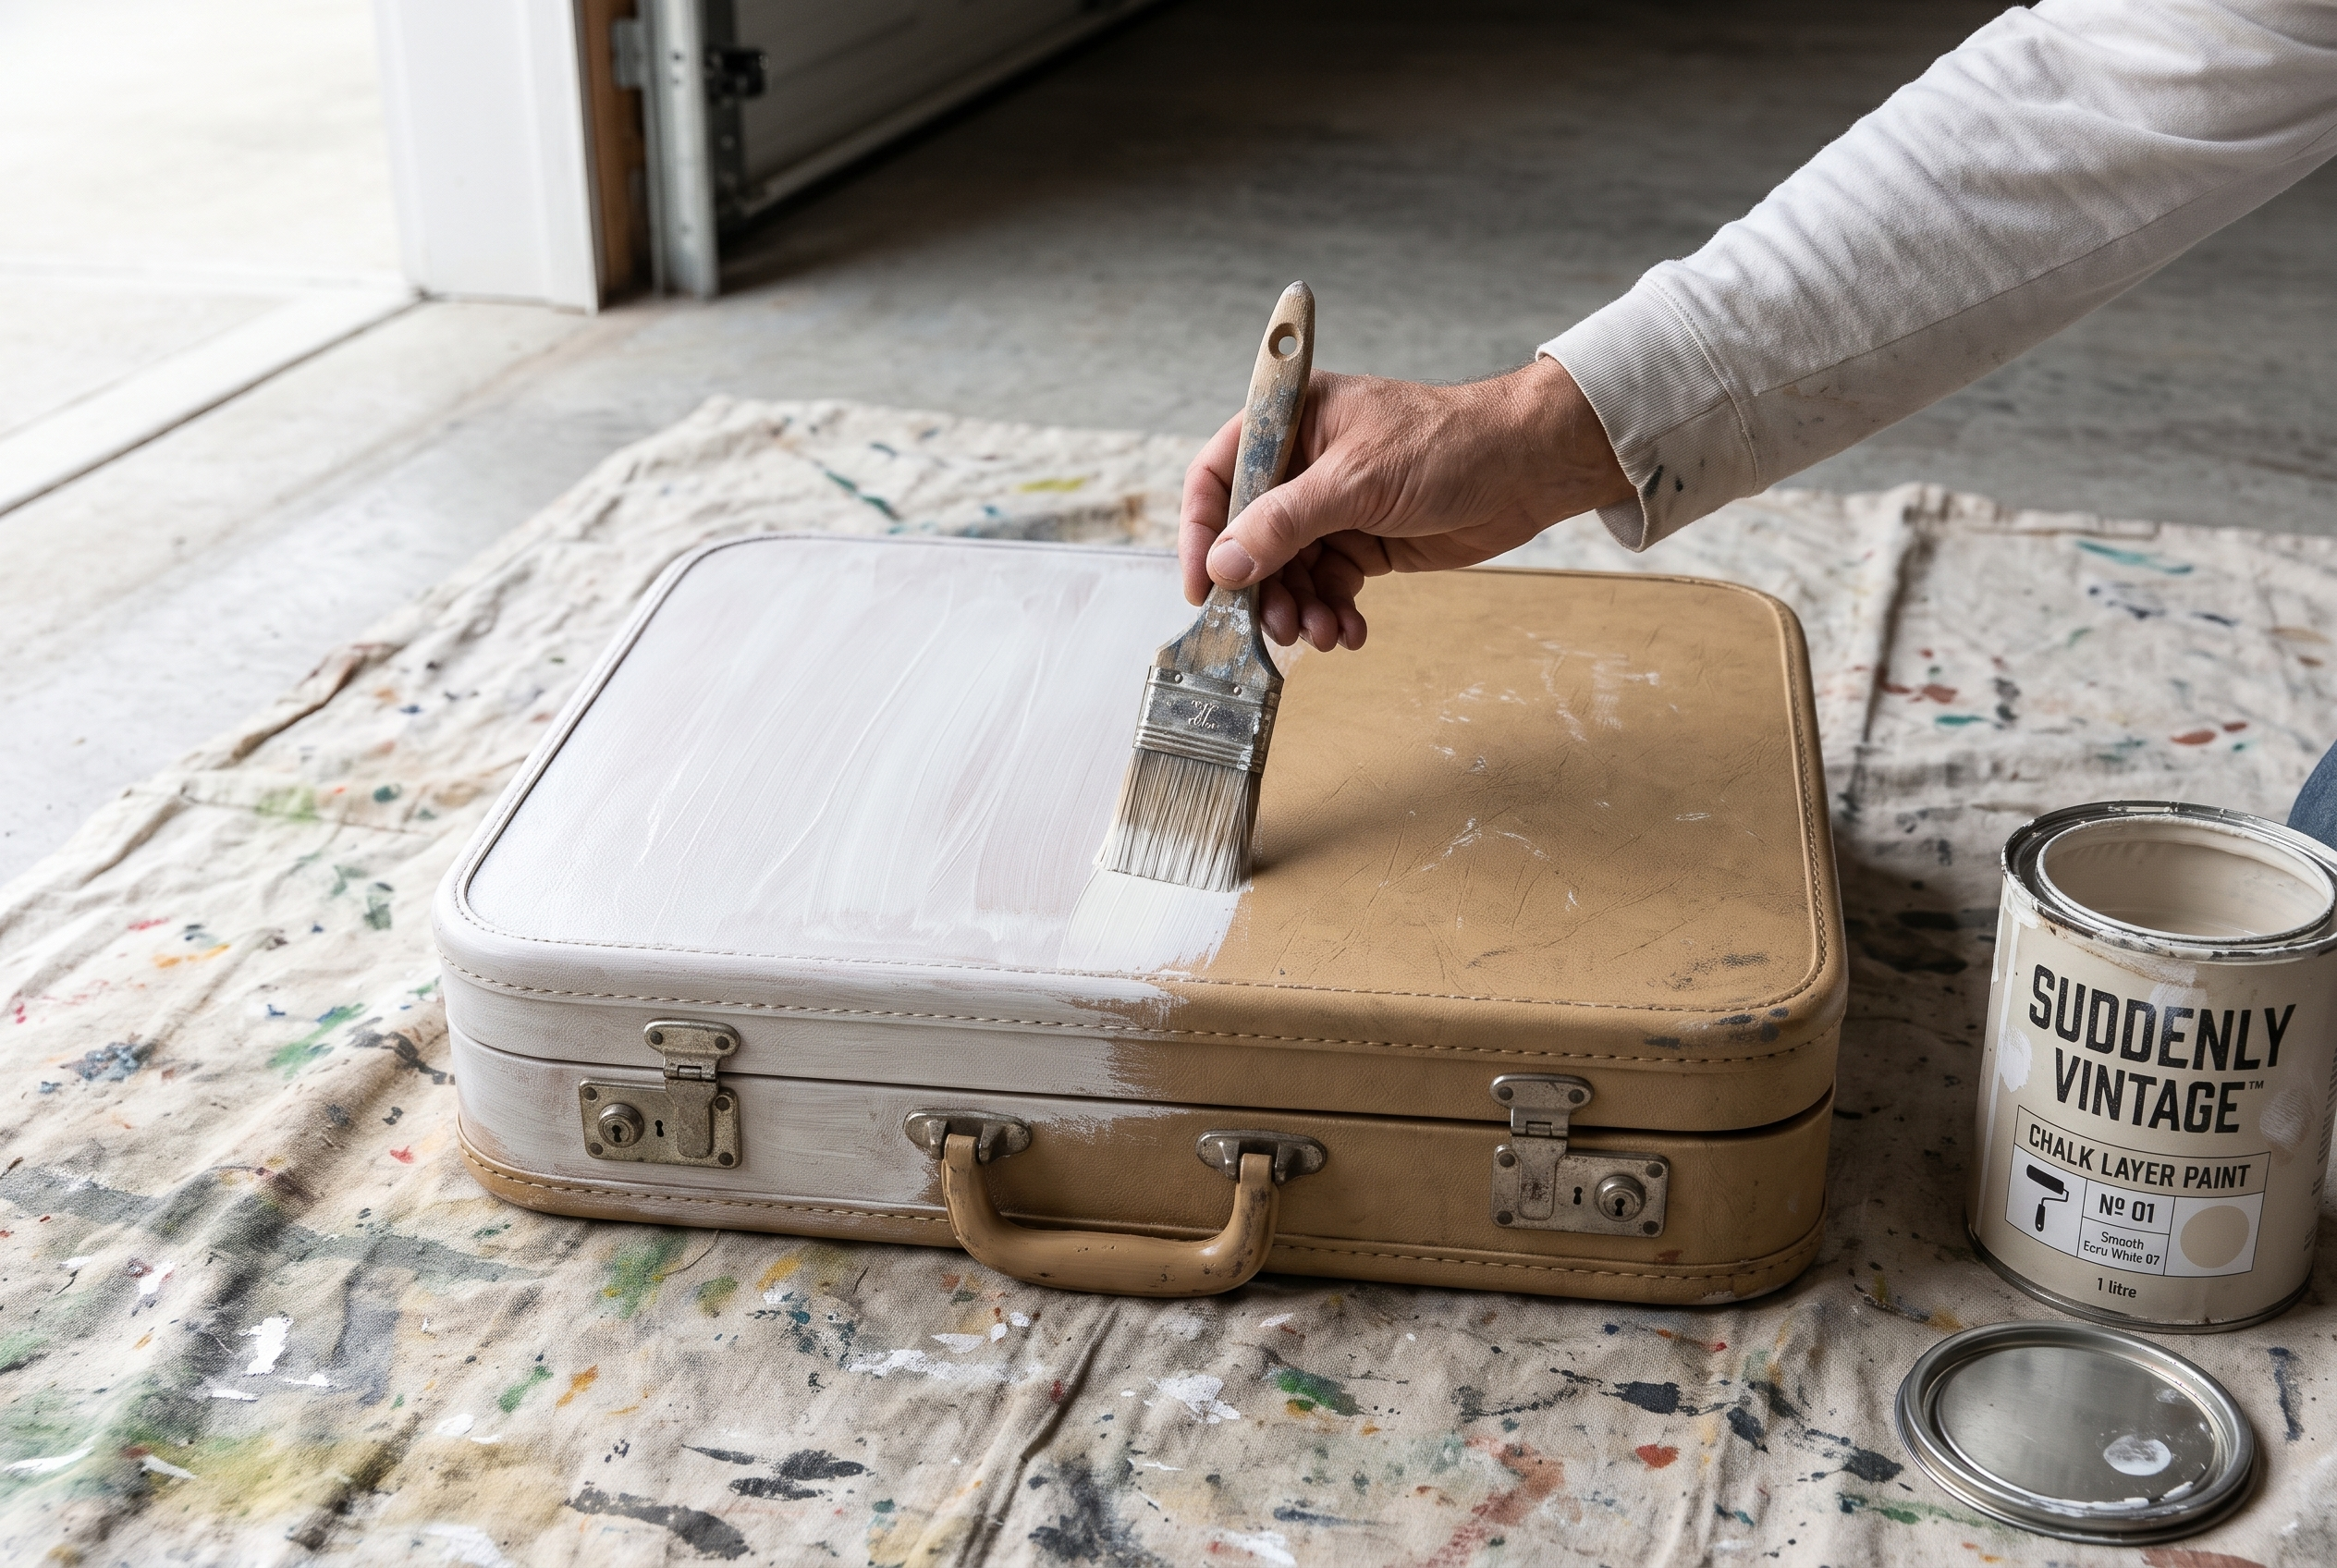
Old suitcases turn up at every yard sale. They look great, but they’re awkward to pack and awkward to store. With a little work, one becomes a table you use daily or a soft, fresh piece for your home. You don’t need a big budget, and most of these projects take a weekend or less.
Should you paint a vintage suitcase or leave it alone?
Some people love a painted case. Others say it looked better before the paint. Both sides have a point, so use this quick test before you pick up a brush.
- Paint it if the case is common, scuffed or stained, and you want it to work as a table or storage.
- Leave it alone if it’s rare, has a maker’s label inside, or is in great shape. Just clean it. This is our rule of thumb, not a hard rule.
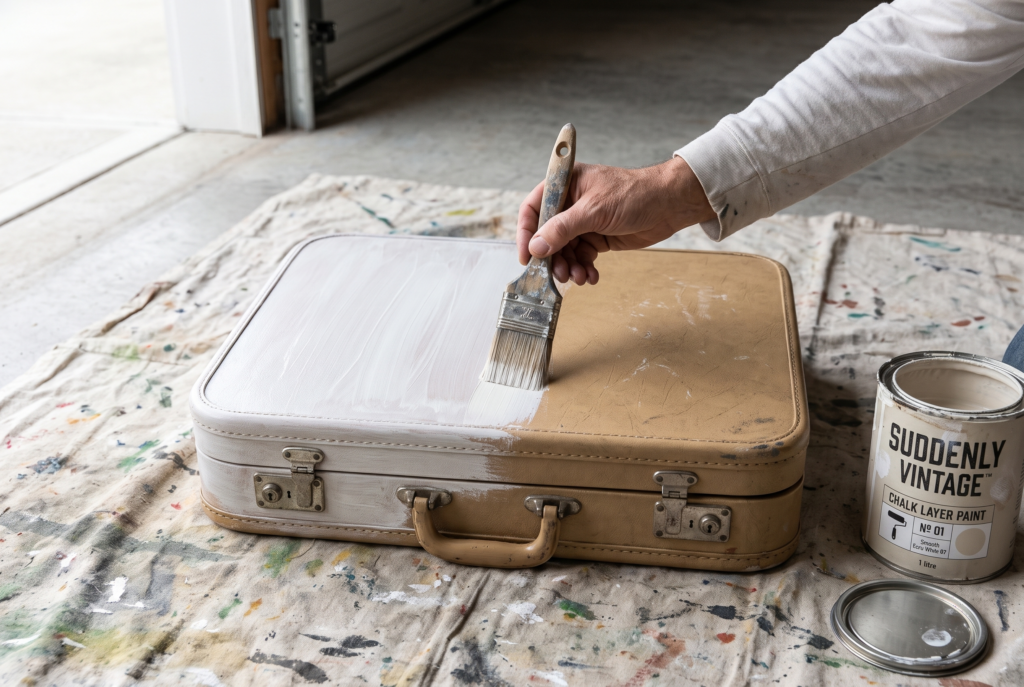
- Not sure? Try a thin, washed coat on one small spot inside the lid first. Our tip: a wash lets the old color show through, so the case still looks old, just softer.
A washed finish is the easy middle road. The tan vinyl peeks through the streaks, and the case keeps its story.
What do you need to upcycle vintage suitcases?
Enough for one small suitcase
Some links in this list go to Amazon. As an Amazon Associate, we earn from qualifying purchases at no extra cost to you.
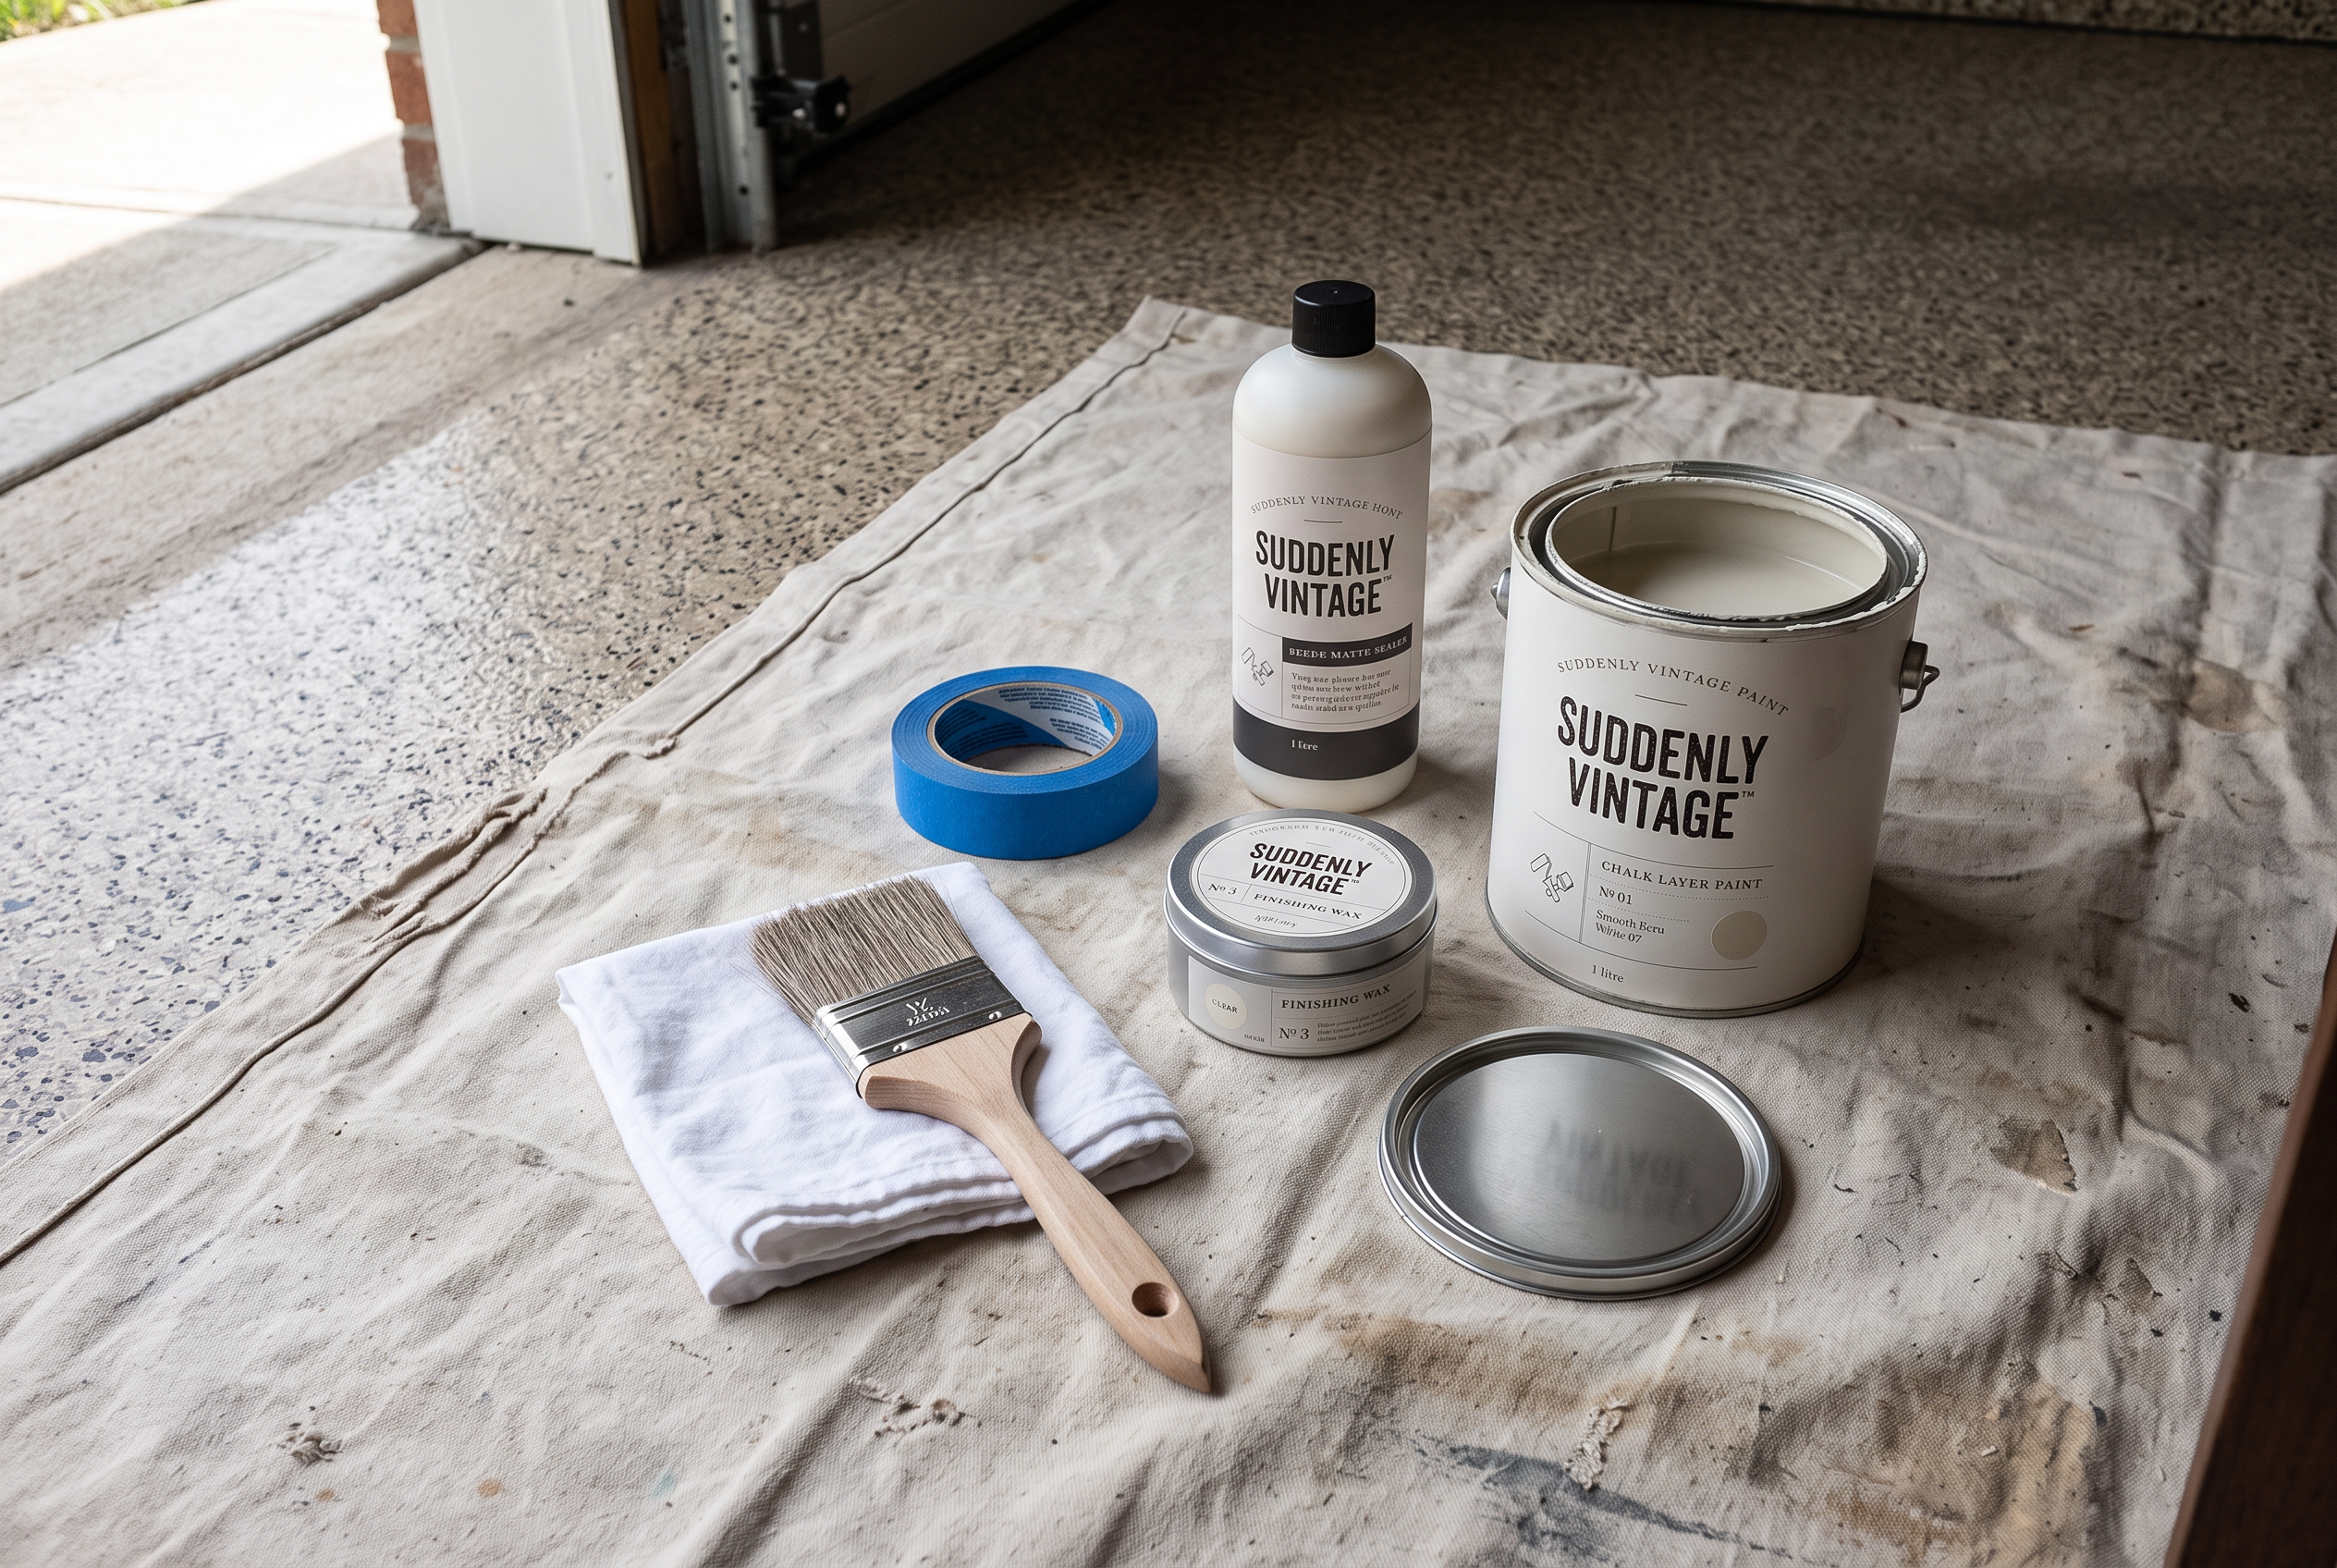
- Mild soap, water and a few soft rags. To clean the case before anything else.
- Painter’s tape. For latches, handles and the chalkboard rectangle. A roll of 1 inch painter’s tape covers most latches.
- A sanding sponge. A light scuff helps paint grip slick vinyl. This step is our addition. A sanding sponge set bends around corners, and you only need the 220 grit.
- Chalk-style paint in a soft, washed color. Two thin coats cover a small case.
- A good brush. A soft five-piece brush set has a wide brush for lids and a small one for corners.
- Finishing wax and a lint-free cloth. To soften the paint and protect it.
- A matte sealer. For a case that gets handled every day. This is our tip.
- Decoupage glue, plus fabric or lace. For the fabric and towel holder ideas. A decoupage glue kit comes with foam brushes.
Quick tip: Take a photo of the hardware before you tape or pull anything. You’ll put every latch back where it came from.
Which suitcase upcycle ideas should you try first?
These seven projects each turn one old case into something you’ll use. Tap any one to jump to its materials, time and budget.
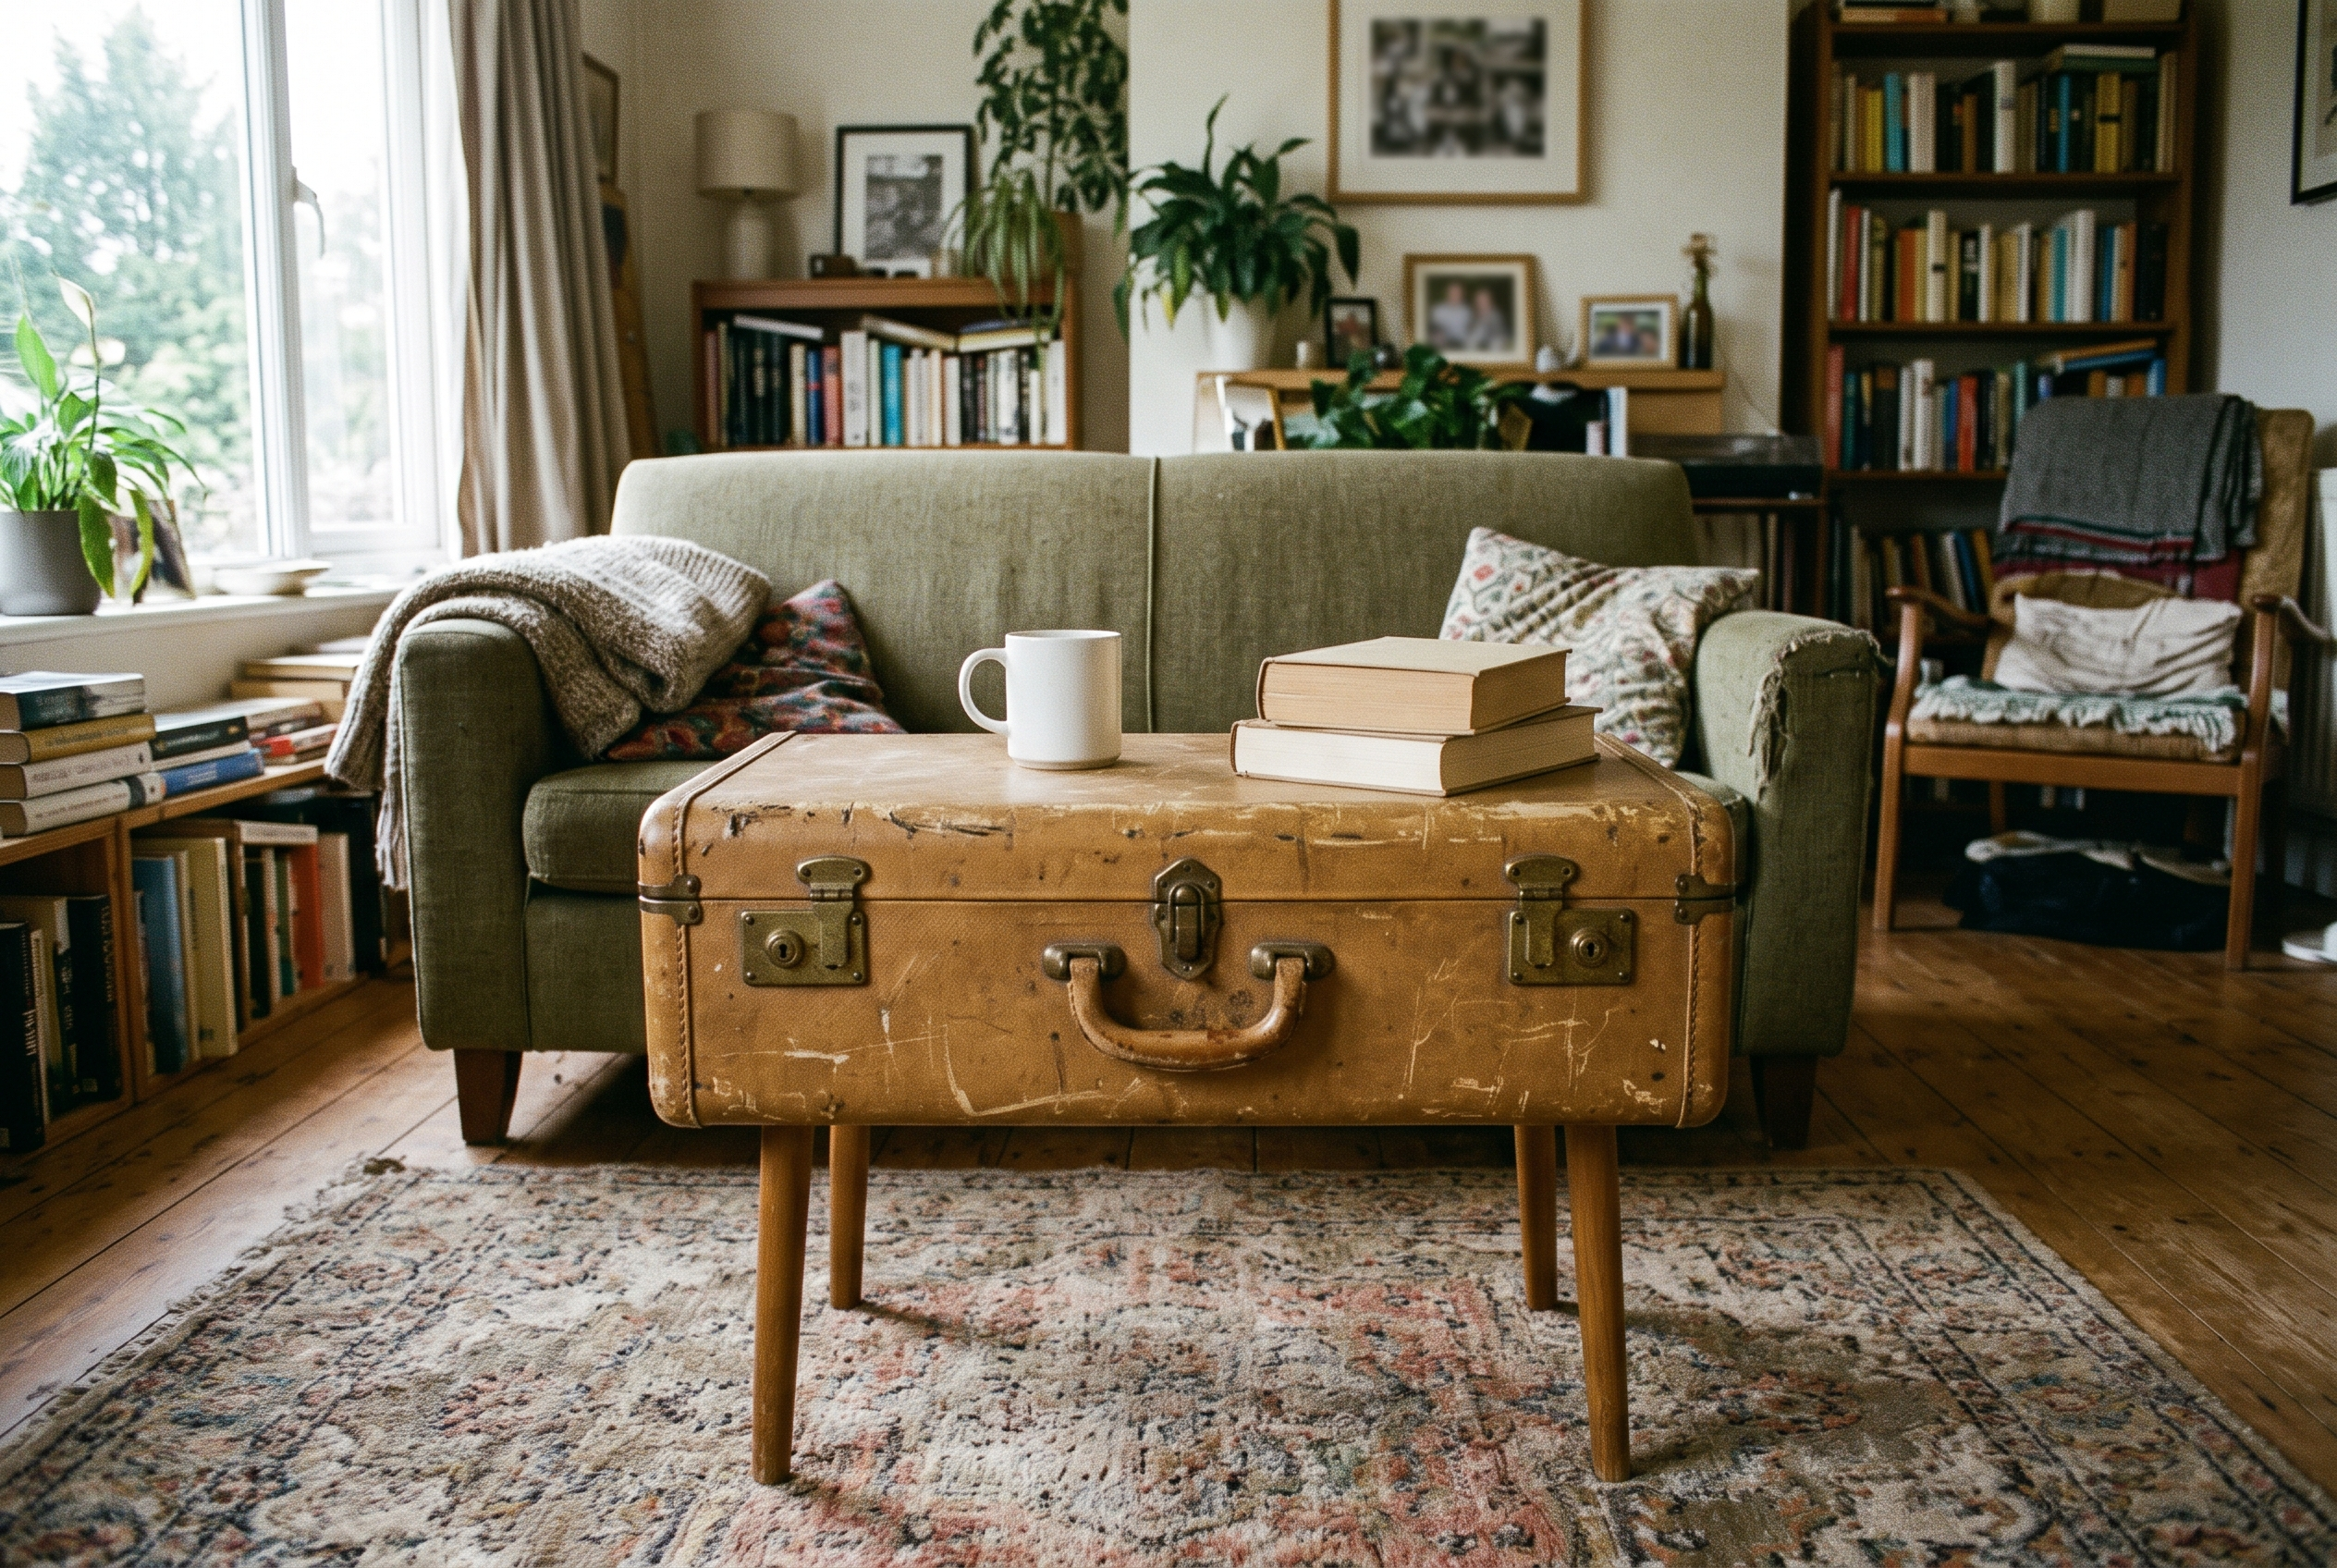
1. Suitcase coffee table
A hard-shell case on slim legs. The lid stays closed for storage.
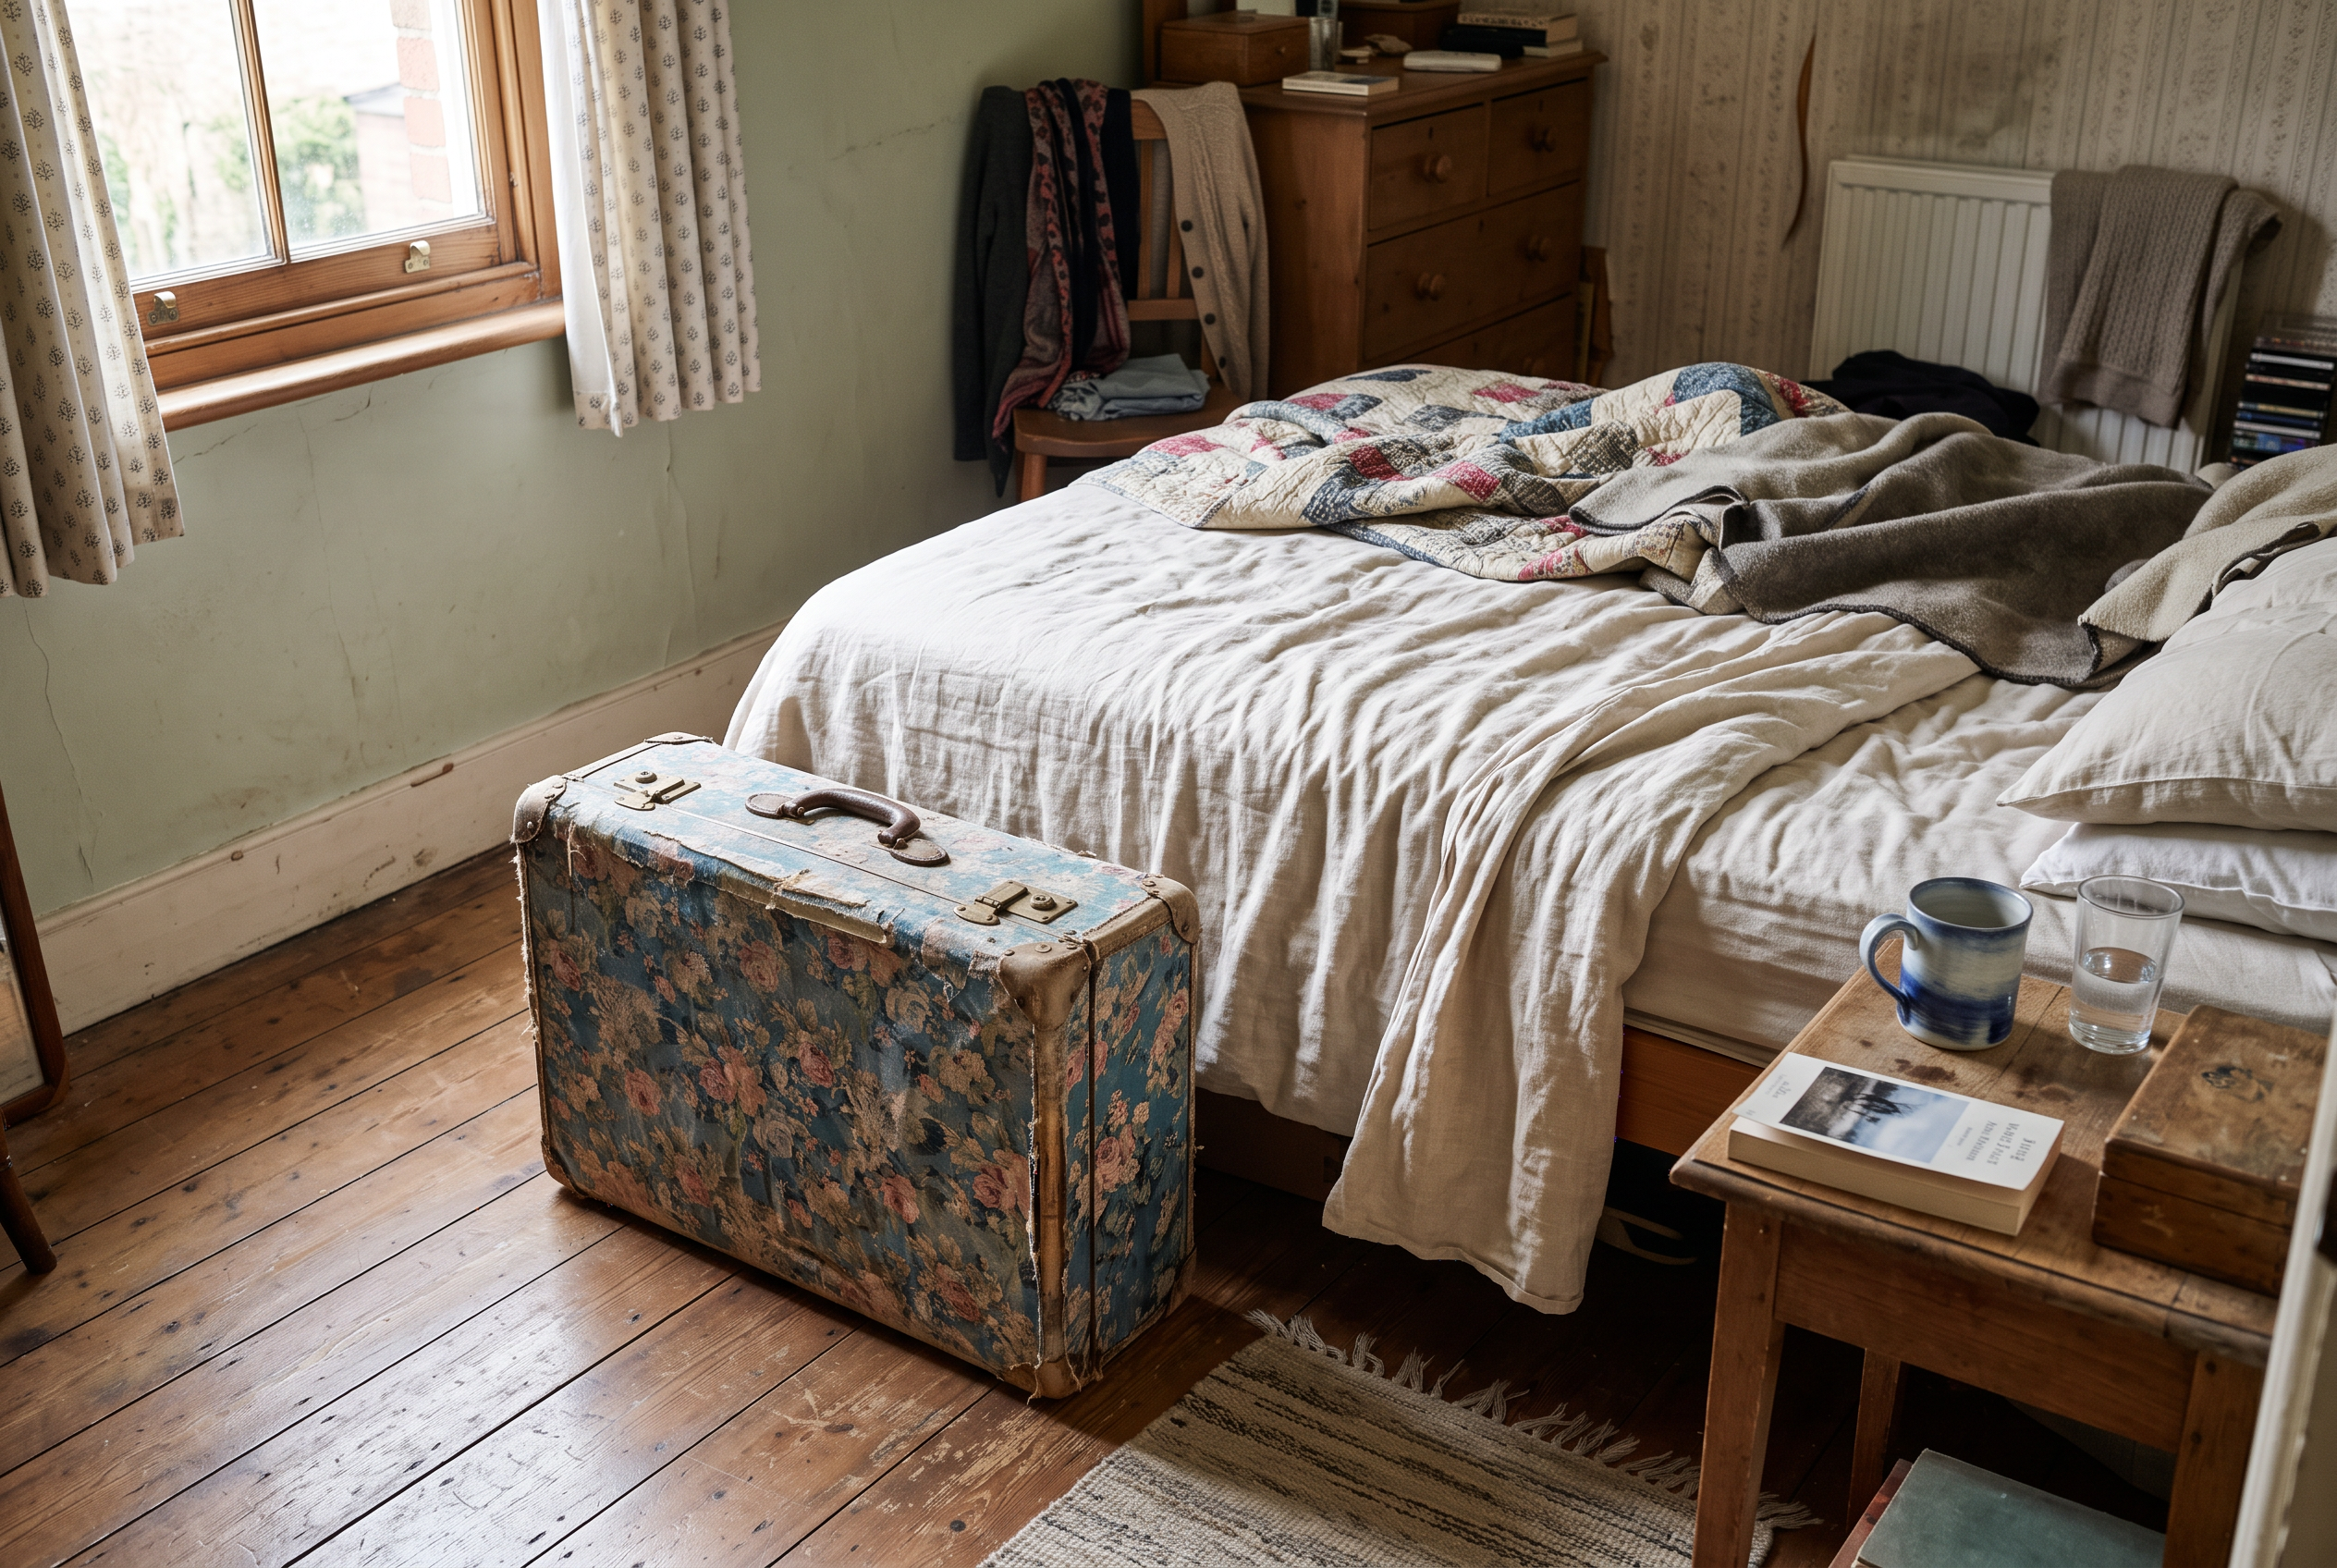
2. Fabric-covered suitcase
Floral cloth glued on turns a plain case into a bright accent.
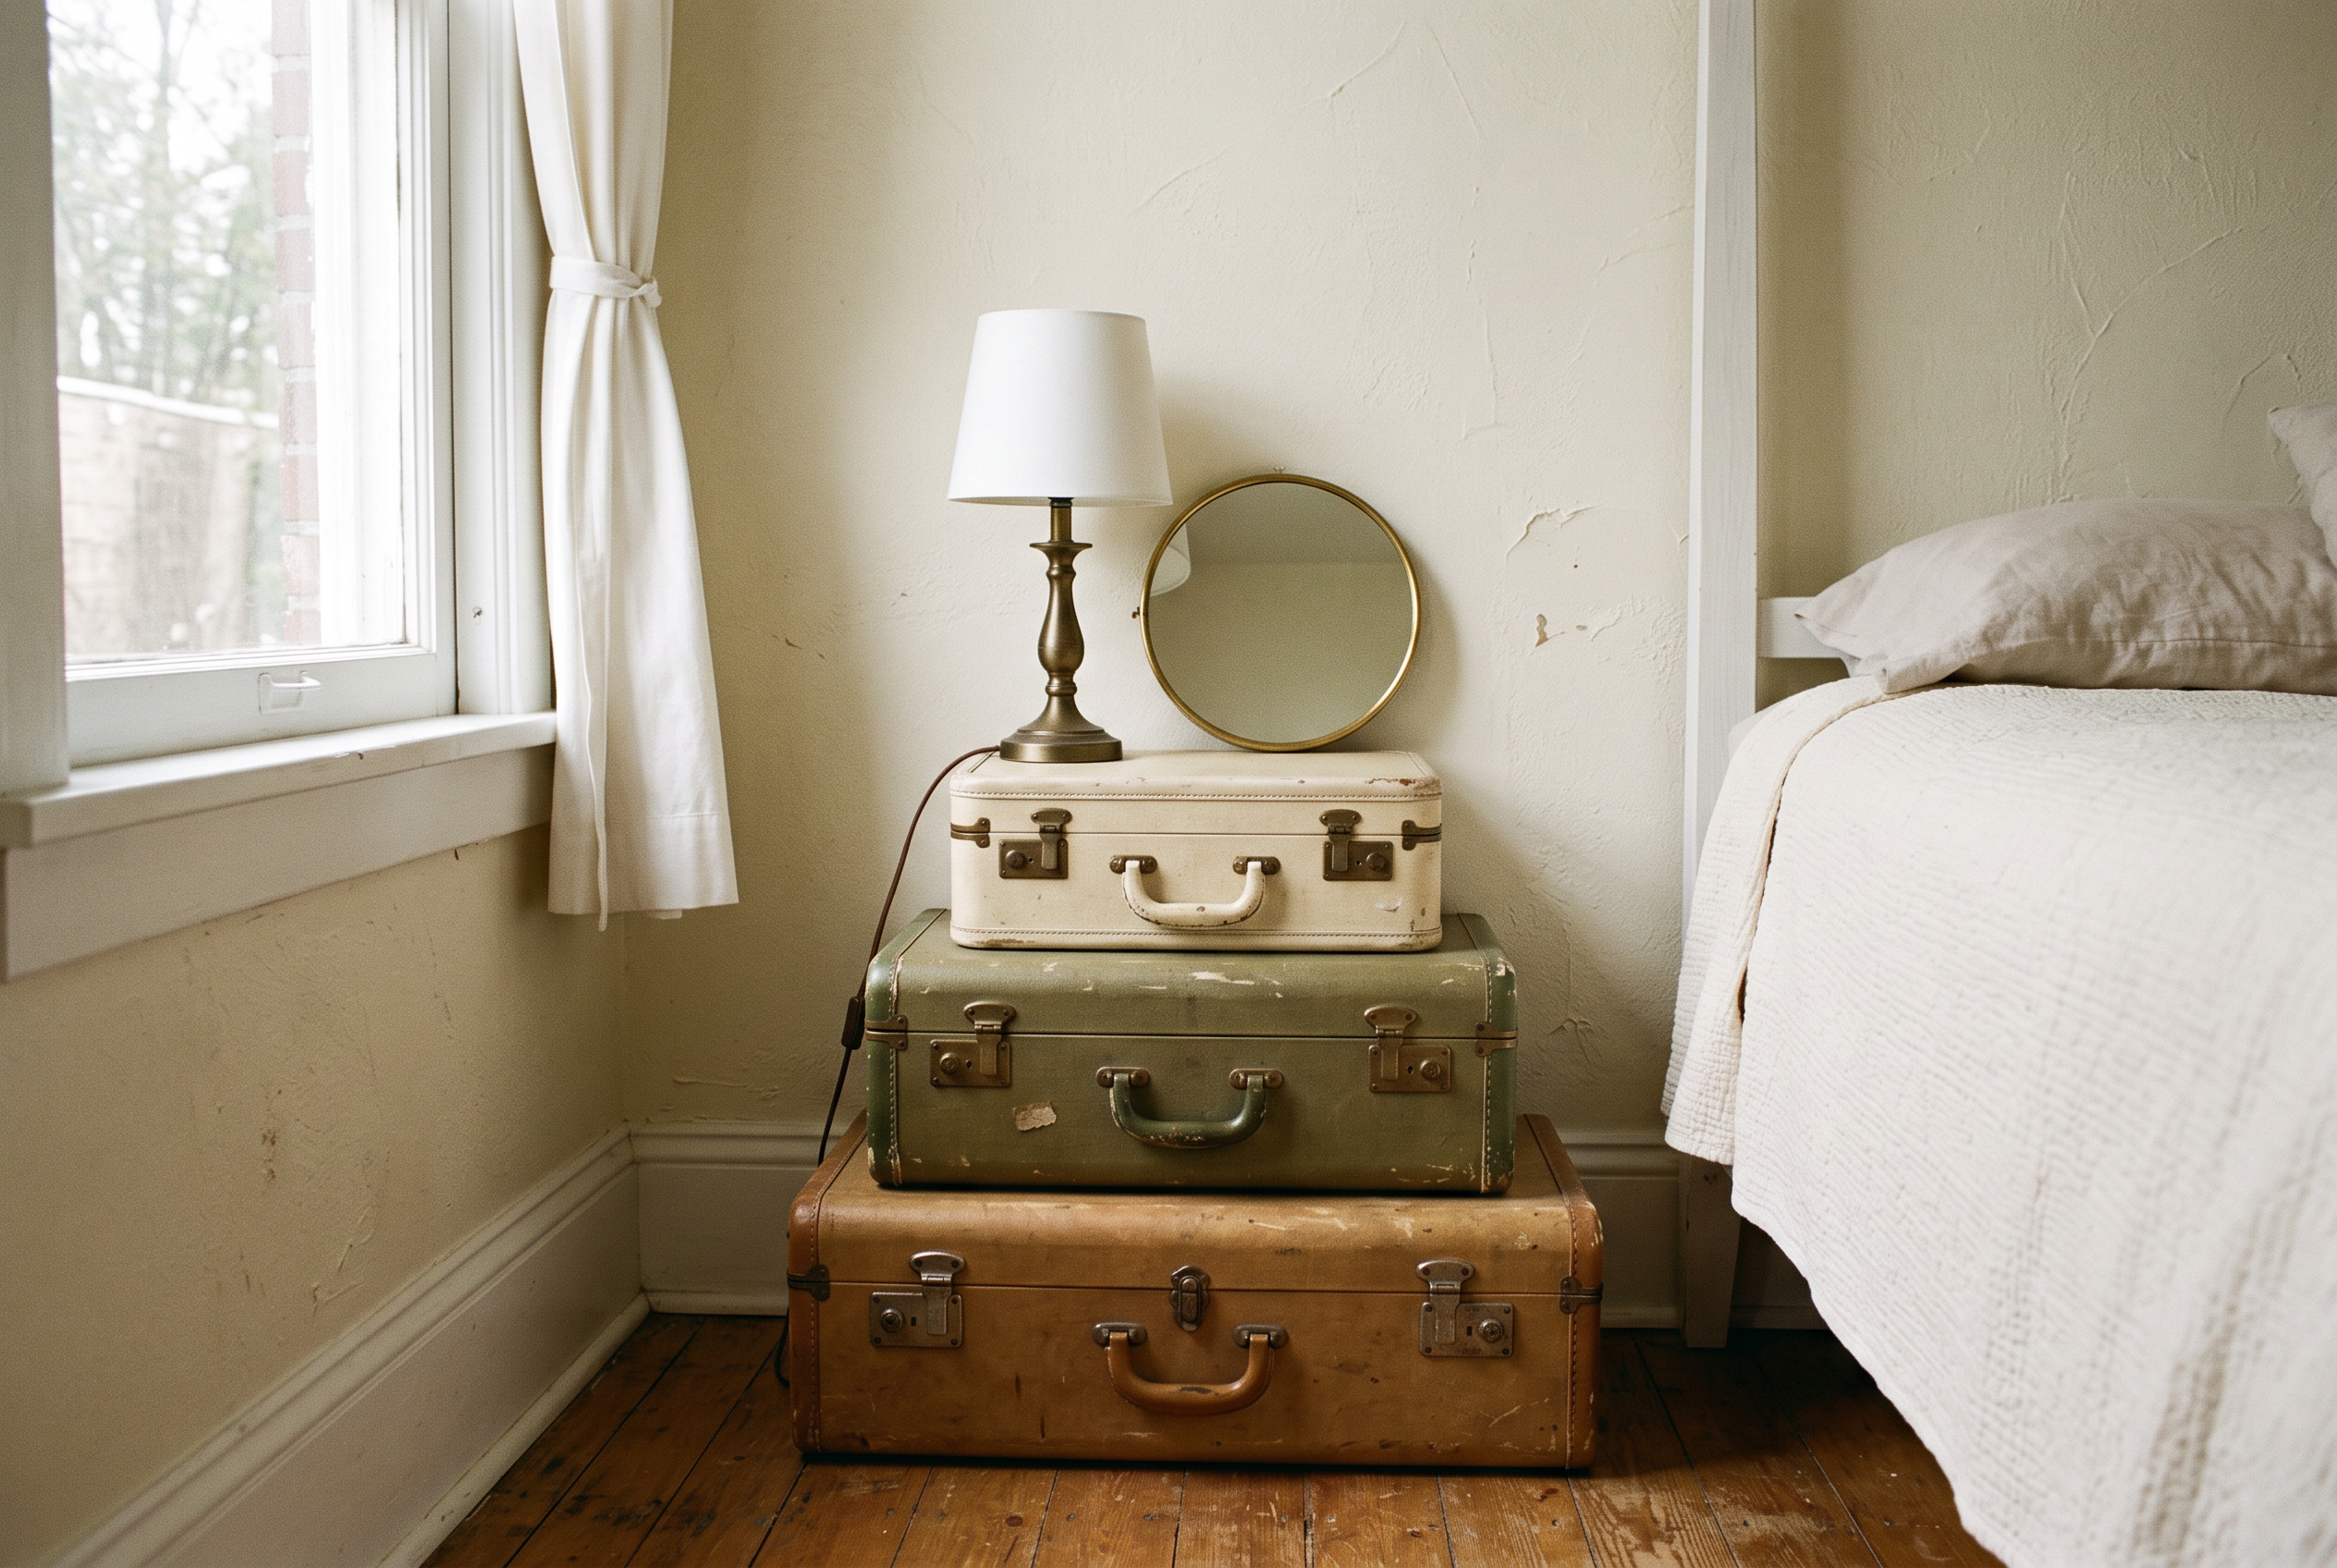
3. Stacked suitcase nightstand
Three cases stacked with a lamp on top. No tools needed.
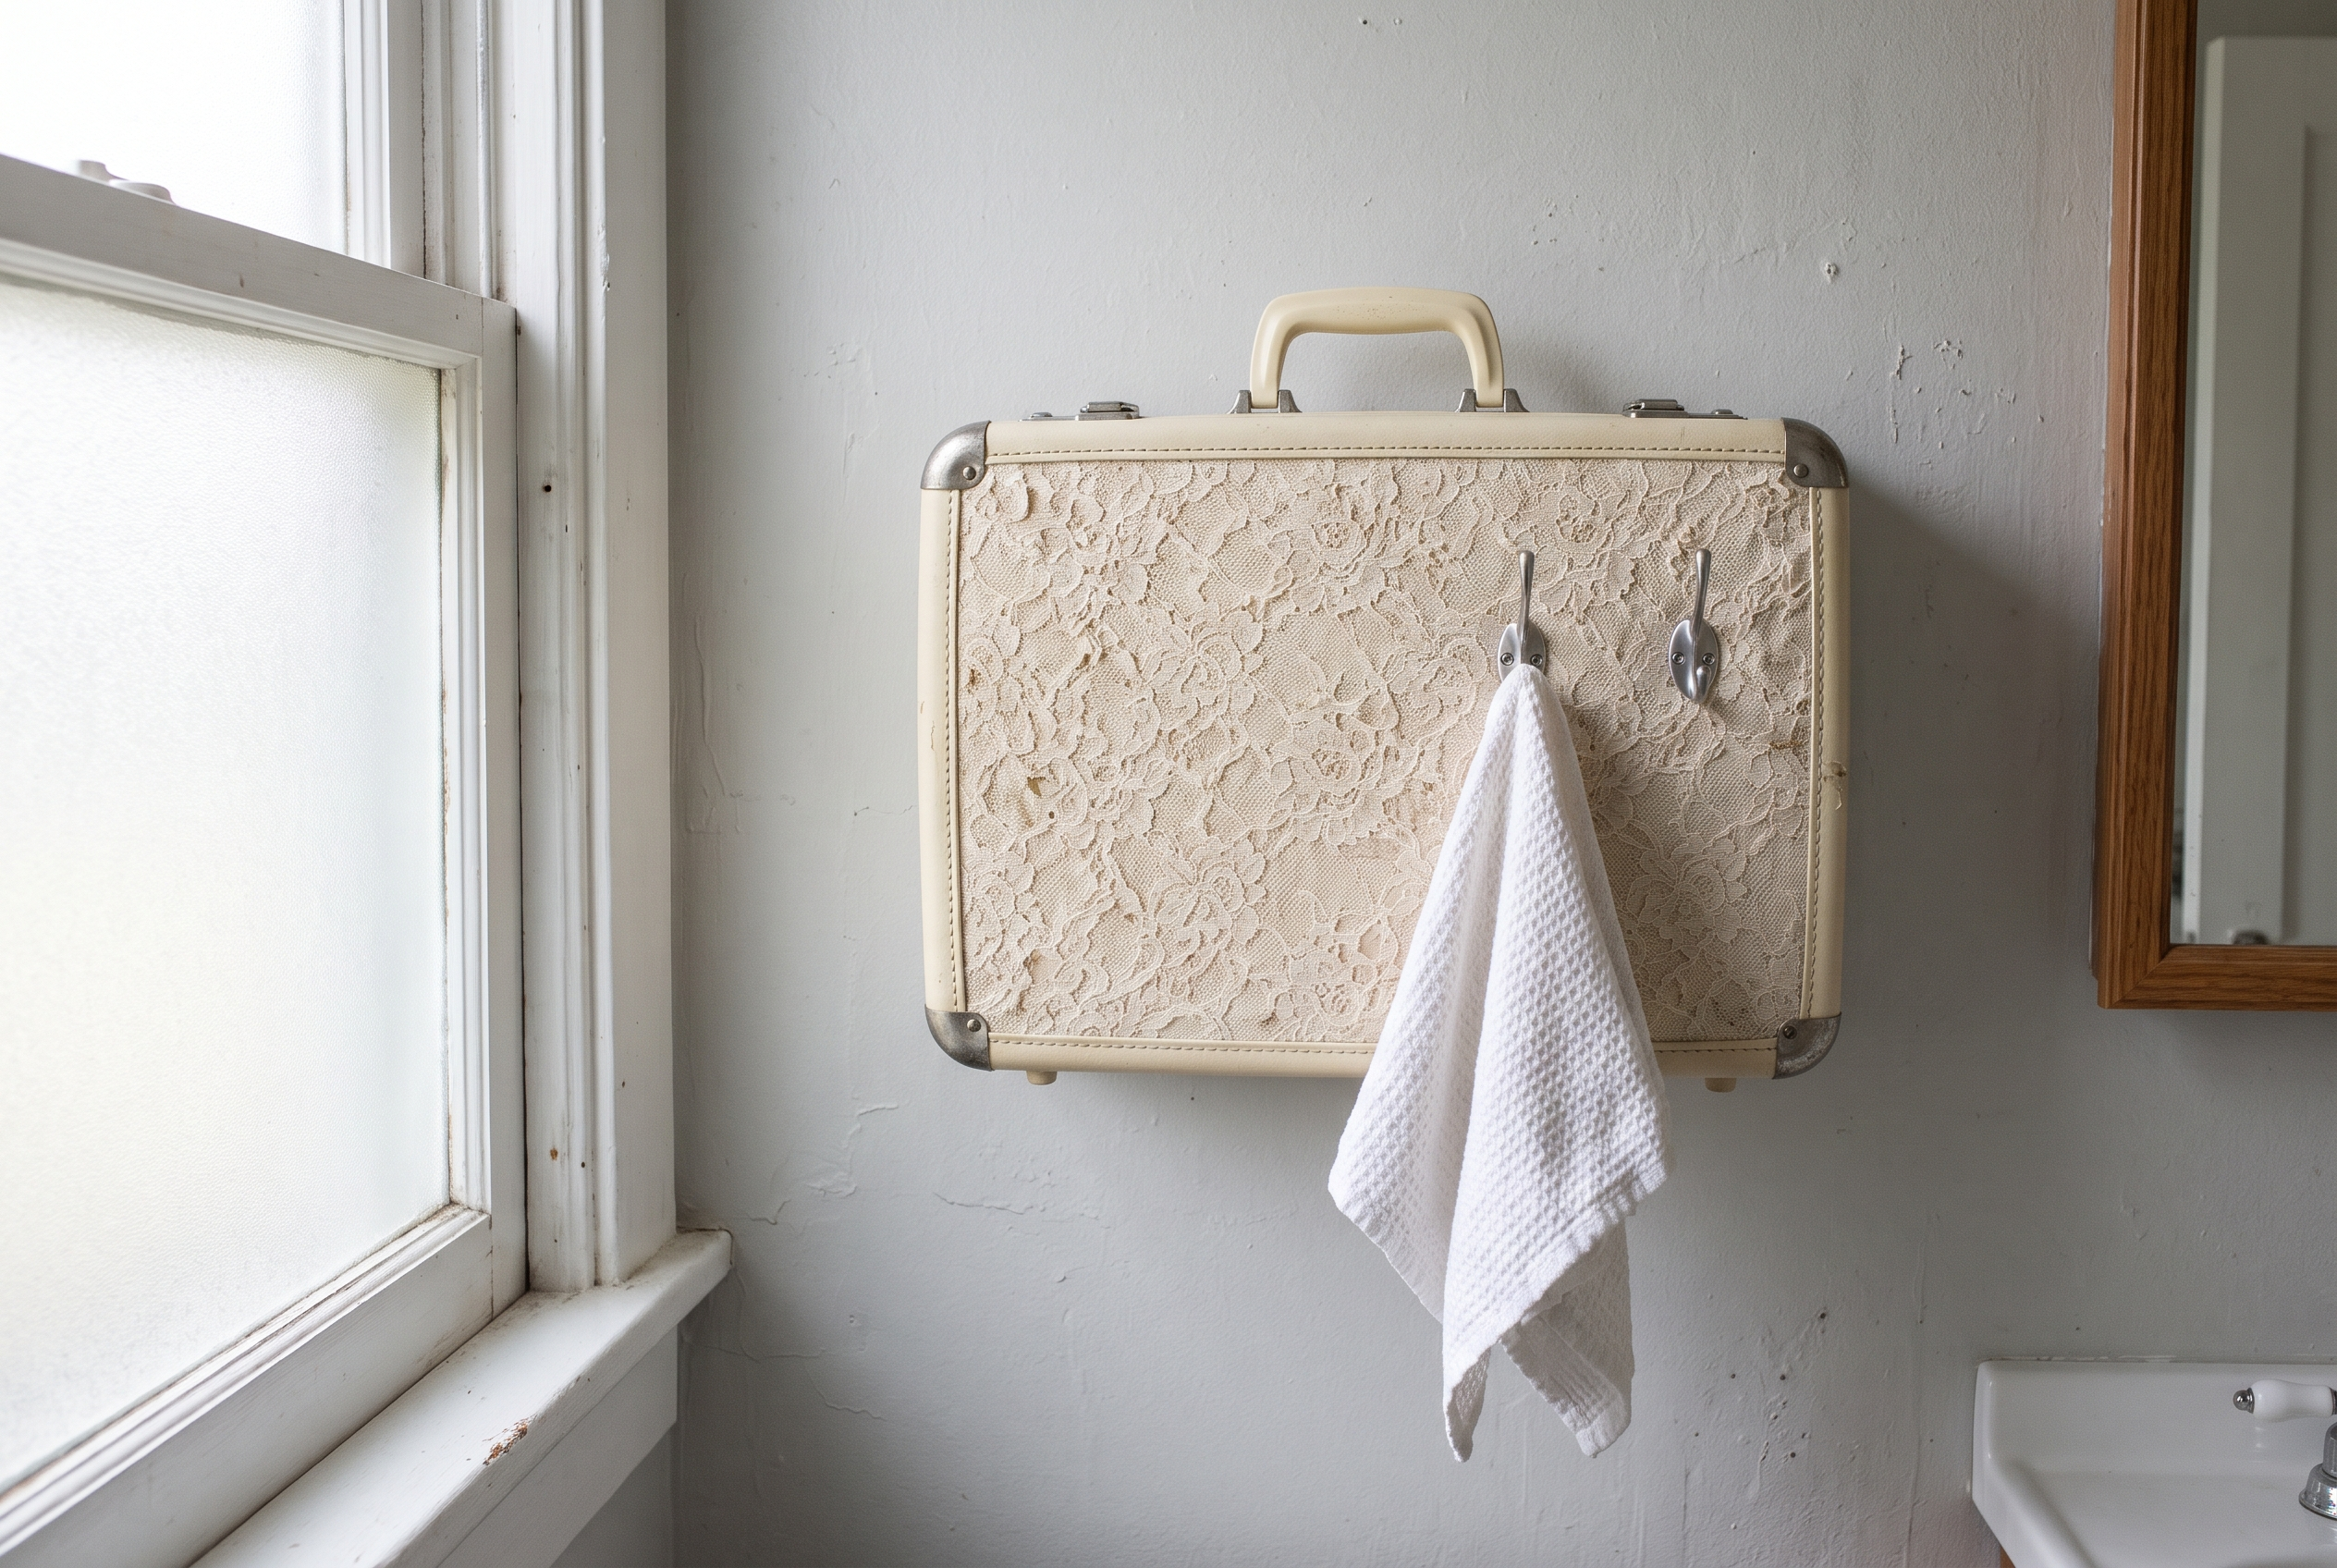
4. Suitcase vanity and towel holder
A lace-covered case hung on the wall with two hooks.
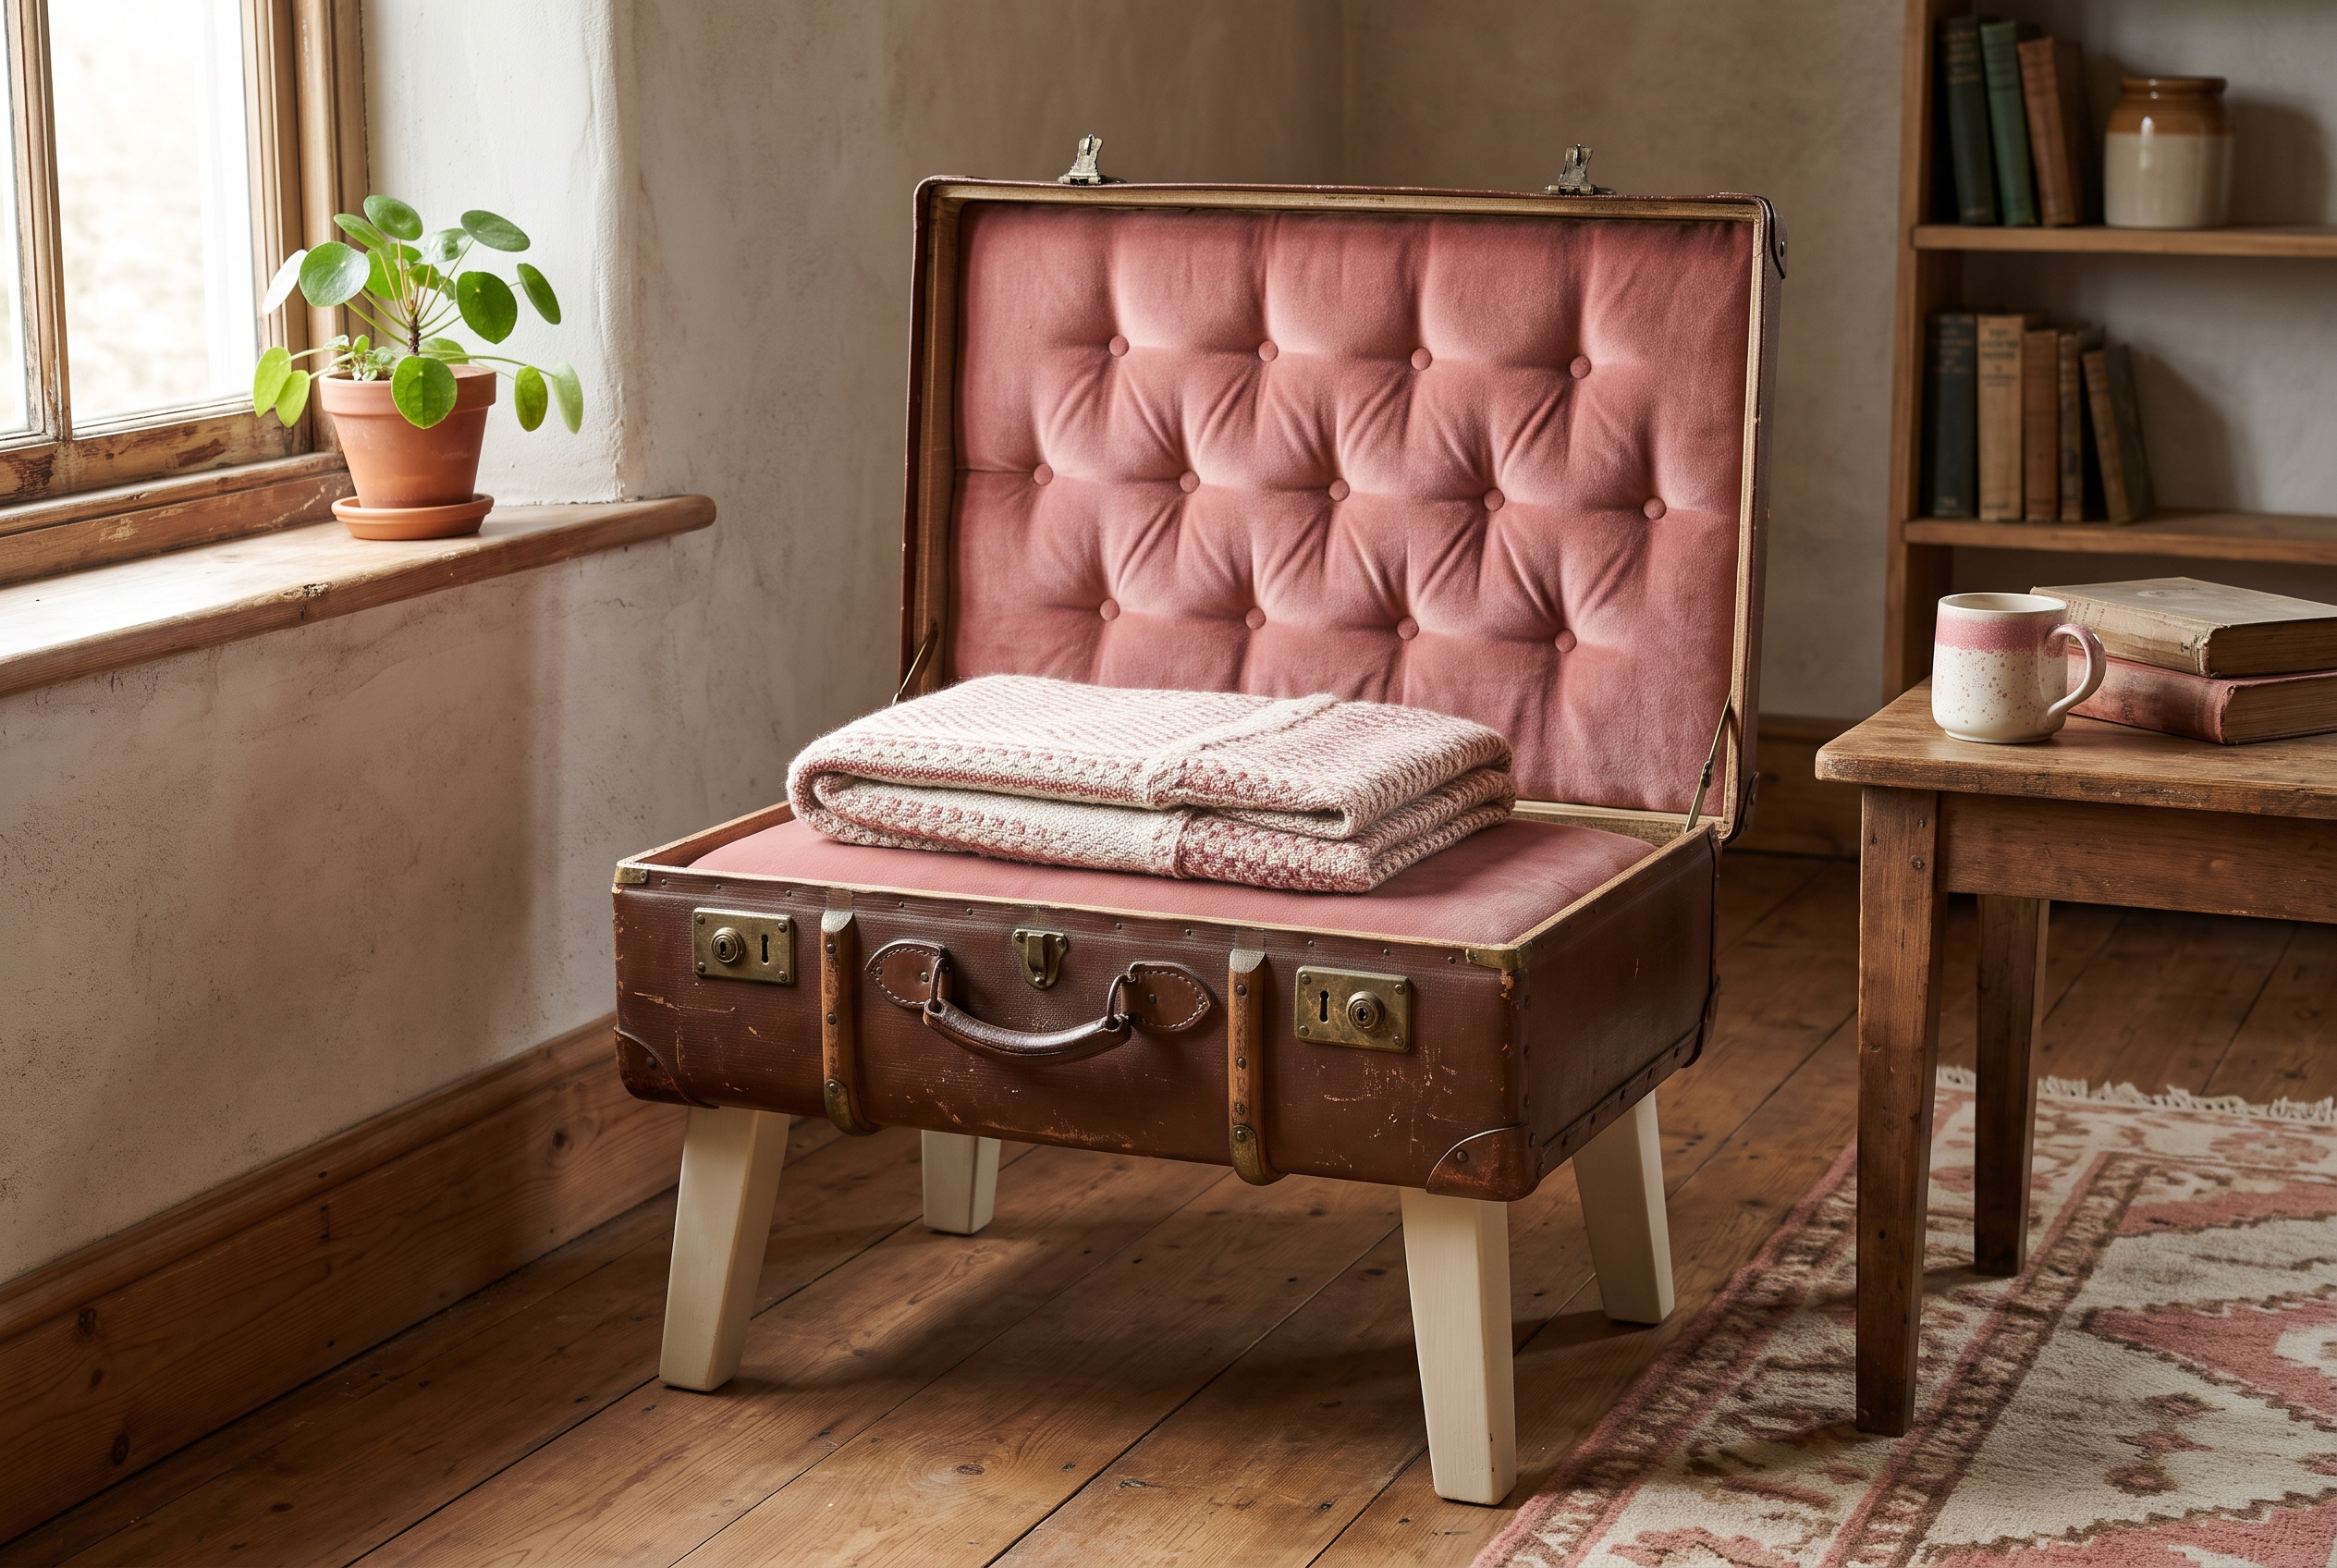
5. Vintage suitcase chair
A tufted lid backrest, a cushioned seat and four painted legs.
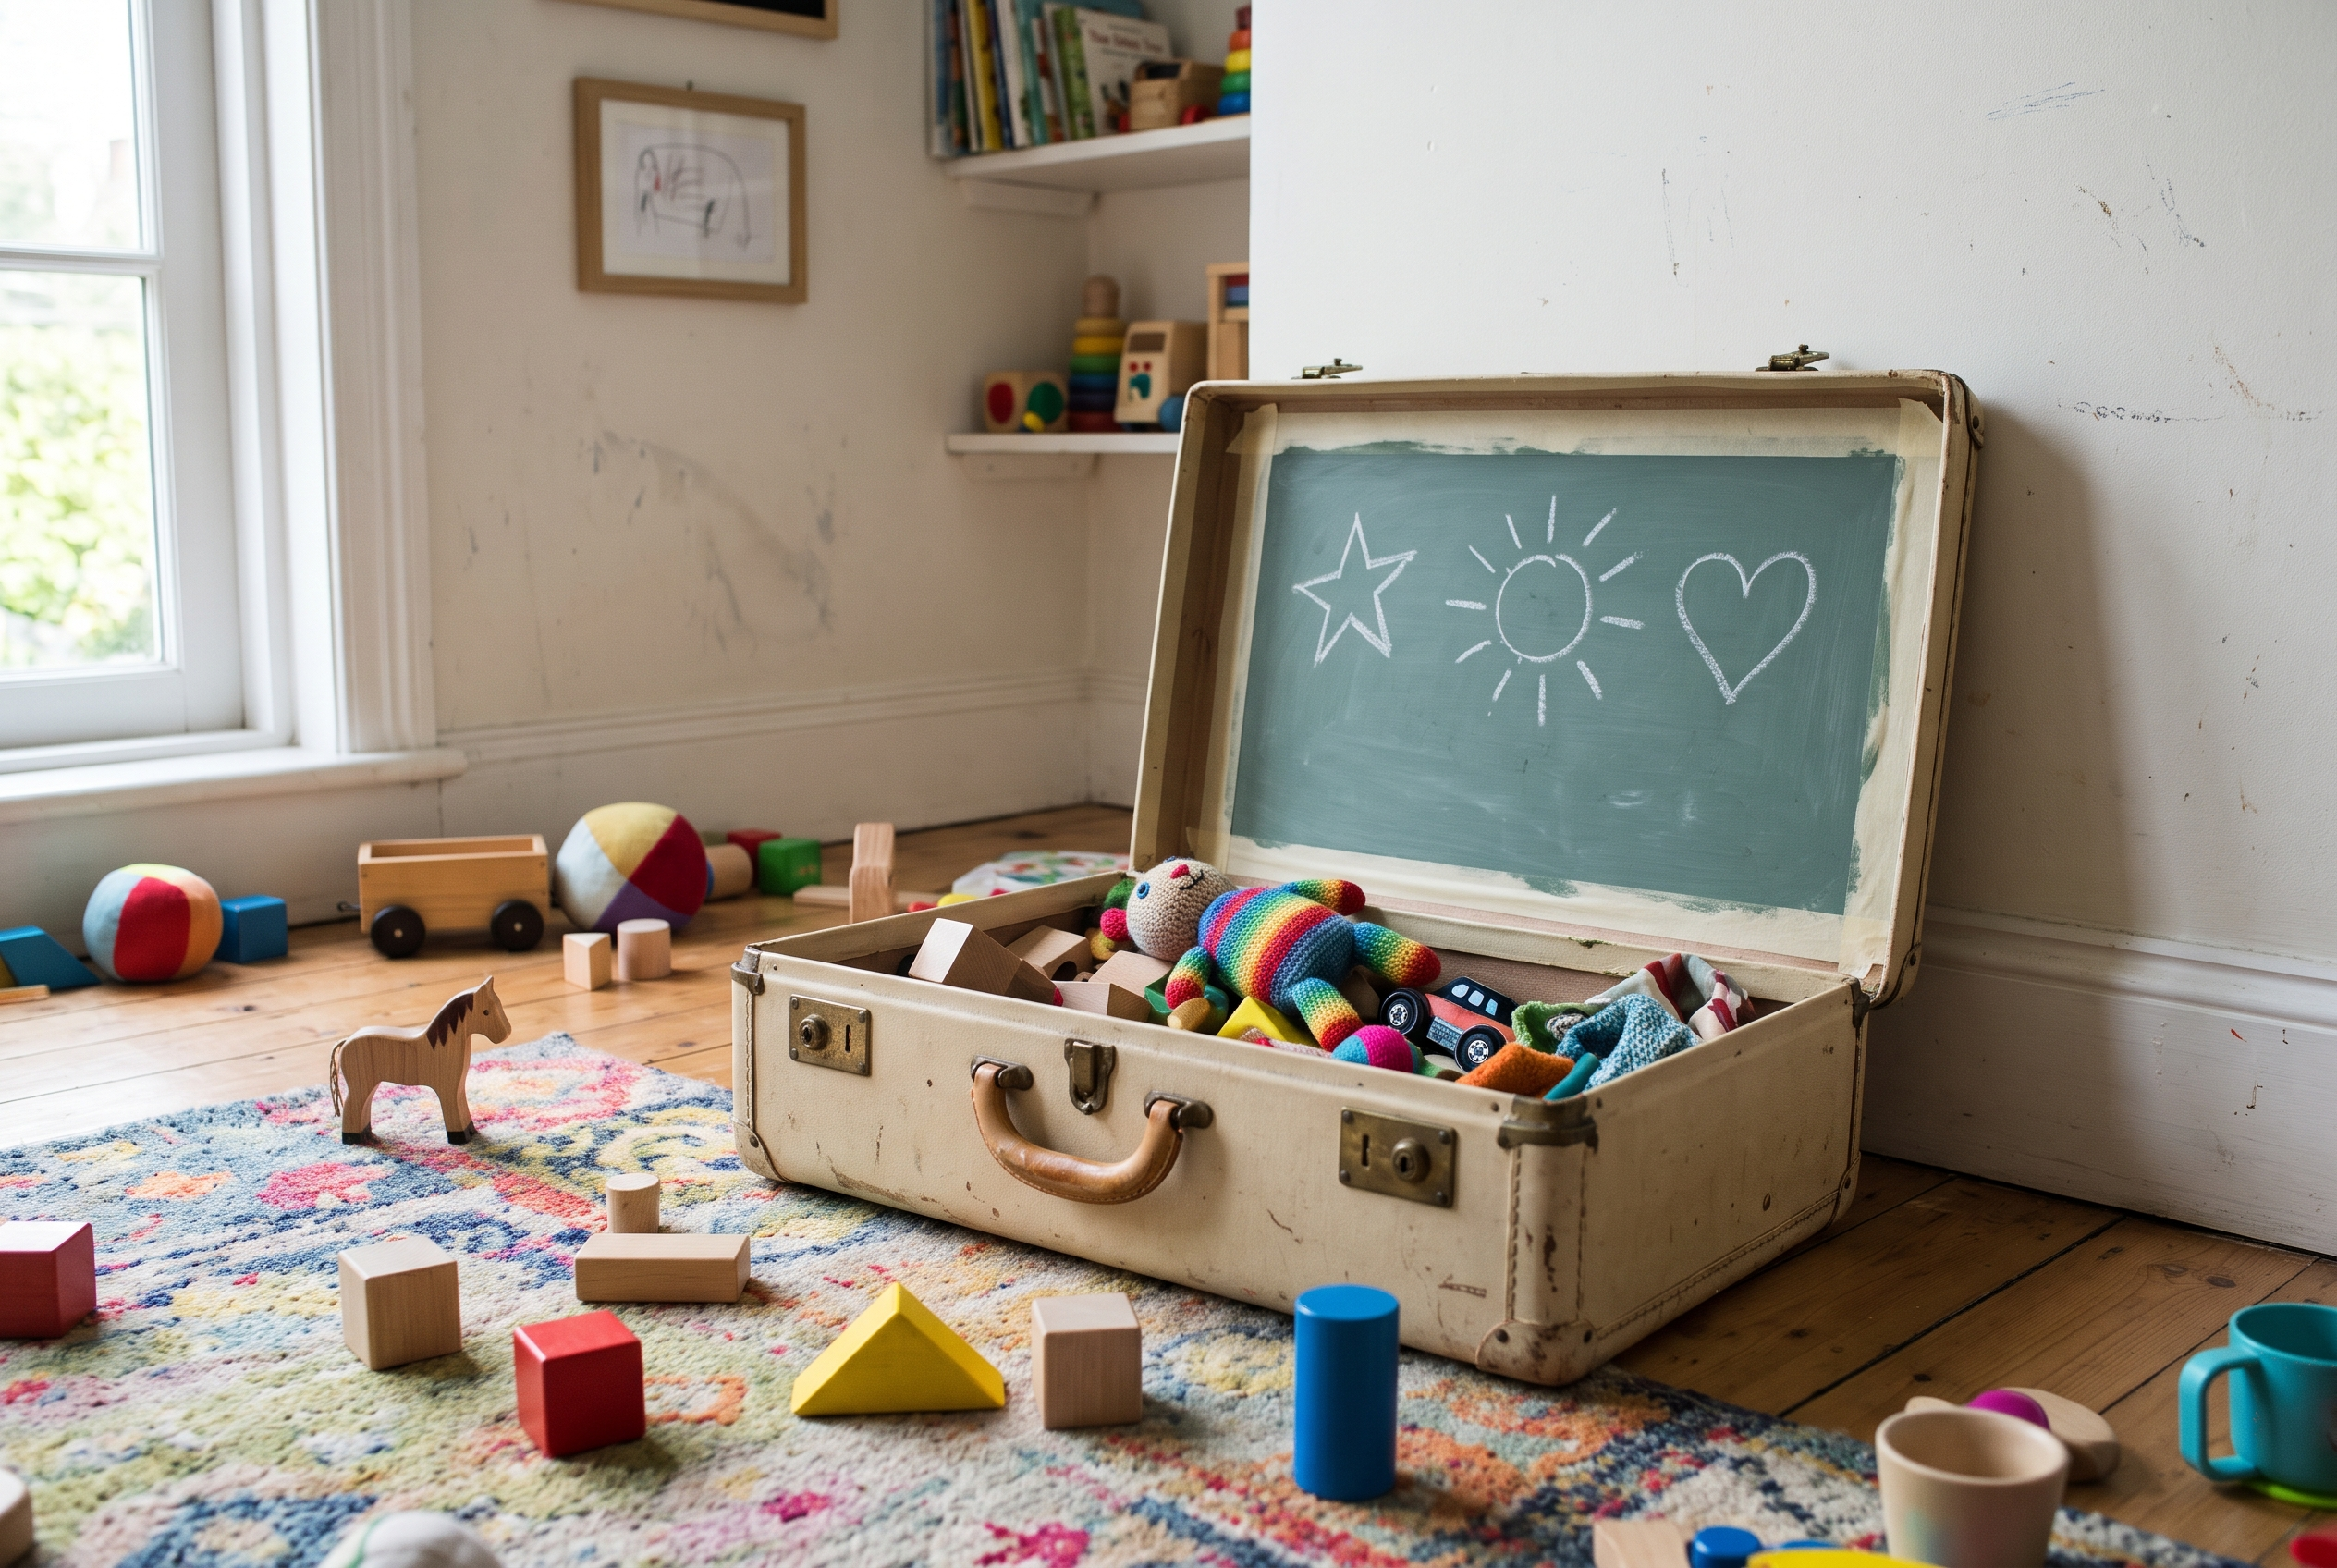
6. Suitcase chalkboard
A taped-off rectangle of chalkboard paint, great for kids.
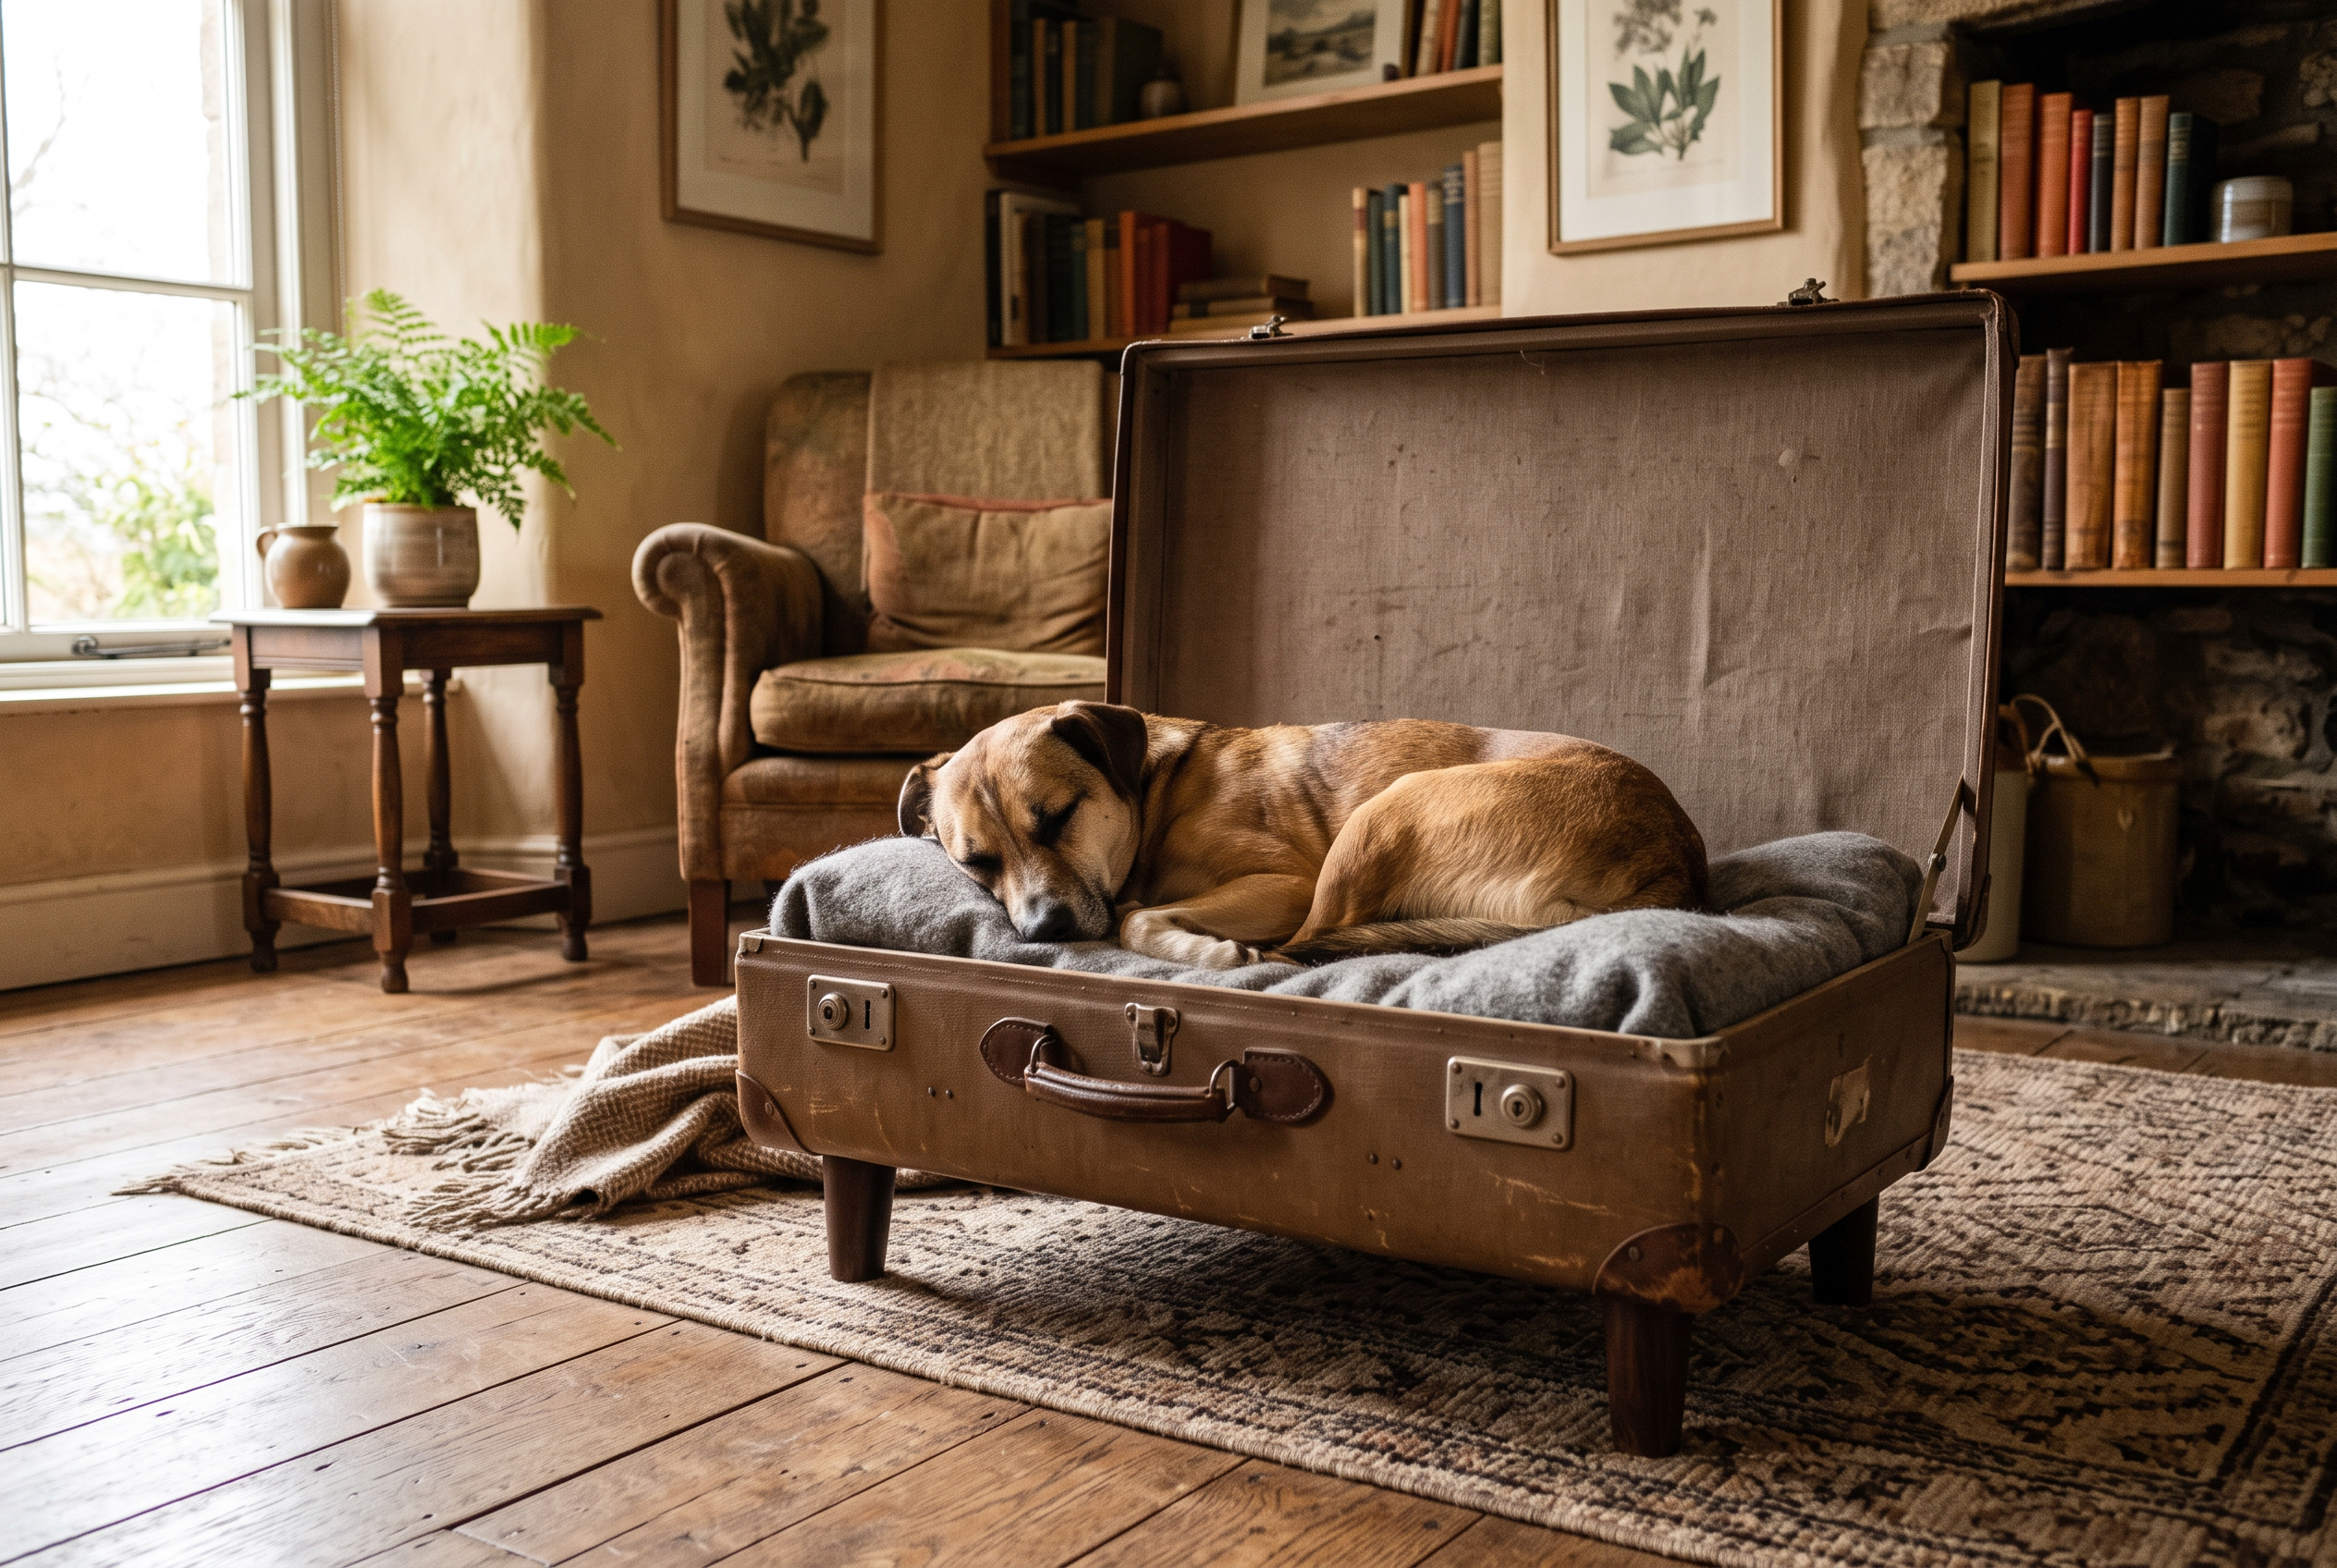
7. Suitcase dog bed
A hard shell on four legs with a cushion inside.
1. Suitcase coffee table
A flat top and four slim legs turn a hard-shell case into a coffee table. The lid stays closed, so you also get a spot to hide blankets or games.
Check the case first. A solid hard shell holds a few mugs and books. A soft or cardboard case can sag, so skip it for this one. The leg method in the chair project below works here too. That note is our own addition.
- Materials: a hard-shell suitcase, four furniture legs, screw-on leg plates, screws and a drill.
- Time: one afternoon (our estimate).
- Budget: about $30 to $60, mostly for the legs (planning estimate).
Watch it built: Want to see a suitcase table built from start to finish? This video walks through one.
2. Fabric-covered suitcase
Got a plain, boring case? Floral cloth brings it back to life. Brush a thin layer of decoupage glue on the case, lay the fabric on top, trim the edges and glue them down firmly. That’s the same method the towel holder project below uses with lace. Using it on fabric is our own note.
Pick a light cotton so it lies flat around the corners. That is our tip.
- Materials: a suitcase, fabric, decoupage glue, scissors or a craft knife.
- Time: one afternoon (our estimate).
- Budget: about $15 to $30 (planning estimate).
Watch it built: This video shows decoupage on suitcases, with tips for the glue.
3. Stacked suitcase nightstand
Stack your old cases, biggest on the bottom, and you have a nightstand with hidden storage. One home tour stacked three thrifted cases at about $15 each and topped the pile with a beveled mirror.
The tour doesn’t say how the stack was held together. Our tip: give the stack a gentle push before you set a lamp on top. If it wobbles, put a strip of non-slip shelf liner between the cases.
- Materials: three suitcases, plus a lamp or a mirror for the top.
- Time: under an hour (our estimate).
- Budget: about $45 for three thrifted cases, from the tour’s price.
Tutorial: the guest room tour.
4. Suitcase vanity and towel holder
A small case on the wall makes a charming towel holder for a guest bath. The tutorial’s author paid $5 for the case and covered it with lace. Here’s the method.
- Brush a thin layer of decoupage glue on the case and press the lace on top.
- Trim the edges and glue them down firmly.
- Mark where the hooks go. Leave enough room for towels to slide on and off.
- Drill two holes and attach the hooks with screws and nuts.
- Find the center and drill two holes, one near the top and one near the bottom, for the wall.
- For drywall, use hollow wall anchors. For studs, use long wood screws and washers.
- Add a hand towel.
Many old cases are heavy cardboard, so think about room humidity and the weight of what you hang. Drilling into studs or hanging weight? See when to call a pro.
- Materials: a small suitcase, lace or fabric, decoupage glue, hooks with screws and nuts, wall anchors or long wood screws, a drill.
- Time: about two hours (our estimate).
- Budget: about $20 to $35 with hooks and anchors (planning estimate).
Tutorial: the full towel holder how-to.
5. Vintage suitcase chair
A small suitcase makes a snug chair. The lid becomes a tufted backrest and the bottom becomes the seat. Here’s the method from the tutorial.
- Spray paint the four legs and let them dry. Do this outside. Our tip: wear a mask.
- Cover foam or pillows with fabric. Tuft it by sewing through the pad with a needle and thick thread, tying a knot and repeating. The tutorial uses a brick pattern of three tufts, two tufts, then three tufts. Add a little hot glue behind each tuft to hold the thread.
- Set a piece of thin plywood in the bottom of the case. Turn the case upside down on a shoebox or bucket. Screw the leg plates into the corners so the screws go into the plywood, then screw in the dry legs.
- Glue a layer of foam in the bottom to lift the seat cushion a bit. The bottom is deeper than the lid.
- Spread strong glue in the lid and press the top cushion down. Set weights on it for about an hour. The author used 3-pound weights.
- Set the chair in a corner.
Go slowly with the needle, because it’s easy to poke a finger. A thimble helps. Using power tools for the screws? See when to call a pro.
- Materials: a small suitcase, four legs with screw-on plates, thin plywood, foam or pillows, fabric, spray paint, hot glue, strong glue, needle and thick thread.
- Time: a weekend, plus drying time (our estimate).
- Budget: about $60 to $120 (planning estimate).
Tutorial: the full chair how-to.
6. Suitcase chalkboard
An old cardboard case becomes a chalkboard the kids can draw on. Paint the case, tape off a rectangle, then fill it with chalkboard paint. Leave the handle its original color so it still looks old.
The tutorial doesn’t say what paint to use or how to seal it, and readers asked about both. Our tips: use two thin coats, let each dry fully, and give it extra time before little hands touch it. A tacky case just needs more drying time.
- Materials: a cardboard suitcase, paint, painter’s tape, chalkboard paint, chalk.
- Time: one afternoon, plus drying time (our estimate).
- Budget: about $15 to $25 (planning estimate).
Tutorial: the full chalkboard idea.
7. Suitcase dog bed
Give your pet a one-of-a-kind bed. Here’s the method from the tutorial.
- Loosen the rivets or screws on the hinges that join the top and bottom. A flat-head screwdriver tucked under a stubborn rivet head can pop it off.
- Take the top off. The tutorial suggests keeping it to make a second pet bed. You can also leave the lid on and prop it open as a backrest. That idea is ours.
- Measure the inside of the bottom: width, length and height.
- Use pliers to remove the double-sided stud from each furniture leg. The studs are too long and could poke through the cushion.
- Turn the bottom upside down, set the legs in place and trace each one with a marker.
- Find the center of each traced leg and mark it.
- Drill a hole at each of the four marks.
- Push a lag bolt through the bottom into each leg, slide on a washer and tighten with pliers.
- Add a cushion a little larger than the inside of the case.
Make sure every leg is tight before you add the cushion. Drilling the holes? See when to call a pro.
- Materials: a hard-shell suitcase, four furniture legs, lag bolts and washers, a cushion, a screwdriver, a drill, pliers, a marker and a tape measure.
- Time: one afternoon (our estimate).
- Budget: about $40 to $80 (planning estimate).
Tutorial: the full pet bed how-to.
Watch it built: Prefer to watch? This video shows a pet bed made from an old suitcase.
How do you paint a vintage suitcase so the paint lasts?
This is the method to use on the coffee table, the nightstand and any case you want to refresh. Want to see a case get painted first? This short video shows one.
1. Clean the case
Wash the case with mild soap and water, then let it dry all the way. Dirt and old grime keep paint from gripping. If it smells musty, read the smell fix first.
2. Tape off what stays
Wrap painter’s tape over the latches and handle mounts. Press the edge down so paint can’t creep under it. This tape step is our own addition.
3. Paint two thin coats
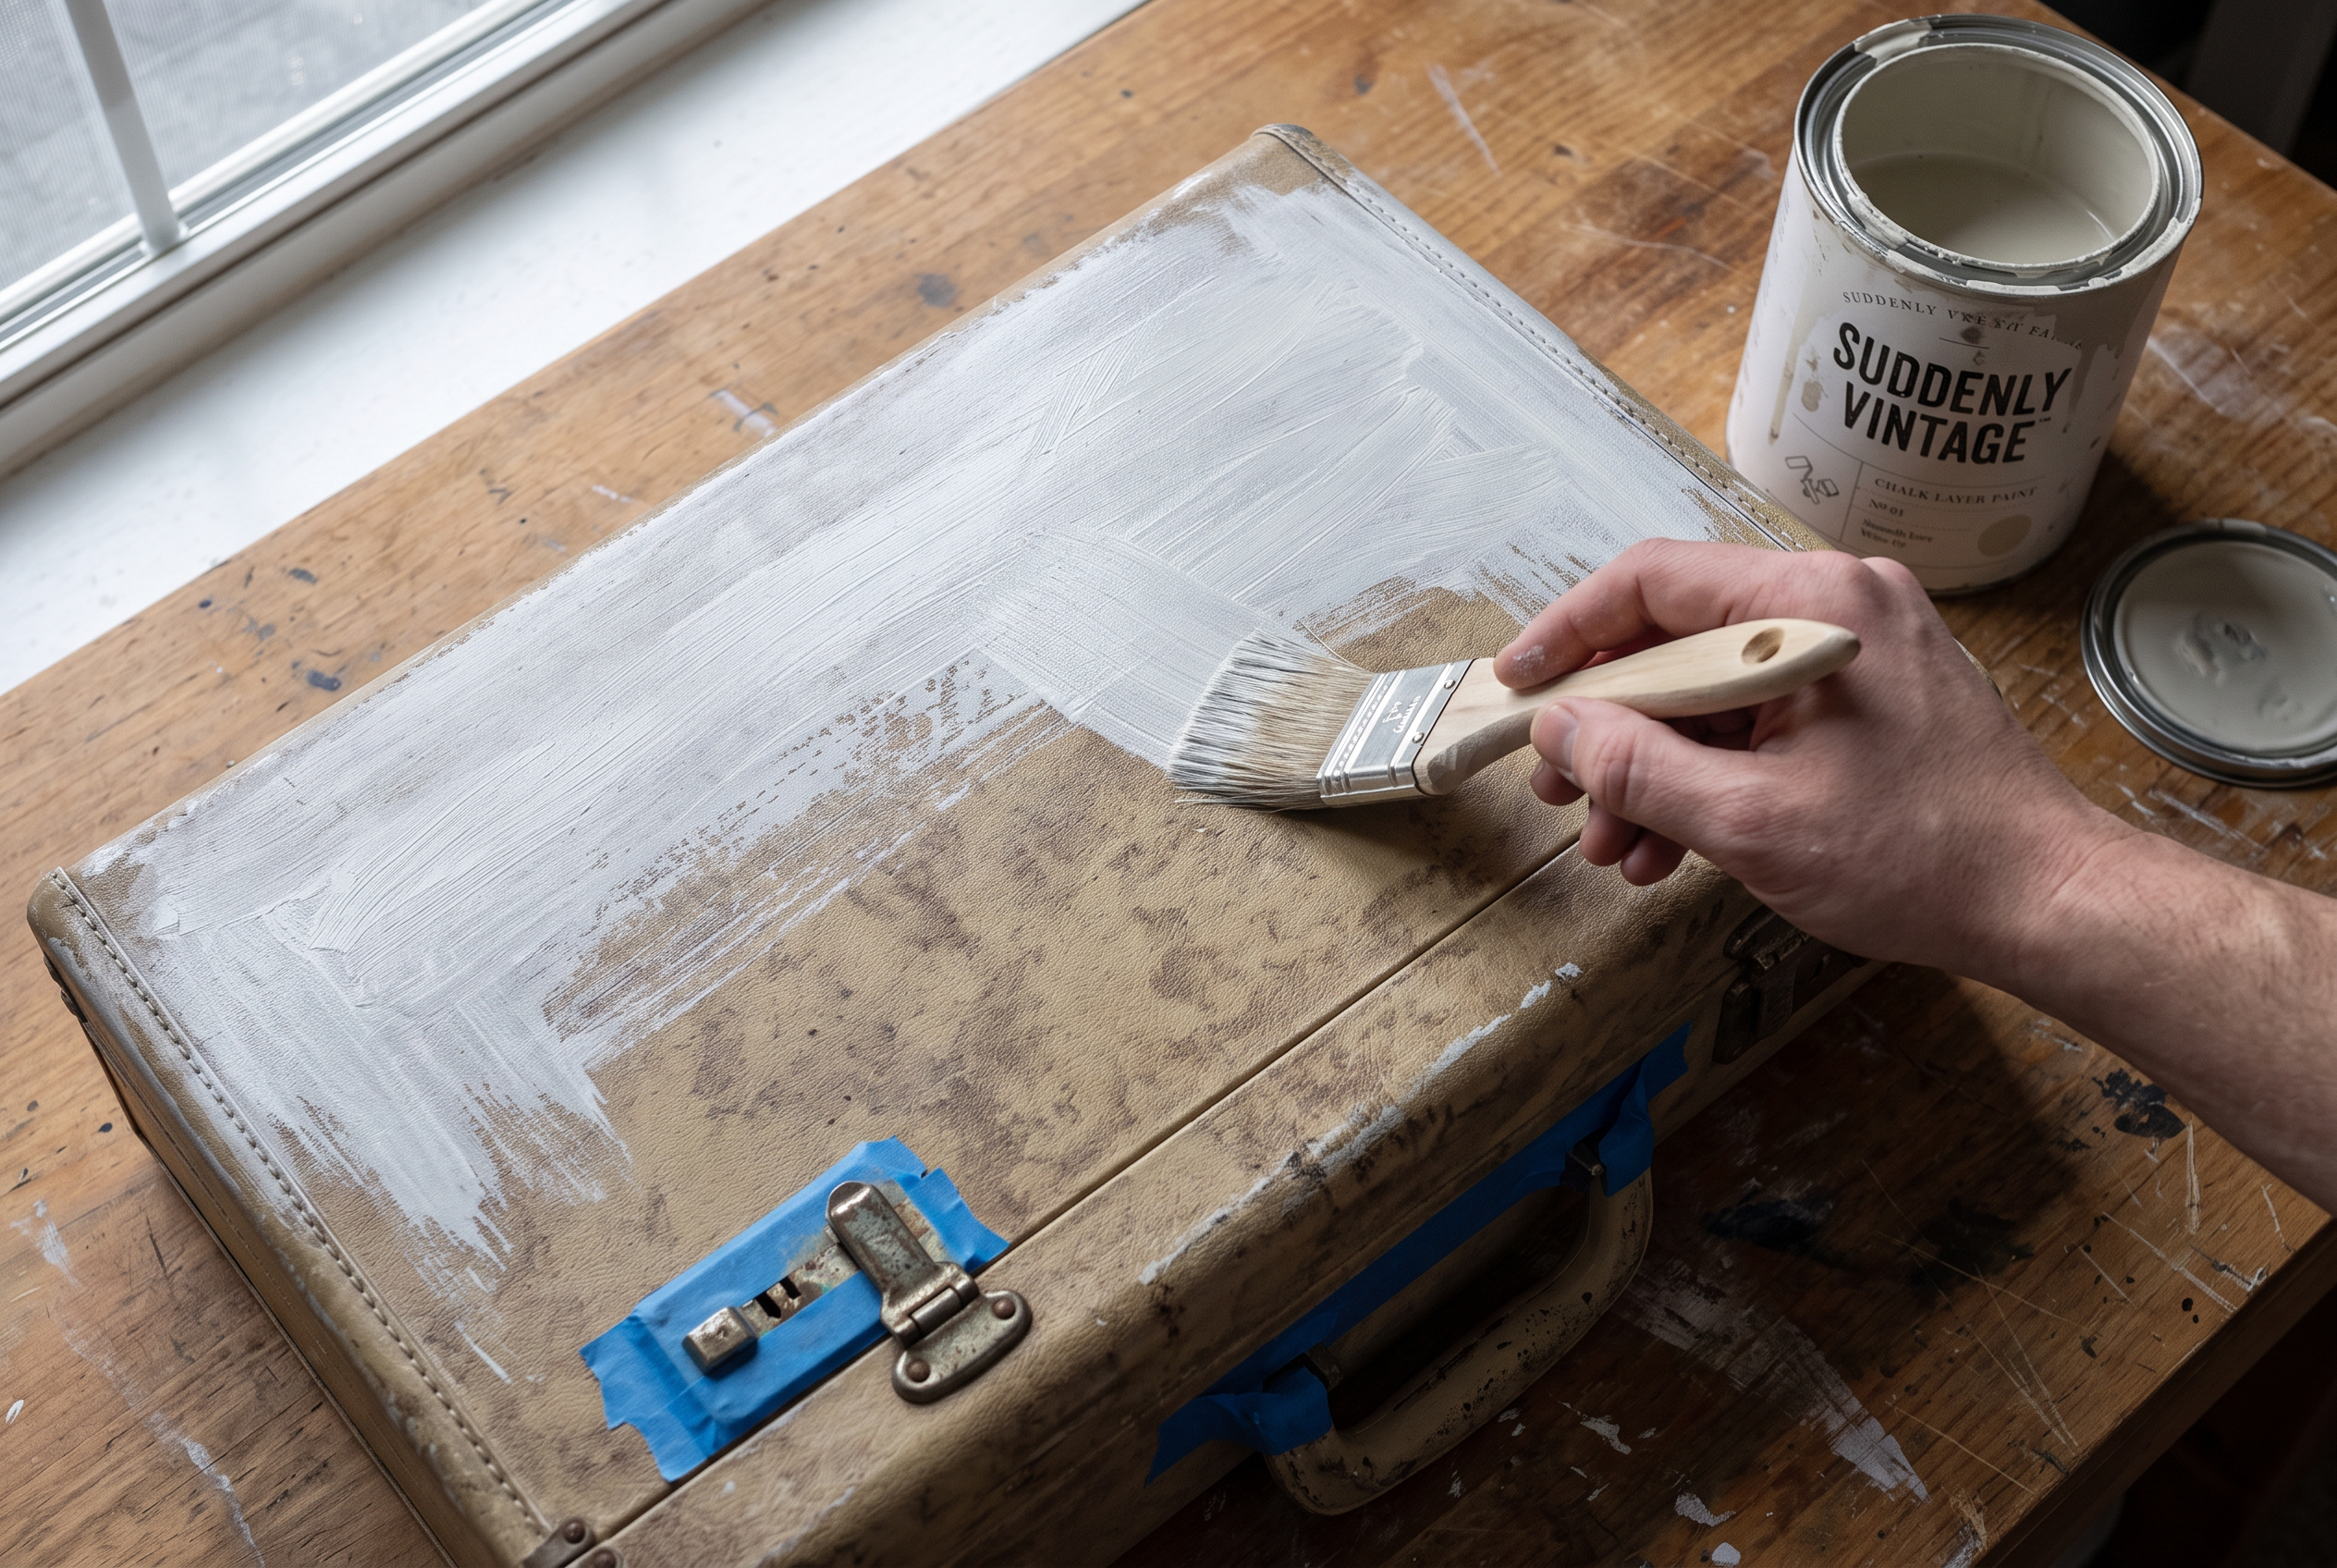
Use light coats with a brush or a small foam roller. Light coats keep paint from bleeding through and help it level out. On a lined or fabric case, plan on two coats, because the fabric soaks up paint.
4. Let it dry overnight
Give the paint a full night. A fan in the room helps it dry faster. Paint can feel dry and still be soft underneath.
5. Wax it
Rub on a thin coat of finishing wax with a lint-free cloth. The wax softens the look and adds protection. Our tip: buff it after it sets.
6. Seal what you’ll touch
Cases that get handled every day, like a coffee table or a chair, may need more than wax. Follow your product’s directions on waxing, sealing or both. Then wait a few days before heavy use. That wait time is our tip.
What are the two mistakes that ruin a painted suitcase?
Most trouble comes from two things. Both are easy to fix.
Paint that chips or stays sticky. Paint on a dirty or slick case can chip and flake, and thick coats stay tacky. Clean the case, paint thin coats, let it dry overnight and seal it with wax or a sealer. Give it more time than you think.
A smell that comes back. Paint can’t cover a musty smell. Deal with it first. A common tip is to air the case outside in the shade for about a week, then wipe it clean. That’s a popular trick, not a tested fix. If you see mold, wear gloves and a mask, or skip that case.
What gear makes it easier to upcycle vintage suitcases?
A good brush and the right glue matter more than any fancy tool. A cheap brush sheds bristles and leaves stripes, and the wrong glue leaves bubbles under fabric.
A soft synthetic brush lays paint on smoothly. This five-piece set has a wide brush for lids and a small one for corners and edges. It’s more than one case needs, so save the extras for the next project.
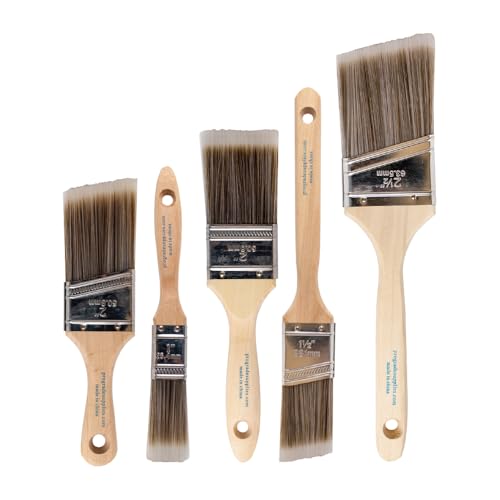
- COMPLETE 5-PIECE BRUSH SET FOR EVERY PAINTING TASK — Includes 1 Inch Flat, 1.5 Inch Angle, 2 Inch...
- ZERO BRISTLE LOSS — GUARANTEED BY PRECISION ADHESIVE BONDING — Every bristle is locked in place...
This post contains affiliate links. If you buy through them, we may earn a small commission at no extra cost to you.
For the fabric and lace projects, decoupage glue holds the cloth down and seals the surface. This kit comes with two bottles and foam brushes, which is plenty for a few cases.
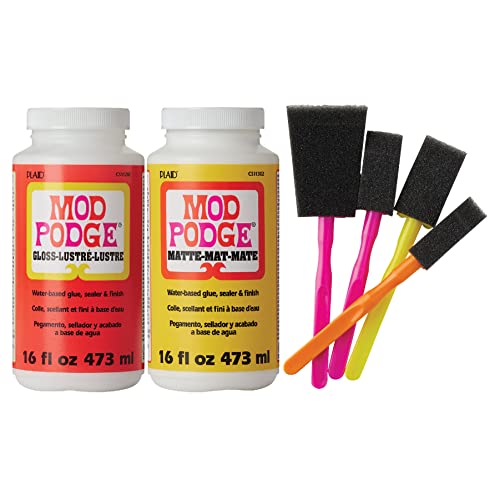
- CONVENIENT & VERSATILE KIT – Add this multi-purpose set of a 16 oz Mod Podge Matte and a 16 oz Mod...
- DURABLE FINISH – This handy decoupage glue comes in a beautiful clear, matte and gloss finish to...

This post contains affiliate links. If you buy through them, we may earn a small commission at no extra cost to you.
How much does it cost to upcycle vintage suitcases?
These are planning estimates for one project. Prices change, so check before you shop. A thrifted case often runs about $5 to $15.
- Budget build, about $25. A $5 case, soap, painter’s tape, a basic brush and a small can of paint.
- Mid range, about $60. Add a decoupage kit or four legs, a better brush and finishing wax.
- Quality build, about $120. A nicer case, a brush set, a matte sealer, legs with plates and a cushion for a piece you’ll use every day.
When should you call a pro or ask for help?
Drilling into wall studs, hanging anything heavy or using power tools for legs? Ask a handy friend or hire a pro if you’re unsure. Spray paint outside with a mask on, and hang only light pieces, because cardboard cases can’t carry weight.
Where should you go next?
- Want the full guide? Browse chalk paint furniture ideas.
- Love the paint-and-wax look on big pieces? Learn how to paint wood furniture.
- Want a lighter finish that shows the old color? Try how to whitewash furniture.
- Looking for a smaller craft? Make a little cardboard suitcase.
Ready to upcycle your first suitcase?
Now you know how to upcycle vintage suitcases so they hold up and look great. Start with the easiest one: a fabric cover or a stacked nightstand. Then try a paint project when you’re ready.
Your shareable result: take your after photo from the same angle as your before photo, with the lid open and the hardware in view. Side by side, that’s the shot people save.
Found a great old case? Post your before and after on Facebook, pin the ideas you want to try on Pinterest, and tag us on Instagram. We love seeing them.
A few helpful answers
Upcycle Vintage Suitcases FAQs
Easy projects, paint, smell and weight.
Start with a cover of fabric or a coat of paint. Both need only a brush or scissors. Clean the case, paint two thin coats or glue on fabric, and you’re done in a weekend. Stacking three cases as a nightstand needs no tools at all.
Yes, plenty of projects leave the finish alone. Clean the case, then use it as it is. Stack a few as a nightstand, hang one as a towel holder or turn one into a pet bed. A rare case, or one with a maker’s label inside, is best left original.
It can, with prep and a seal. Clean the case, paint thin coats, let it dry overnight and finish with wax or a sealer. Skipping the seal is a common reason paint chips.
Air it out first, because paint won’t hide a smell. A common tip is to leave the case outside in the shade for about a week, then wipe it clean. That’s not a tested fix. If you see mold, wear gloves and a mask, or skip that case.
It depends on the case. A hard shell with a sturdy bottom and solid legs can hold mugs and a few books. Cardboard cases bend, so keep them for light jobs like a chalkboard. Test your table with a few books before you trust it.
A scuffed 1950s suitcase turns up at a yard sale. Do you paint it or keep the original look?
This one splits DIYers. Some love a fresh washed color on an old case, and others say it looked better before the paint.
What did you do with the last old suitcase you found, and would you do it again? Vote, then tell us in the comments.