

Looking for an easy DIY lamp? If you love the idea of bright, shimmering lights, then you’ll love this easy DIY project. Create your own beautiful 3D star lamp and enjoy a peaceful and cozy sleep. Keep reading for the tutorial.
Easy 3D Star DIY Lamp To Keep Your Night Cozy and Bright
If you want to transform your bedroom, this 3D DIY lamp should top your to-do list!
Stars take my breath away. I just love looking up at the night sky after a long, tiring day. It makes me feel relaxed and happy. If you’re like me, you should definitely bookmark this tutorial. DIY this cute lamp and have one right on your bedside table! What could be better than looking at a twinkling star-shaped lamp before you head off to dreamland?
If you’re ready, then let’s start!
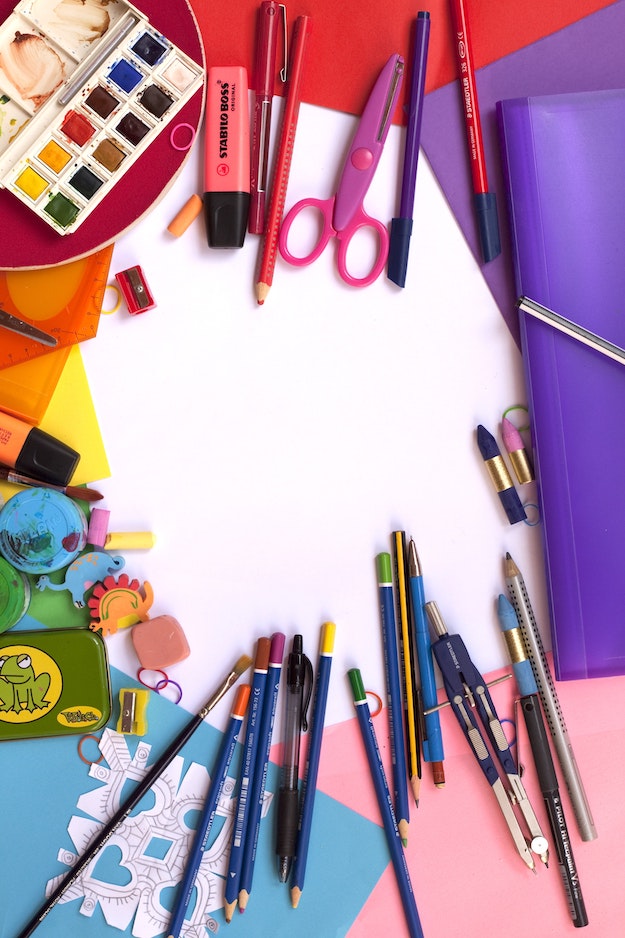
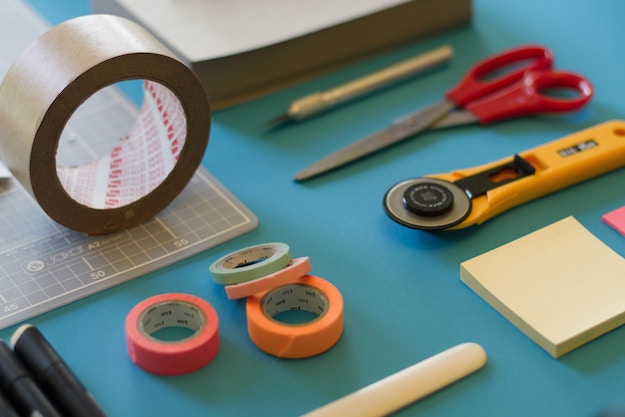
For this DIY lamp, you’ll need the following:
- Cardboard (depends on how big you want your star to be)
- Scissors
- Marker
- Ruler
- Paint (you can choose any color you want!)
- Paint Brush
- Nail (optional)
- LED Lights
- Glue Gun
- Double-Sided Tape
Instructions:
Step 1. Marking and Tracing

When you already have your desired cardboard and size of your star, start making your dimension points using a marker. Then grab a ruler to trace and connect each point from end-to-end.
Step 2. Cut Out

Carefully cut out the star shape using your sharp scissors.
Step 3. Center Point Score
Mark a point at the center of the star figure. Then using the back of the scissors, start scoring the star figure from the center point to the edge of the valley end-point. This will help you with your folds.
Step 4. Bend
After scoring the star figure from point-to-point, gently bend the scores for clean folds. This will create the 3D effect of your lamp.
Step 5. Base
You’ll notice the shape does not hold its shape very well so you need to make another star shape from the 3D fold using another piece of cardboard. This will be your base to hold the 3D shape.
You’ll love this too!
String lights are a magical year-round decor item. Check out these DIY room decor ideas! https://t.co/BARIG4oGGs pic.twitter.com/e0VmwwHCA5
— DIY Projects (@DIY Projects) July 19, 2016
Step 6. Connect and Trace
When you’re done marking points on your starbase, start connecting the points to the end-point of each valley.
Step 7. Cut-out

Then cut out the traced star shape using your scissors.
Step 8. Poke Holes

Now that you already have your 3D fold and base, you may start poking through the cardboard. This is where the lights will be placed.
Step 9. It’s paint time!

Start painting the 3D figure with your desired color. I suggest you choose something metallic like silver or gold. Leave to dry.
Step 10. Place The Lights
If your 3D figure is fully dry, you can proceed to place the lights into the holes ofthe cardboard. Do this carefully to avoid damage on the wires.
Step 11. Attach the 3D Fold and Base
Glue one side of the star shape. Attach the base to the 3D fold and hold for a few seconds until both are fully attached together. Then, proceed to the other sides. Don’t forget to tuck in the wires inside the cardboard. Be careful not to burn yourself with the hot glue.
Step 12. Tape and Plug
And you’re done! You may now enjoy your shining, shimmering bedside lights. You’re sure to say hello to sweet dreams with this pretty lamp! I bet you’re now excited to see how your 3D star DIY lamp will light up your room!
I’ll leave you with a quick tip: use a double-sided tape on the base so you can have your star lamp hung on your wall. Then you can plug and enjoy your own creation!
Watch the full video below by Sunny Lin:
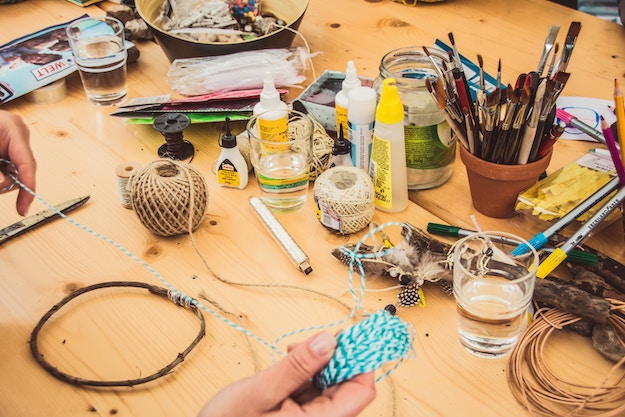
Creating your own home decor isn’t hard and expensive especially when you use old items found at home. With a few materials and creativity, you can transform your bedroom without breaking the bank! (Cooool!) Try it out this weekend and don’t forget to let us know how it went!
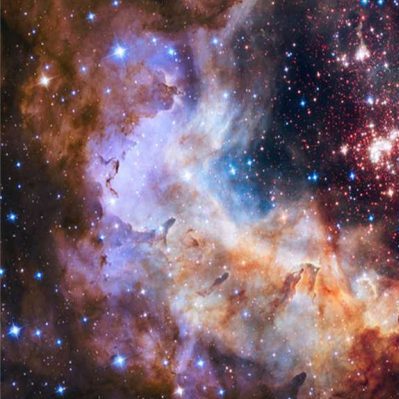
Do you want to pair your 3D star lamp with a galaxy-inspired wall? You’ll love this idea on our sister site: Horoscope Day!
Eager for more cool and easy DIY crafts? Check the links below!
Make This Beautiful DIY Copper Mercury Glass LampHow To Decorate Space Based On Your Zodiac Sign


