

A DIY pond filter can give you a hand if your janitor fish can’t handle the job of cleaning your entire pond!
RELATED: 10 Construction Paper Flowers | DIY Flower Craft Ideas
How to Make Your Own Pond Filter at Home
Backyard Pond Filter
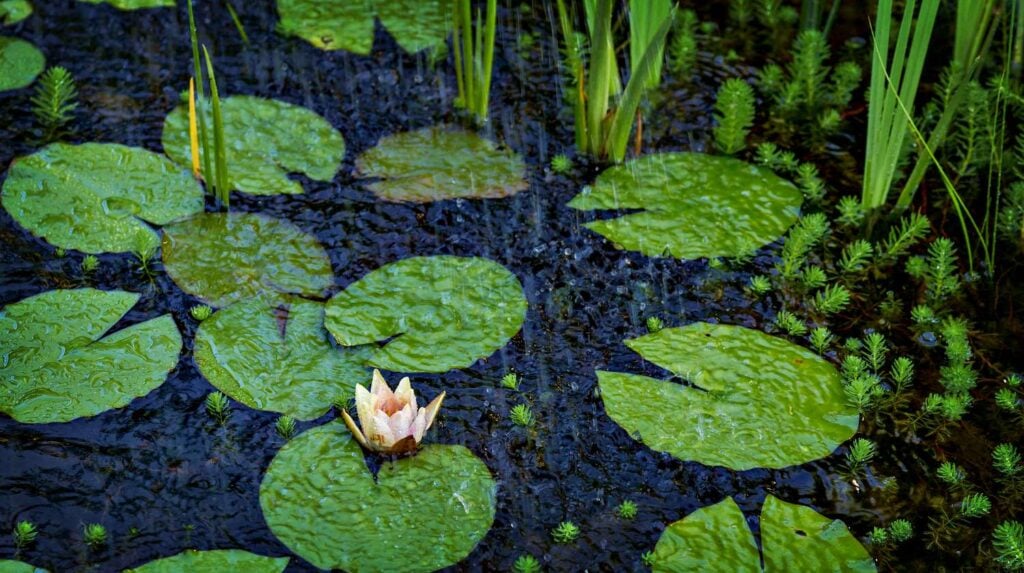
There’s something so relaxing about ponds: listening to the water gently churning and watching fish swim lazily by. That’s why many people choose to have a backyard pond – no matter what the size is.
Garden ponds provide a place to grow aquatic plants and raise decorative fish. If not properly cared for, however, they may become overrun with algae and pond scum.
Adding pond filters and pumps to your pond removes algae and other unwanted organic materials, keeping the water clear. While a variety of commercial filters are available, you can make your own homemade pond filters.
What you’ll need:
- Filter Container (Suggestion: 30-gallon, plastic food grade drum)
- 1 1/2 inch PVC pipe
- 2″ PVC pipe
- 1 1/2″ PVC slip T
- 1 1/2″ PVC threated T (the threads are on the perpendicular opening)
- 2 pieces 1 1/2″ PVC elbows
- 1 1/2 inch to 1 1/4 inch threaded nipple reducer (or a threaded hose adapter from the pond shop)
- 3″ to 4″ closet flange (its a toilet part)
- 4 pieces of 1/4 inch by 1 1/2 inch bolt, nut and washer combinations
- 1 bottle silicone sealant
- 2″ PVC ball valve
- 2″ shower drain
- 3″-2″ ABS bushing
- 1 length of hose (1″ hose)
- 2 pieces of hose clamps (You’ll only need one but there’s no harm in adding extra, just in case)
- Filter Media or plastic fencing
- 1 length 1/2″ PVC pipe
- 4 pieces of 1/2″ PVC elbows
- 1/2″ PVC cross (the X shaped one) these are for building a stand to hold the egg crate off the bottom of the filter
- plastic egg crate style overhead 2×4 light grate (or something similar) you get these in the lighting section of hardware stores.
Let’s get started!
Tip: Clean your barrel so it is safe for fish. Let it soak for a couple of days in clean water.
Homemade Pond Filter Instructions
The Drain
|
Cut a hole so your shower drain fits tightly at the bottom of the gallon (the grate part goes on the inside of the barrel). Take each part that needs to go through the barrel and trace them onto the side.
Drill some big holes around the opening so you can insert the jigsaw. Then play connect the dots with the holes.
Trim the holes bit by bit until they fit perfectly.
This drain must be sealed onto the bucket with the silicone sealant or it will leak. Apply the sealant along the inside edge.
Whenever you seal something like this, make sure to wipe down all the surfaces to be sealed with rubbing alcohol. Don’t be stingy with the sealant — you want it to smoosh all over the place.
Next, insert a cut piece of 2″ PVC pipe into the 2″ shower drain. The 2″ ball valve goes onto that cut piece of pipe. It all must be glued together.
What Is PVC Pipe? PVC stands for Polyvinyl Chloride. This pipe has commonly taken place over the use of metal piping used for drainage and plumbing.
Attach it to the barrel.
RELATED: 21 Sneaky Hacks For A Secret Place To Hide Your Valuables
Pond Return
|
Cut the hole for the pond return spout the same way the drain one was cut.
While holding the flange in place on the barrel, drill the holes for the 4 bolts. The bolts will make sure that the flange stays pressed against the barrel.
Wipe all the surfaces down with rubbing alcohol. Goop on the sealant and smoosh it into place.
Wipe down all the washers that will be on the front of the barrel with rubbing alcohol. Goop some sealant into the holes and insert the bolts.
Now insert the bushing. The bushing allows you to attach a 2″ pipe to the flange.
Put a sealant on the inner part of the opening of the flange and insert the bushing.
The Inside
|
Cut one piece of 1 1/2″ PVC pipe the height of the barrel and attach the tee without threading to the bottom. From that tee, you will need 2 smaller pieces of 1 1/2″ PVC pipe that will extend to edge of the barrel.
When you attach the elbows, angle them to face opposite directions.
So this is how it should look inside the barrel. It goes in the barrel, underneath your egg-crate or soda holder grate.
Punch a hole in the grate so that it slides down the pipe.
The tee with threading slips onto the top of the pipe; the hose adapter threads into the tee and is held in place with the clamp. The opening that is facing straight up is left open to allow a bit of air to get sucked into the filter.
Check out this useful video by Scott Kyba to help you with your DIY Pond Filter:
Pond water nearby just adds to the natural feel in your own backyard. All you need to do is keep it clean and free from impurities.
Simply follow the instructions above for a nice, clean pond in your beautiful home.
What do you think about this DIY pond filter project? Share your thoughts with us in the comments section below!
UP NEXT:
- DIY Backyard Project Ideas: Fence with Mason Jar Lighting
- 14 DIY Ideas For Your Backyard As Seen On Yard Crashers
- Backyard DIY Furniture Projects
Don’t forget to stay connected with us on Facebook, Twitter, Pinteres
Editor’s Note: This post was originally published on March 7, 2016, and has been updated for quality and relevancy.


