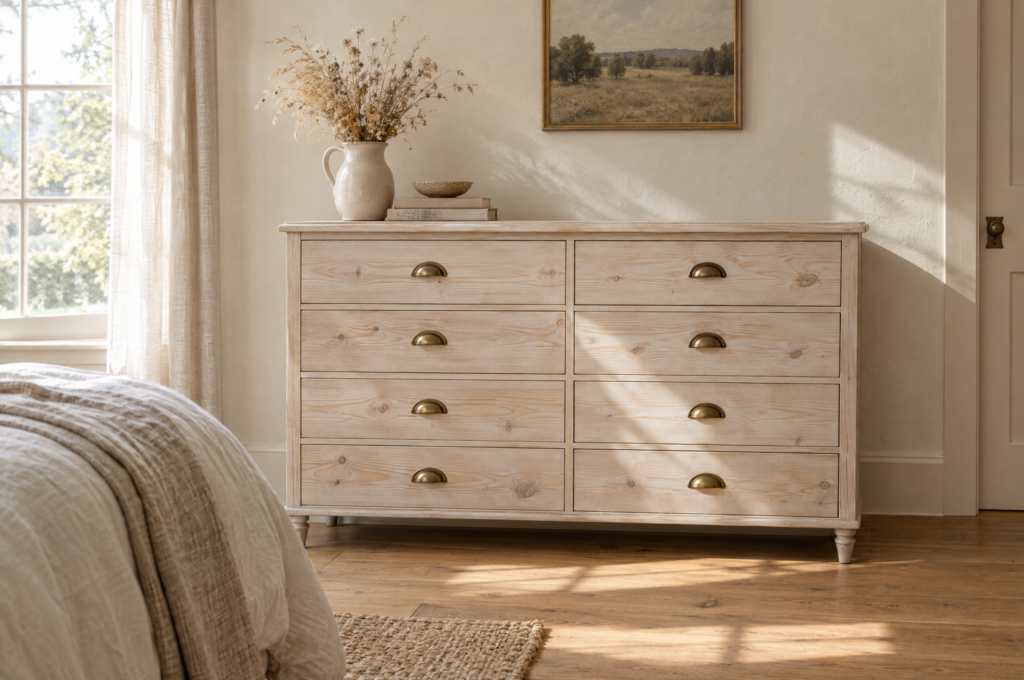

At a Glance: How to Whitewash Furniture
- Three methods, three woods. A paint wash for pine, liming wax for oak, and dry brushing for a piece that’s already painted.
- Thin is the secret. Mix it watery, wipe it back fast, and build up. You can always add more white.
- Seal it clear. A water-based topcoat keeps the white looking white. Oil-based finishes can turn it yellow.
Here’s how to whitewash furniture so the wood still shows: brush on watered-down white paint (or work white wax into oak grain), wipe most of it off, then seal it with a clear water-based topcoat. It takes an afternoon plus drying time. Not sure your piece should get a wash? Start with wash or keep. Ready? Pick your method, jump to the steps, or see the gear that helps.
Whitewash is the soft, beachy, farmhouse look. It tones down orange and yellow wood without hiding the grain the way paint does. Get the mix thin and match the method to your wood, and you’ll get that calm, light finish on the first try.
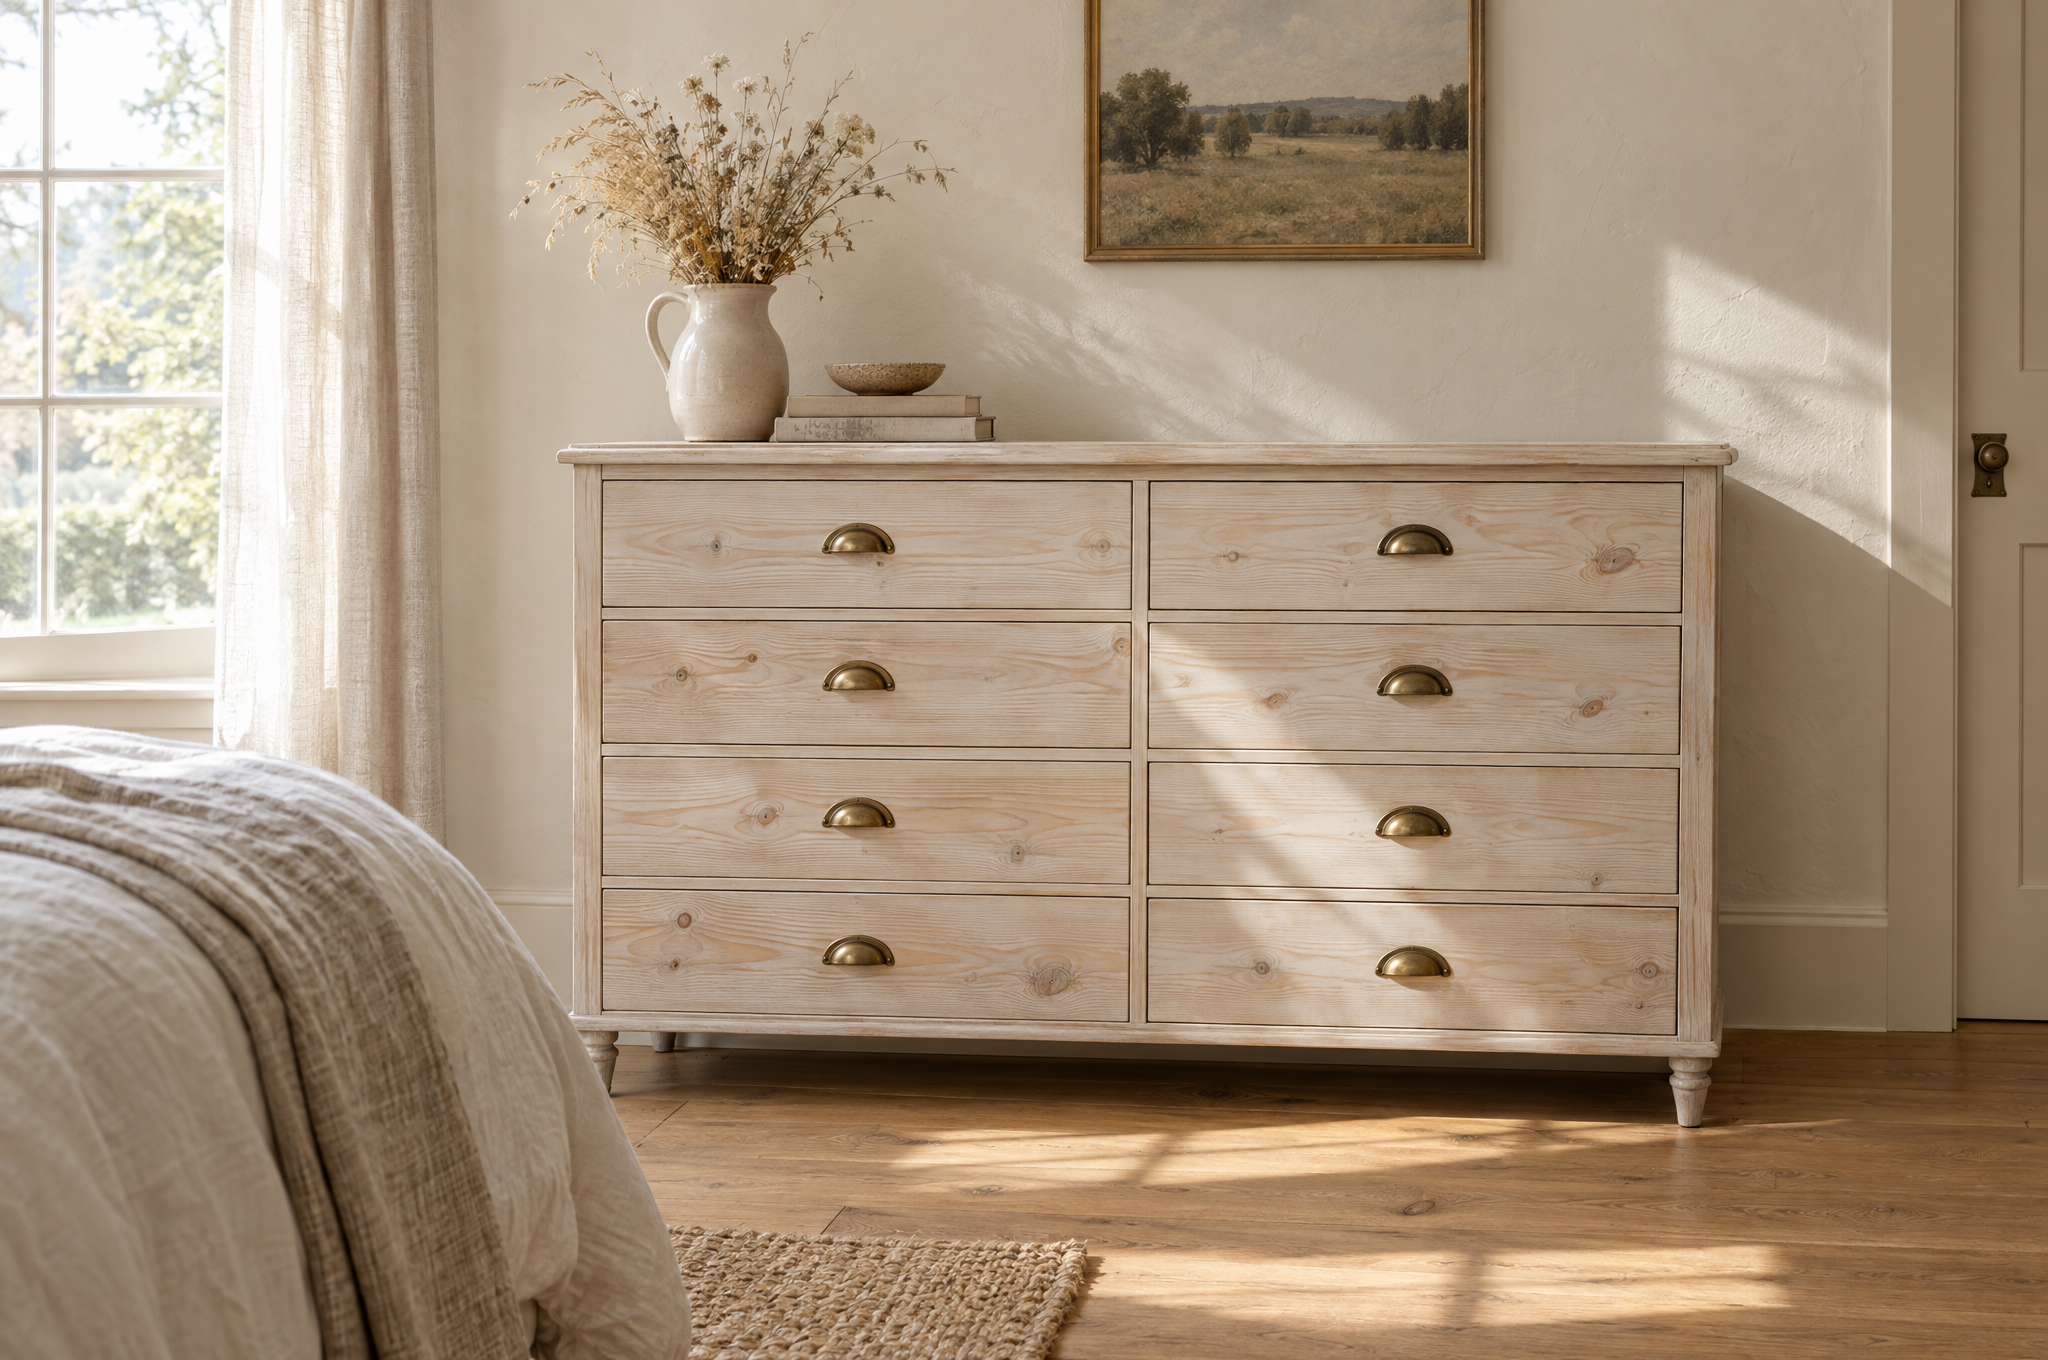
Should you whitewash that piece, or keep the warm wood?
Whitewash is a great fix for some pieces. Others are better left alone.
Wash it if the wood is yellow pine, orange oak or a blotchy old stain you’re tired of. A wash calms the color and keeps the wood look.
Think twice if it’s a valuable antique, a family piece with an original finish, or warm oak that already fits your room. Warm wood tones are getting popular again, and a wash is hard to undo.
Pick paint instead if the piece is laminate or very damaged. Whitewash needs real wood grain to show through. For that kind of piece, see these chalk paint furniture ideas.
Still on the fence about that honey oak dresser? You’re not alone. There’s a vote on it at the end.
Which whitewash method fits your wood?
When you learn how to whitewash furniture, the wood decides the method. Here’s the quick match.
- Pine, maple, birch and other tight-grain woods: use a paint wash. Do sand to bare wood first. Don’t expect wax to work, since there’s no open grain to hold it.
- Oak, ash and other open-grain woods: use liming wax or a paint wash. Do open the grain with a wire brush for the wax. Don’t use bright white on red oak, because it can look pink. A warm off-white or a drop of tan helps.
- Already painted pieces: dry brush white over the color. Do scuff sand first so it grips. Don’t use a watery wash, since it just beads and runs on paint.
Want to see the methods side by side before you choose? This video tests four whitewash techniques on different stained woods.
What are the two biggest whitewash mistakes?
Here’s where most people slip up when they learn how to whitewash furniture.
Making it too white. The most common miss is a wash that’s too thick. It dries looking like regular paint, and the grain disappears. Start with about 1 part paint to 2 parts water, wipe it back within a minute or two, and add a second coat only if you want more white.
Getting a pink or yellow cast. Bright white over red oak can read pink. Knotty pine can bleed yellow at the knots. An oil-based topcoat can turn the whole thing yellow over time. Test on the back or underside first, use a warm white on red oak, and seal with a water-based clear coat.
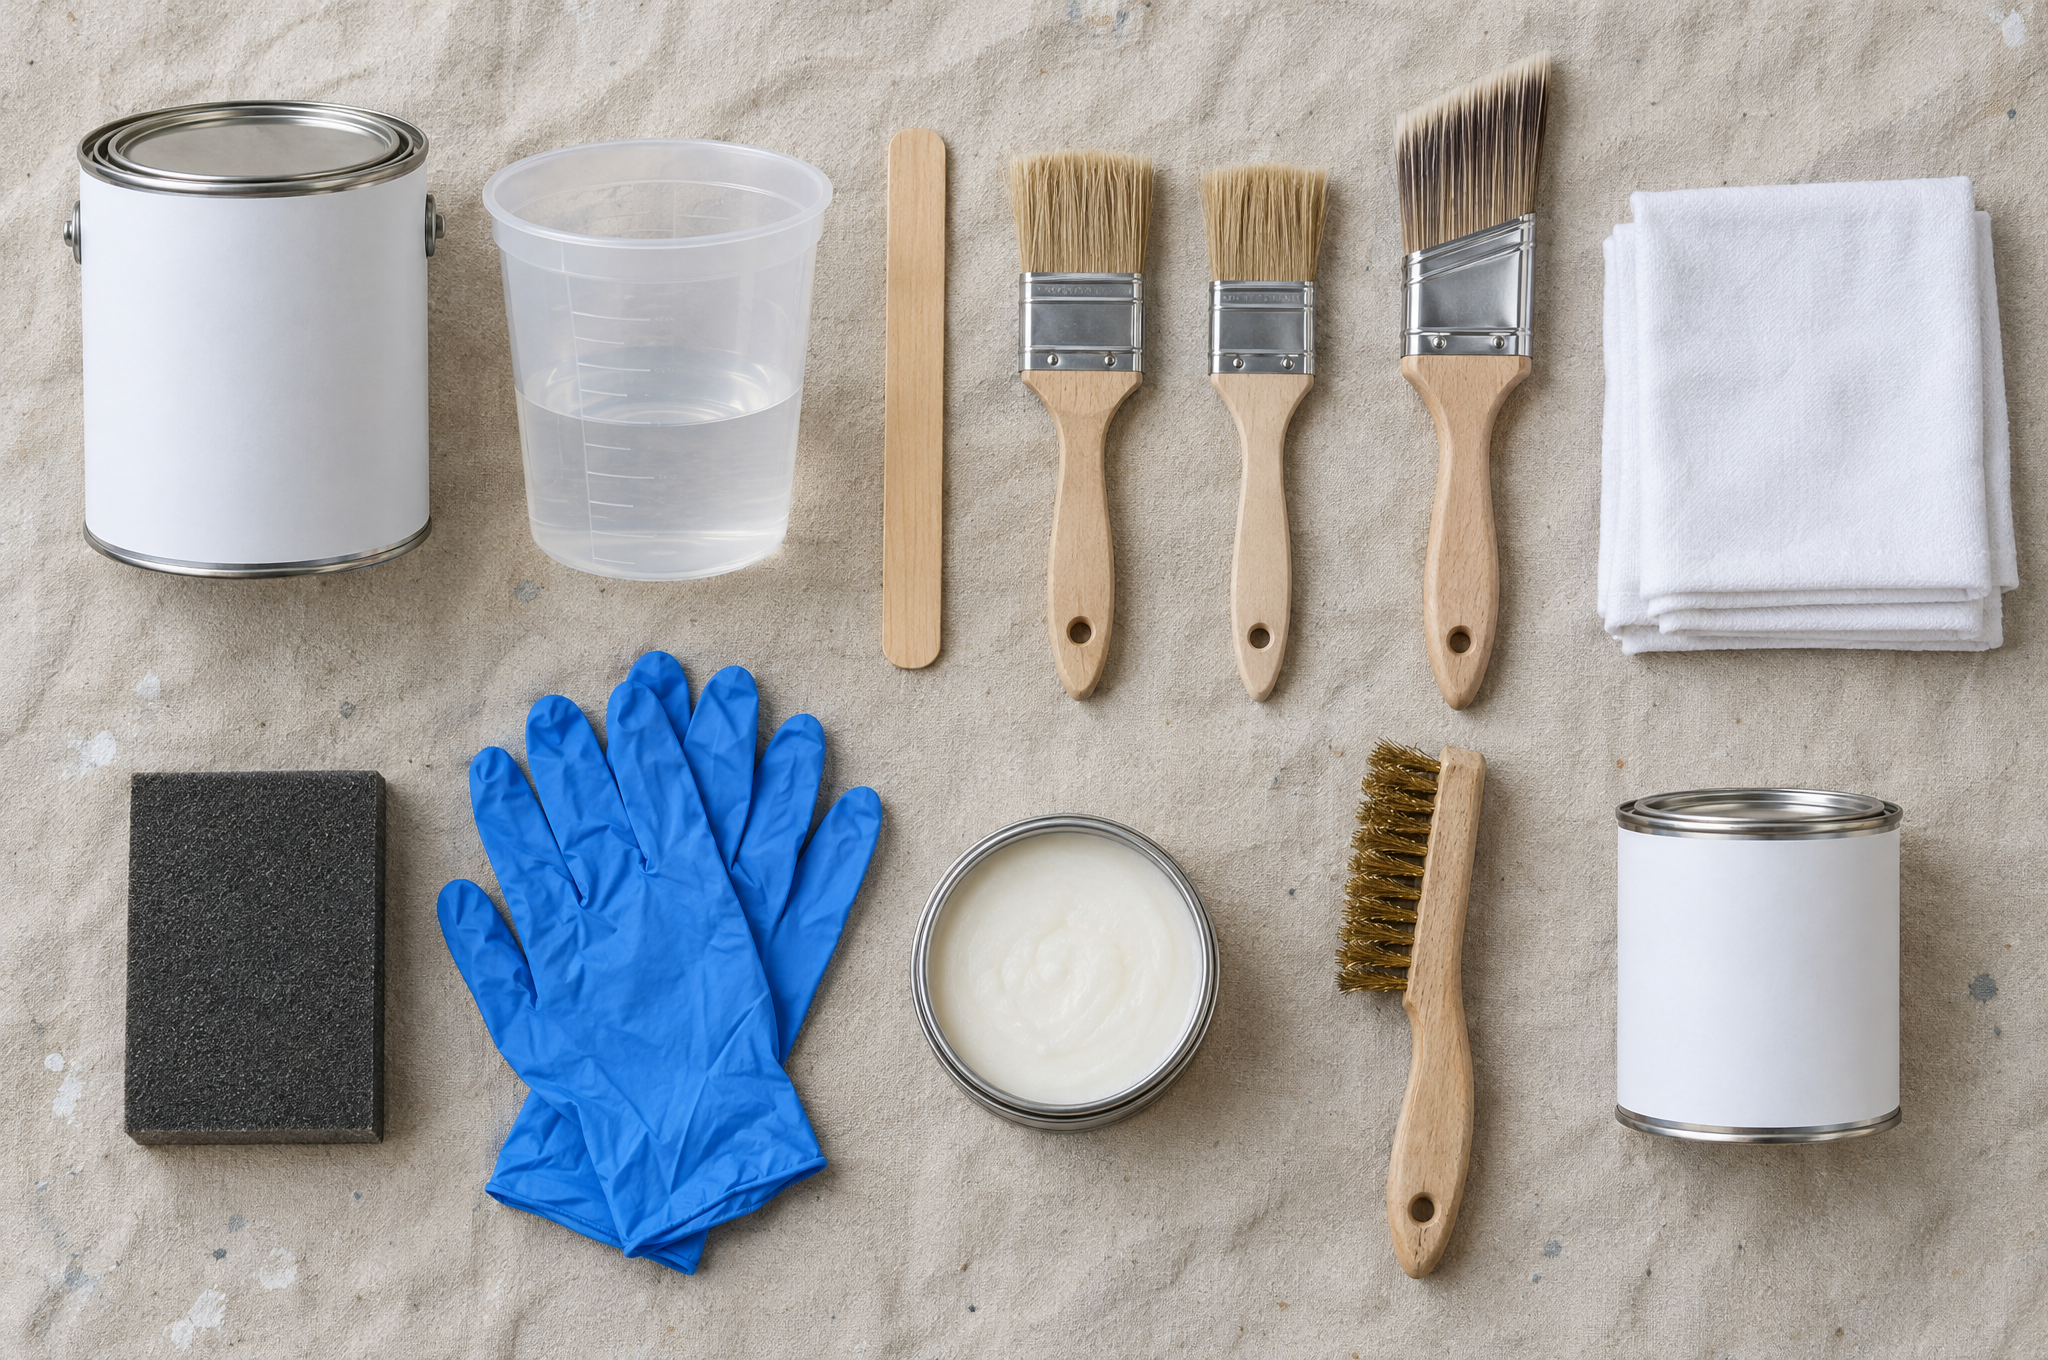
What do you need to whitewash furniture?
Enough for one dresser or a small table
Some links in this list go to Amazon. As an Amazon Associate, we earn from qualifying purchases at no extra cost to you.
- White latex or chalk-style paint. A quart is plenty. Flat or matte looks most natural. A sample jar of leftover wall paint works too.
- A cup and a stir stick. For mixing the wash.
- Cheap brushes. A big pack of 2.5 inch chip brushes is perfect for slapping on a wash. They shed a little, so they’re not for your final topcoat.
- Lint-free cloths. For wiping the wash back. A pack of lint-free microfiber cloths works, or use old cotton T-shirts.
- Sandpaper or a sanding sponge. 120 grit to get to bare wood, then an extra-fine 320 grit sanding sponge to smooth between coats.
- Liming wax and a brass wire brush. Only for the oak method.
- Clear water-based topcoat. A crystal clear water-based satin polyurethane keeps the white from turning yellow. Skip it if you used wax.
- Gloves and a drop cloth. Whitewash drips more than paint.
Quick tip: Make a test board first. Use a scrap of the same wood, or the back of a drawer, and try two mixes side by side. Let them dry before you judge.
How do you whitewash furniture step by step?
Here’s how to whitewash furniture with each method. Use Method 1 for most bare wood. Use Method 2 for oak if you want that classic limed look. Use Method 3 if your piece is already painted.
Method 1: Paint wash on bare wood
This is the go-to way to whitewash furniture made of pine, maple or sanded oak. Here’s a full walkthrough if you’d like to watch one first.
1. Prep and sand to bare wood
Take off the knobs and pulls. Sand off any old shiny finish with 120 grit until the wood looks dull and raw. A wash can’t soak into varnish. Wipe off all the dust with a damp cloth and let it dry.
2. Mix a thin wash
Stir together about 1 part paint and 2 parts water. It should look like skim milk. Too thick looks like paint. Too thin looks like nothing, so test on your board.
3. Brush on one section at a time
Brush the wash on with the grain. Work one drawer front or one panel at a time, so it doesn’t dry before you wipe.
4. Wipe it back
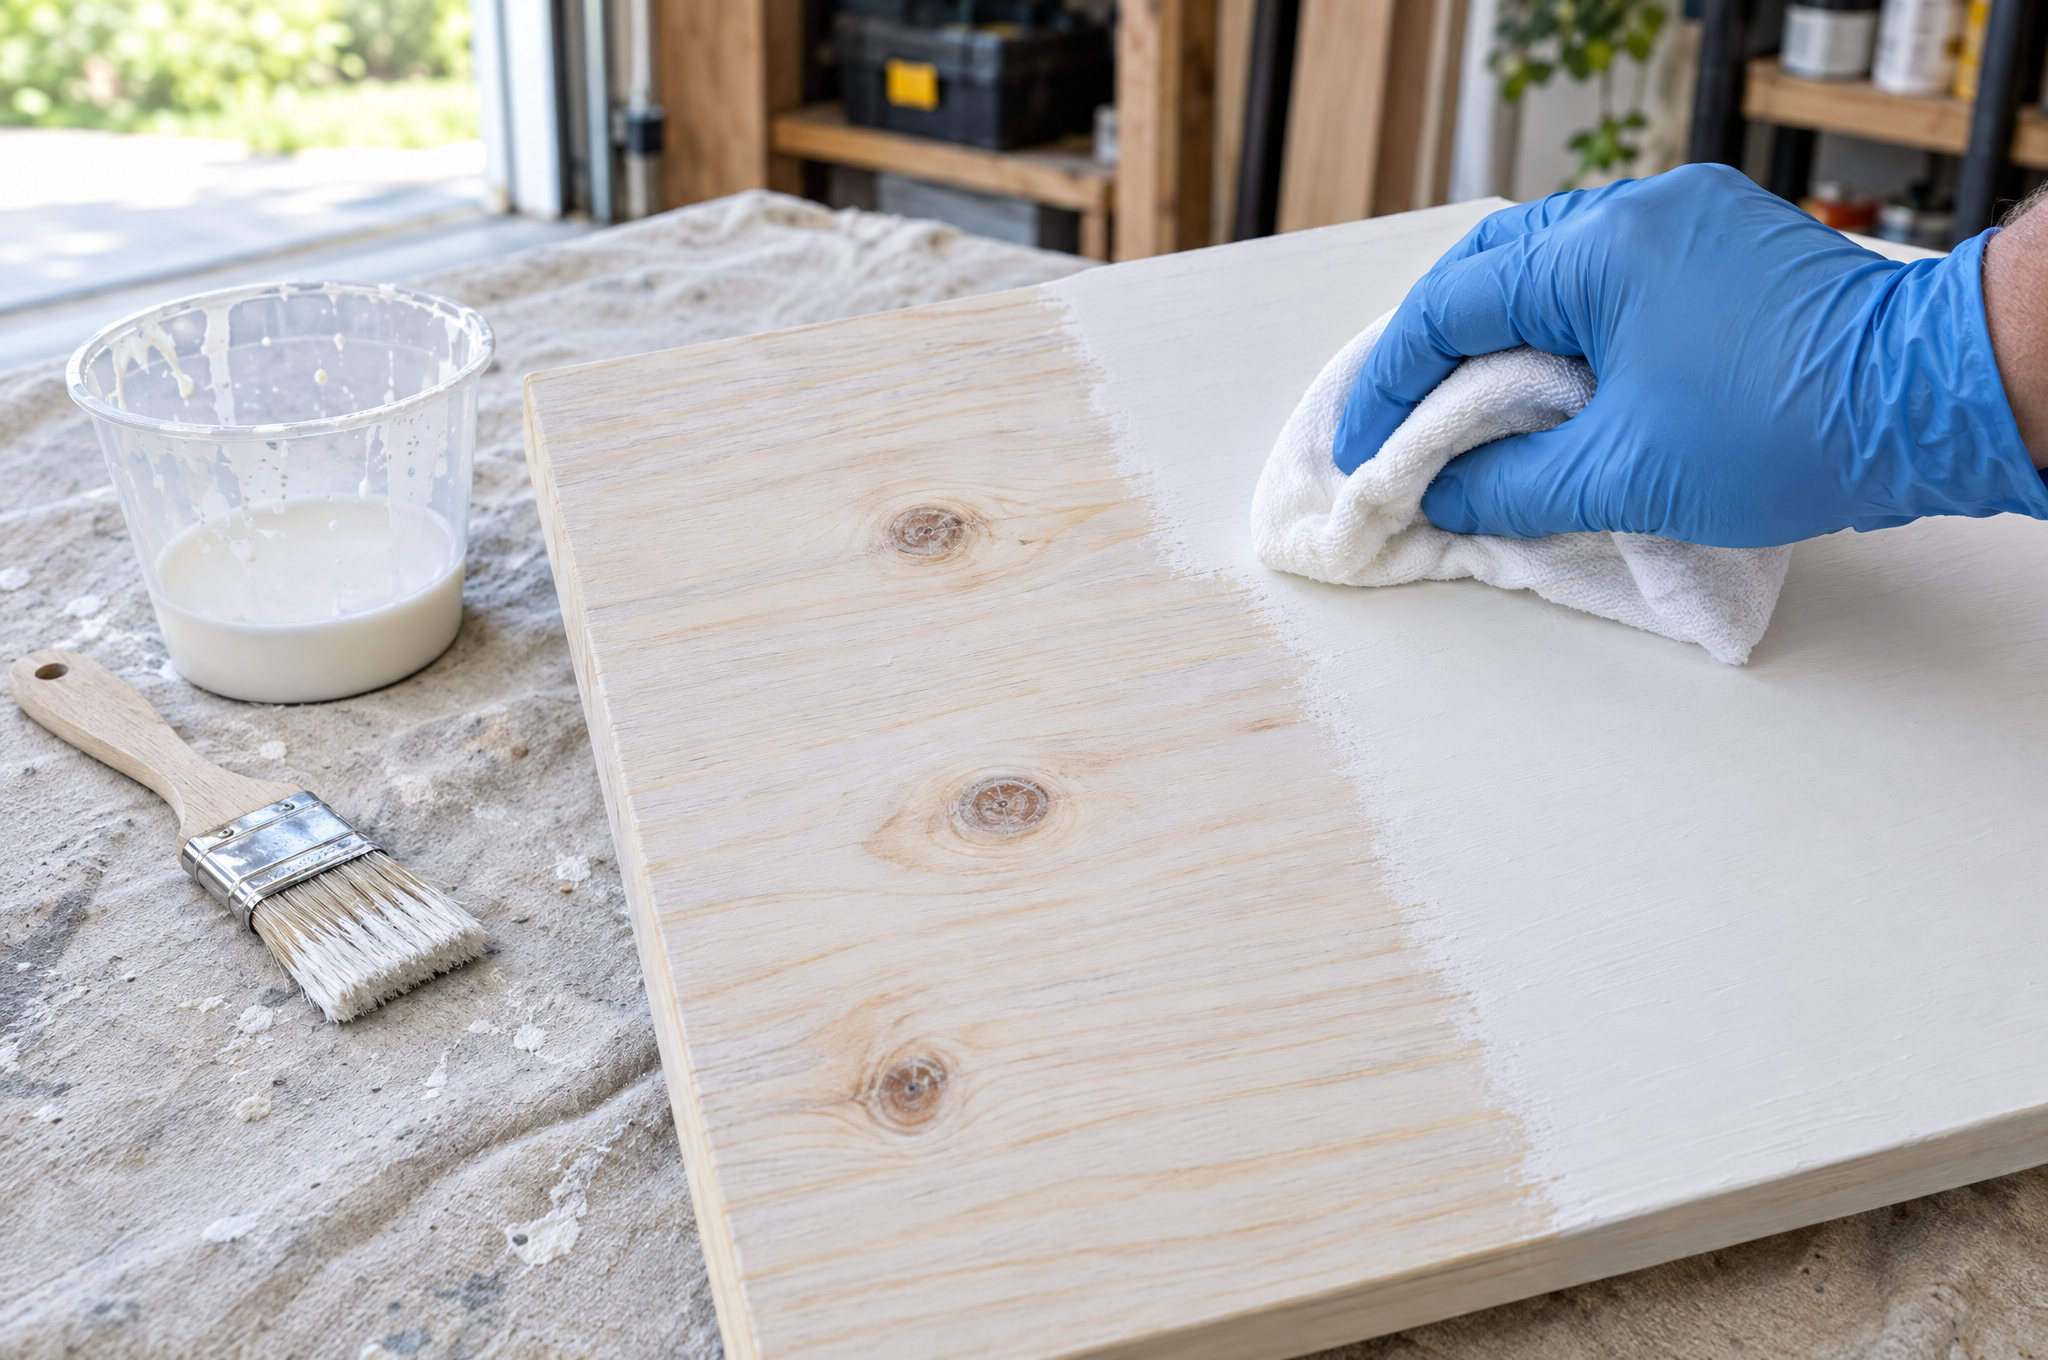
Within a minute or two, wipe with the grain using a lint-free cloth. The longer you wait, the whiter it stays. Keep your wiping even so the color matches across the piece.
5. Let it dry, then decide
Give it at least an hour. It always dries a little lighter. Want more white? Add a second thin coat and wipe again. Smooth any raised grain with the 320 grit sponge.
6. Seal it clear
Brush on two thin coats of clear water-based topcoat, following the dry time on the can. Skip oil-based finishes here. They can turn your white a creamy yellow.
Method 2: Liming wax on oak
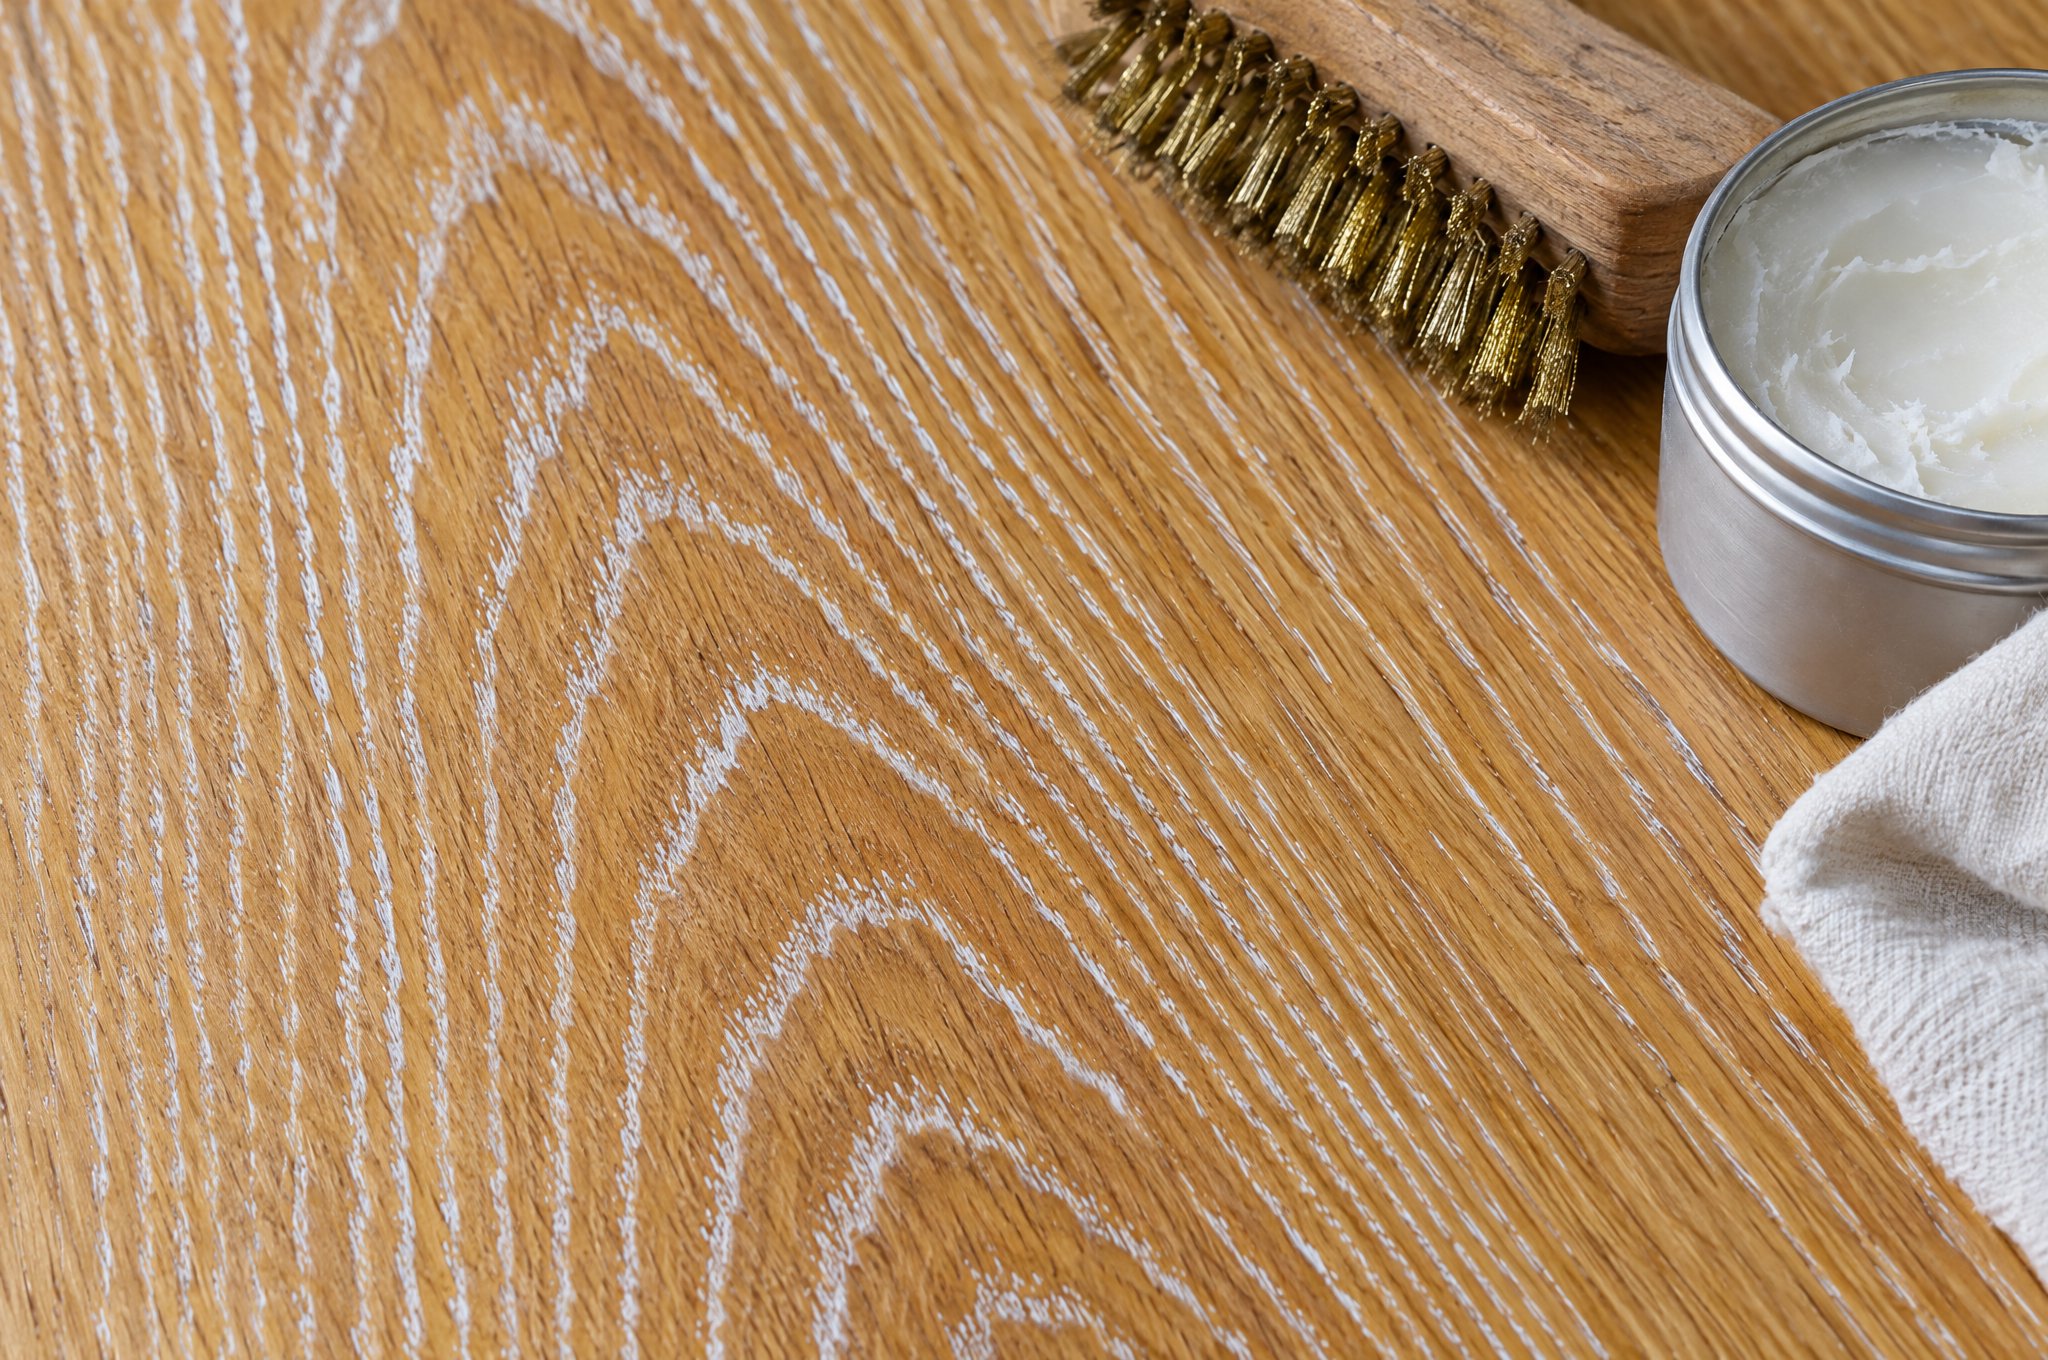
Liming wax gives oak crisp white lines in the grain. It only works on open-grain wood like oak and ash, and only on bare wood.
- Brush the bare oak with a brass wire brush, always along the grain. This opens the pores so the wax has somewhere to go.
- Vacuum or wipe away all the dust.
- Rub the liming wax across the grain with a cloth, pushing it into the pores.
- Let it haze for about 10 to 15 minutes, then buff off the extra along the grain.
- Finish with a coat of clear wax and buff. Don’t brush a water-based topcoat over wax. It won’t stick.
Rather skip the wax? This tutorial gets a limed oak look with a chalk paint wash instead, and you can seal it like Method 1.
Method 3: Dry brush over a painted piece
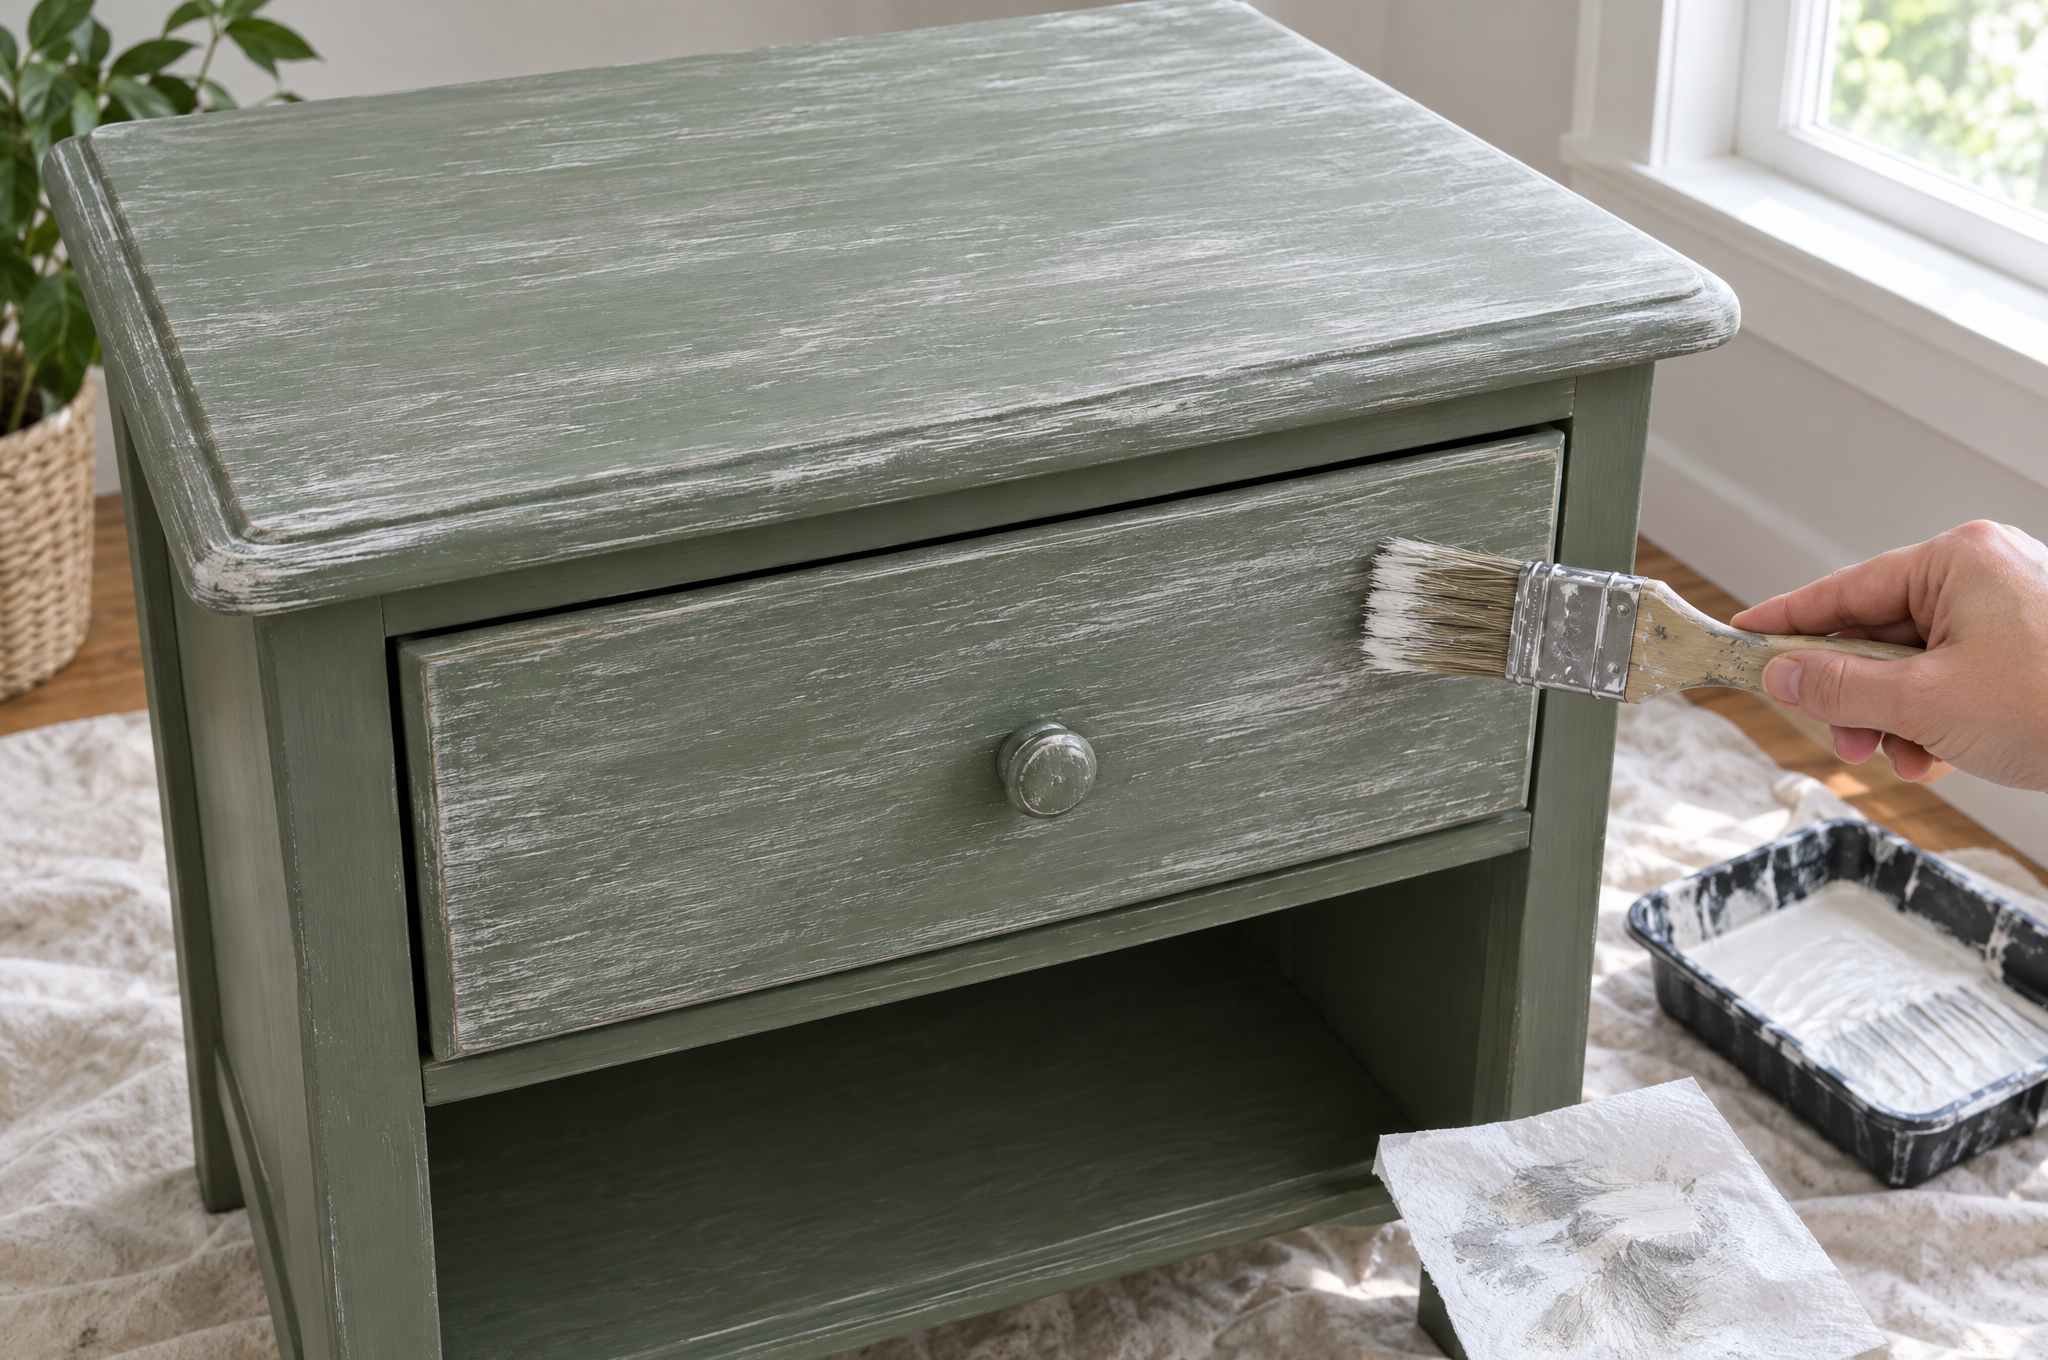
- Clean the piece, then scuff the paint lightly with the sanding sponge.
- Dip just the tips of a dry brush in white paint. Wipe most of it off on a paper towel.
- Drag the brush lightly with the grain in long strokes. Go back and add more where you want it.
- Let it dry, then seal with a clear water-based topcoat on tops and drawer fronts.
Still deciding between a wash and full coverage? Our guide on how to paint wood furniture covers the prep for a solid color.
What gear makes whitewashing furniture easier?
Knowing how to whitewash furniture is half the job. Two things matter most: a clear topcoat that stays clear, and a brush that won’t drop bristles in your finish. Get those right and the wash itself is easy.
A water-based clear coat is what keeps whitewash looking white. This one dries crystal clear in a satin sheen, so it won’t add the yellow that oil-based finishes can. It’s a half pint, enough for a nightstand or side table, so grab two for a big dresser.
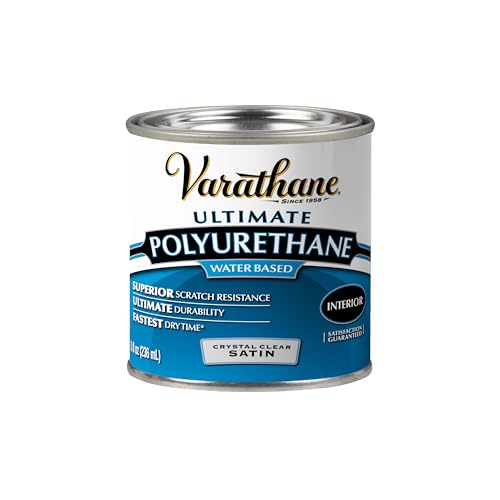
- Protects indoor wood surfaces such as furniture, windows, cabinets, trim and more
- Water based formula dries fast and cleans up with soap and water

This post contains affiliate links. If you buy through them, we may earn a small commission at no extra cost to you.
Cheap chip brushes are fine for the wash, but you want a good brush for the topcoat. This five-piece set has a wide brush for tops and a small one for legs and edges. If you already own a decent synthetic brush, you can skip it.
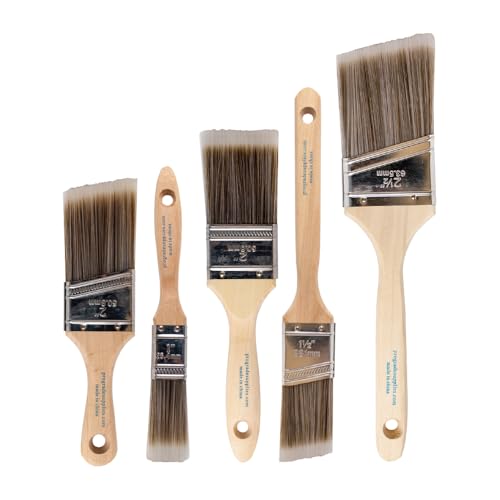
- COMPLETE 5-PIECE BRUSH SET FOR EVERY PAINTING TASK — Includes 1 Inch Flat, 1.5 Inch Angle, 2 Inch...
- ZERO BRISTLE LOSS — GUARANTEED BY PRECISION ADHESIVE BONDING — Every bristle is locked in place...
This post contains affiliate links. If you buy through them, we may earn a small commission at no extra cost to you.
How much does it cost to whitewash furniture?
Learning how to whitewash furniture is one of the cheapest makeovers you can do. These are planning estimates for one dresser. Prices change, so check before you shop.
- Budget build, about $25. Leftover or sample-size white paint, a pack of chip brushes and old T-shirts for rags. Fine for a low-use piece.
- Mid range, about $60. Add sandpaper, a sanding sponge, lint-free cloths and a can of water-based topcoat.
- Quality build, about $120. Add liming wax, a brass wire brush, clear wax and a good topcoat brush for an oak piece you’ll use every day.
When should you call a pro instead?
Old painted furniture can carry lead paint, and the EPA lists refinishing old furniture as one way people get exposed. If the finish might be from before 1978, have it tested before you sand and hire a lead-safe certified pro if it tests positive.
Call a furniture refinisher for a valuable antique or for veneer that’s lifting or peeling. Sanding through thin veneer is easy to do and hard to fix.
Where should you go next?
- Want full color instead? Browse these chalk paint furniture ideas.
- Prefer a deeper wood tone? Here’s how to stain wood furniture.
- Sanding a big piece? Compare a palm sander and an orbital sander for refinishing furniture.
Ready to lighten your first piece?
Now you know how to whitewash furniture three ways. Start with a test board, keep the mix thin and wipe it back fast. A nightstand or a small side table is a great first project. Once you see the grain glow through that soft white, you’ll want to do the dresser next.
Your shareable result: photograph your test board next to the finished piece in the same window light. That side-by-side shows off the grain better than any before shot.
Snap your whitewash reveal and share it with us on Instagram, save your favorite method to Pinterest, and tell us how it turned out over on Facebook.
A few helpful answers
How to whitewash furniture FAQs
Mixes, wood types and sealing.
Start with a paint wash on a small pine piece. Mix about 1 part white paint to 2 parts water, brush it on, and wipe it back. Pine is cheap, forgiving and takes a wash well. Practice on a test board first.
Only if you dry brush. A watery wash needs bare wood to soak into, so a shiny finish has to come off. Dry brushing over paint just needs a light scuff sand so the new paint grips.
Red oak has pink undertones that bright white brings out. Use a warm off-white, or add a small drop of tan or gray to your wash. Test on the underside before you do the whole piece.
A clear water-based polyurethane in satin or matte. Water-based finishes stay clear. Oil-based ones can yellow over time and warm up your white. If you used liming wax, finish with clear wax instead.
Yes, by dry brushing. Load a dry brush with a little white, wipe most of it off, and drag it lightly with the grain. It gives a soft, weathered look over almost any color.
You have a solid oak dresser with that warm honey-orange finish. Would you whitewash it?
This one splits people. Some want the grain without the orange. Others say warm oak is coming back and should stay. Plenty decide by the room.
What would change your answer, and what did you do with the last oak piece you owned? Vote, then tell us in the comments.