


Looking for a woodcraft that will make a great bedroom decor? Make a DIY headboard that will make you want to stay in bed all the time. This reclaimed wood headboard will be the focal point of your room. If you’re looking for some headboard ideas, here’s one you should try out!
Reclaimed Wood Headboard | DIY Headboard
Do you want to learn how to make a reclaimed wood headboard? Customize your headboard and give it a rustic-chic look using reclaimed woods. Instead of heading out to the furniture store, you can DIY your own headboard using reclaimed woods. The beauty and simplicity of solid wood come to together in this easy do-it-yourself headboard.
This easy to build wood headboard is inexpensive and you can finish this in one afternoon! So turn weathered woods into a beautiful headboard with this easy reclaimed wood headboard tutorial and save money! Ready? Let’s begin!
Materials needed for this wooden headboard:
- Pneumatic Air Gun
- Twist Nails
- Drill
- Drill Bit
- Hammer and 2″ Nails
- Sanding Tool
- Saw
- Metal Plates and Half Inch Screws
- Dark Grey Spray Paints
- Ebony Stain
Step 1
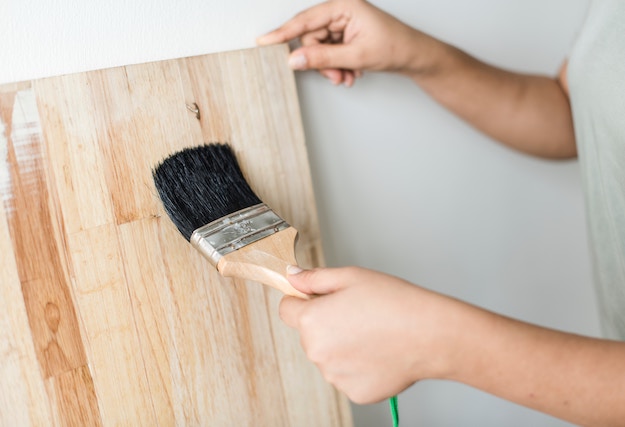
Stain the plywood backing. For the backing, we used a piece of plywood that’s 4 ft x 4 ft x 3 1/4″ thick. You can use a roller to stain your backing. Once it’s all over the plywood, you can use a rag to wipe the excess all over it.
Step 2
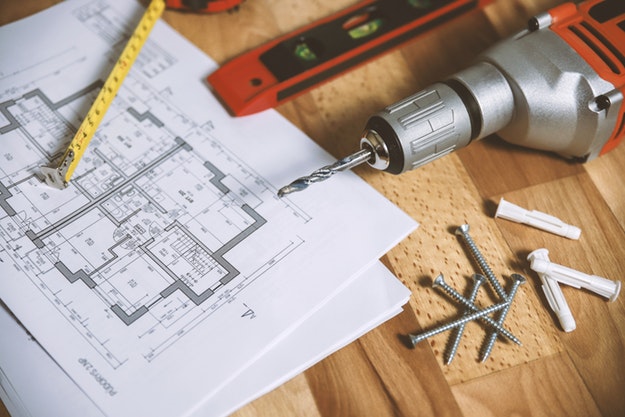
Design the pattern or layout of the wood. This headboard is 58″ wide x 50″ tall.
Step 3

Cut the wood to match the layout design.
Step 4
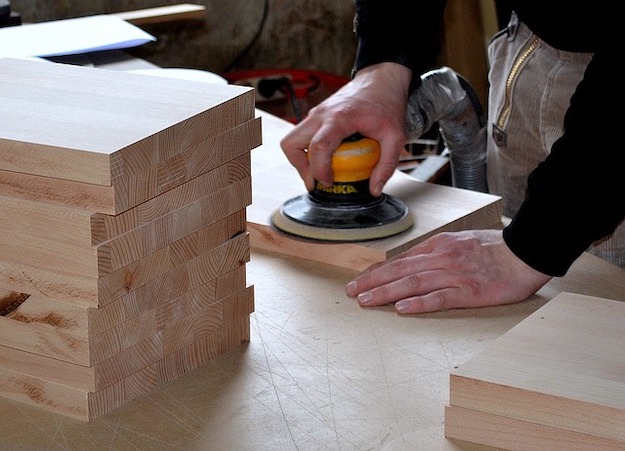
Sand the board until all the splinters are gone.
Step 5
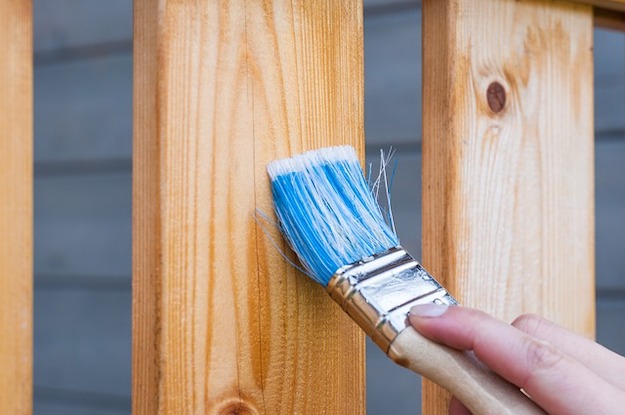
Next, you need to stain the raw cut edges and ends of the wood.
Step 6
Nail the finished boards to the plywood backing.
Step 7
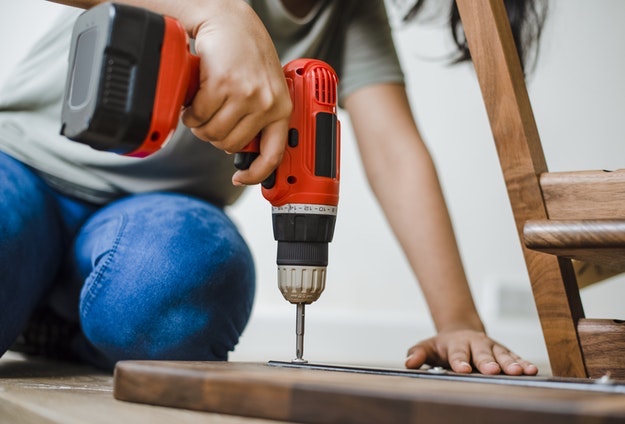
Then, screw the metal plates to warped boards where needed.
Step 8

Finally, mount the finished headboard to the wall or bed frame. You can screw it t the wall directly or mount it to the bed frame.
And you’re done!
This is a really beautiful DIY headboard! Get ready for the dreamiest bedroom after making this cool DIY project!
Check out the full video tutorial on how to make a reclaimed wood headboard below from HOW TO: Live Your Style:
Did you enjoy our reclaimed wood headboard? Let us know in the comments section below what your thoughts are on how to DIY headboard. Do you have any other woodcraft you’d like to share? Share it with us and we’ll give it a try. We love doing cool DIY projects by making craft projects, home decor projects, upcycling ideas, recipes, tutorials and anything you can do yourself. That’s why we created this site, we want people to be more in touch with their creative side and realize that there’s a lot of things that they can do themselves. We’d love to hear from you and create a community of DIY enthusiasts where any project is just a click away. Stay connected with us on Facebook, Twitter, Pinterest and Instagram!


