
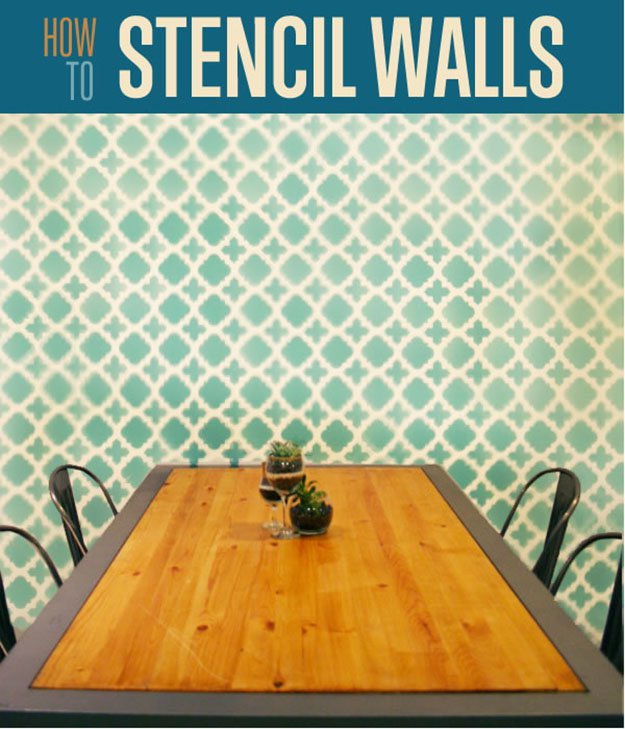


Wallpaper is a messy thing of the past! Get a beautiful, detailed design that is perfectly tailored to your own home decor style with stencils. Great for apartments, stenciling is not only easy, but easy to remove by simply painting over it. Stenciling is budget friendly, easy and a real crowd-pleaser. Find out how to turn your walls from drab to fab in this simple tutorial.
Supplies Needed To Stencil A Wall:
- (x 1 )Stencil
- (x1 roll) Blue painter’s tape
- (x 1 gallon) Flat interior base coat paint
- (x 1 gallon) Flat Interior paint
- (x 1) Paper plate
- (x 1) Foam roller
- (x 1) Stencil brush
- ( x 1) Level
How To Stencil A Wall
Step 1:
Prep your wall by cleaning your surface, then apply base coat. If your wall is dirty, it will show! Take the extra time to clean, it’s so worth it! Once your paint is dry, tape off all edges of your wall with the blue painter’s tape. Then, apply your stencil to the corner of the wall.

Step 2:
Nothing is more frustrating than realizing your stencil is crooked or uneven half way through a project. Prevent this by using a level at the bottom of your stencil. We want to apply the level to the bottom of the stencil because this will help when we have applied paint, no smudges this way!

Step 3:
Time for the paint. To get the perfect amount of paint on your foam roller, pour a small amount of your paint into a paper plate, then slowly roll your foam roller into the paint, until you have a even coat. Next, roll your foam roller on a paper towel to remove any excess paint.

Step 4:
You are now ready for the fun part, painting! Start rolling on paint to the plastic part of your stencil, in a “V” or “W” formation. Paint in one direction, rolling paint back and forth will increase the chance of paint bleed- no one wants that! If you do have some paint bleed, remember, every stenciler does. It’s part of the craft, so don’t worry! You can always use a small paint brush loaded up with your base coat to cover any imperfections.

Step 5:
Foam rollers are great for covering larger surfaces, but you may notice the edges of your stencils are not as crisp as you would like. This is where your stencil brush comes in. Apply paint to the brush the same way we did with our foam roller, then pounce on any edges or corners that need more paint. You can also use a light swirl to help blend.

Step 6:
Once you are happy with your first stencil panel, it’s time to remove and reposition. Some stencils have notches to help align, my stencil didn’t, so to make it easy on myself, I re-aligned my stencil using the previous stencil as a guide. Make sure to double check your alignment with your level! Repeat the painting process to this next panel, and continue this process until you have completed your wall!

A little time is all it takes to create this stencil wall! Stenciling is sure to stand out and create your house a home. Perfect for indoors or out, the possibility for stenciling is endless! Let me know what you have stenciled in your own home in the comments below.


