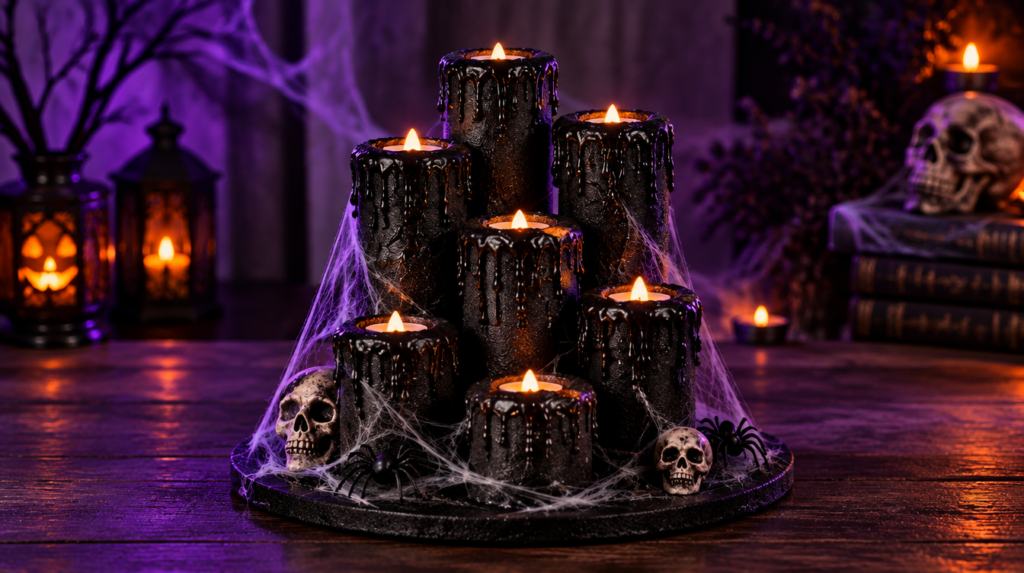

At a Glance: Pool Noodle Halloween Candles
- Six steps, about 30 minutes of hands-on time. Cut, glue, drip, paint, then dress it up with cobwebs and lights.
- Light coats of paint, not heavy ones. Pool noodle foam handles spray paint fine. Soaking it is what eats the surface, so keep the can back and build up in thin passes.
- Costs about as much as a pizza. A full six-candle cluster runs $10 to $15 with dollar-store supplies.
To make pool noodle Halloween candles, cut pool noodles into different lengths, glue them upright on a base, drip hot glue down the sides for a melted-wax look, then paint the whole cluster black once it’s dry. Add fake cobwebs and battery tea lights and it’s done. Jump to the supplies, or jump straight to the steps.
This is one of those projects that looks like it took a trip to a Halloween specialty store. It really took a couple of pool noodles, a glue gun, and one can of spray paint. Everything about the build is forgiving. The one part worth slowing down on is how you spray it.
What Goes Wrong With Pool Noodle Halloween Candles?
Spraying Too Heavy
You’ll hear that spray paint melts pool noodles. People call the foam styrofoam, but it isn’t. Pool noodles are closed-cell polyethylene foam, a different plastic from the polystyrene in white craft foam and foam balls. Polystyrene does dissolve on contact with solvent paint. Polyethylene handles ordinary spray paint fine.
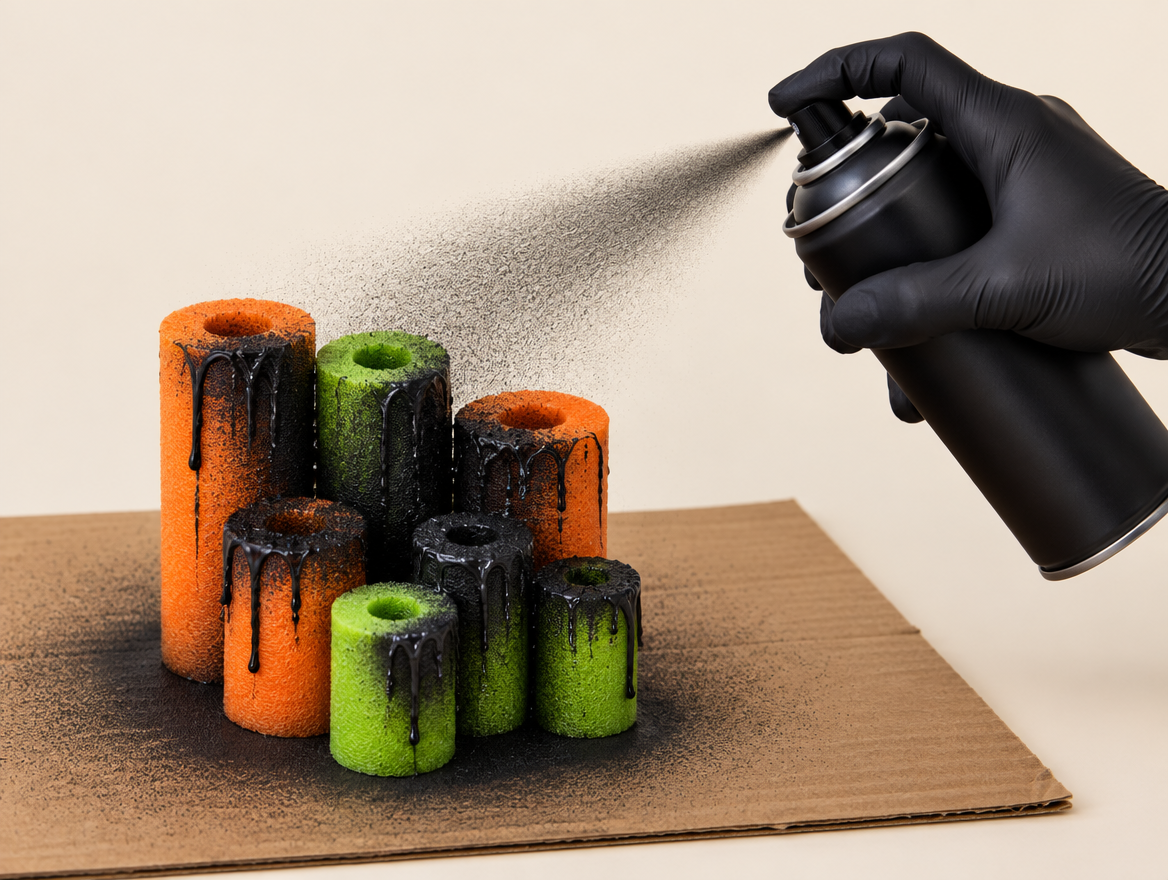
What damages a noodle is soaking it. Hold the can close, lay the paint on wet, and the surface starts eating away. Keep the can about a foot back, spray in light passes, and let each coat dry before the next one. Painting guidance for foam noodles points the same direction: water-based and latex formulas behave best. Chalk paint and craft acrylic are worry-free if you’d rather brush it on instead.
The Glue Joints Let Go Later
One thin bead of hot glue holds fine while you’re building and for photos right after. It’s a different story a few days later, or after a trip in a storage bin. Go back over every joint with a second, heavier bead once the first one cools. It takes an extra two minutes and it’s the difference between a display that survives the season and one that falls apart in the box.
What Do You Need to Make Pool Noodle Halloween Candles?
For one six-candle cluster
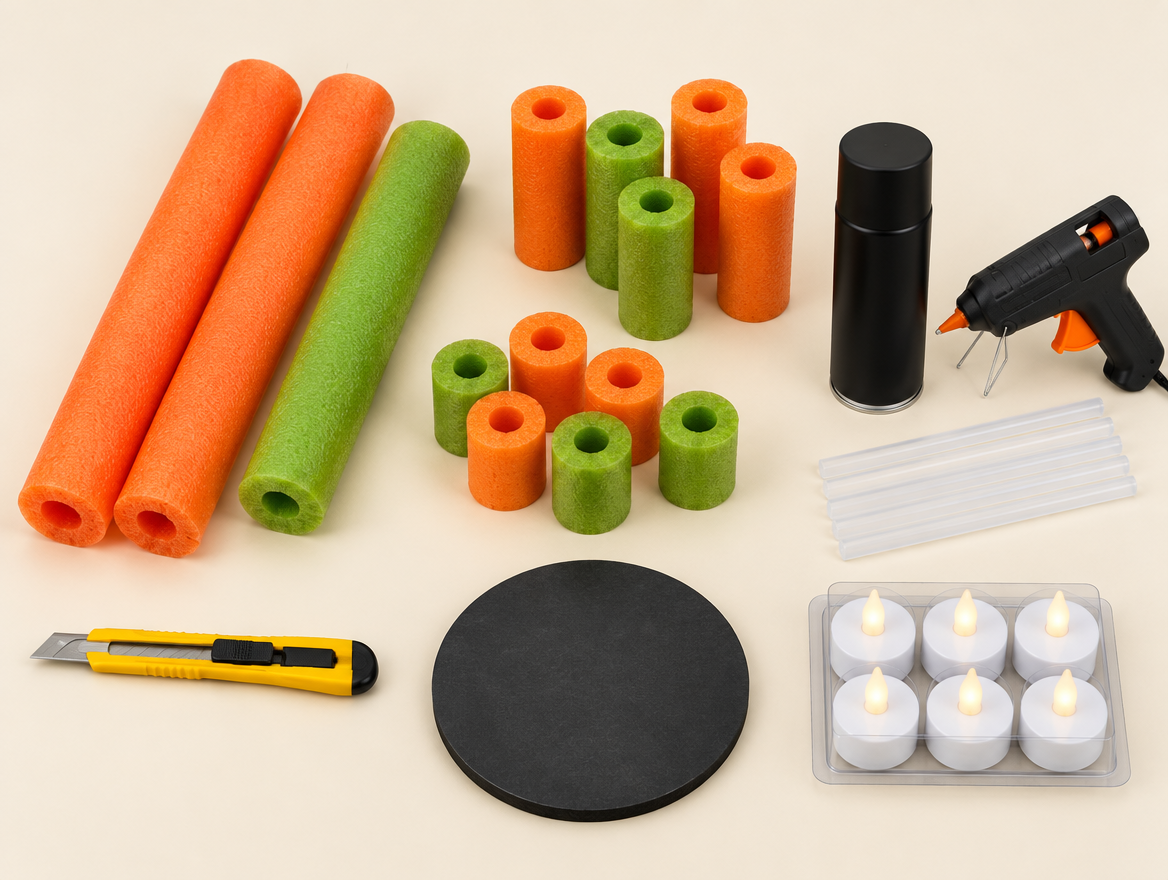
- 2 pool noodles. Enough for six pieces in varied lengths. Any color works, since it all gets painted.
- A utility knife. For cutting the noodles and hollowing the tops for tea lights.
- A hot glue gun and plenty of sticks. You’ll use more than you think, both for assembly and the drips.
- Matte black spray paint. A water-based or latex formula behaves best on foam. Chalk paint or craft acrylic works too if you’d rather brush.
- A flat base. Cardboard, a foam disc, or a wood round.
- Battery-powered tea lights. One for each candle.
- Optional decor. Fake cobweb material, warm white fairy lights, small plastic skulls or spiders.
Tools: utility knife, hot glue gun. Optional: rubber bands to hold pieces together while glue sets, clear sealant if the display goes outdoors.
Quick tip: cut your six pieces to different heights on purpose, somewhere between 6 and 24 inches. A cluster where every candle matches looks like a craft kit. One with a real mix of heights looks like it’s been melting for years.
Get the noodles at Dollar Tree. Two of them runs a couple of bucks and nothing shipped beats that. The tea lights are where I’d order instead. Dollar stores sell them two to a pack, and this build wants six with a warm flicker, so one multipack comes out cheaper and looks better lit. The paint is the other one worth picking on purpose, since the kind made to bond with plastics grips foam better than a standard enamel does, and you want the matte finish rather than gloss.
These are affiliate links. If you buy through one we earn a small commission, at no extra cost to you.

- LIFELIKE FLICKERING CANDLELIGHT: The warm white glow flickers like a real candle from across the...
- 40X LONGER-LASTING GLOW: Each tea light comes with a pre-installed 240mAh CR2032 battery, ready to...
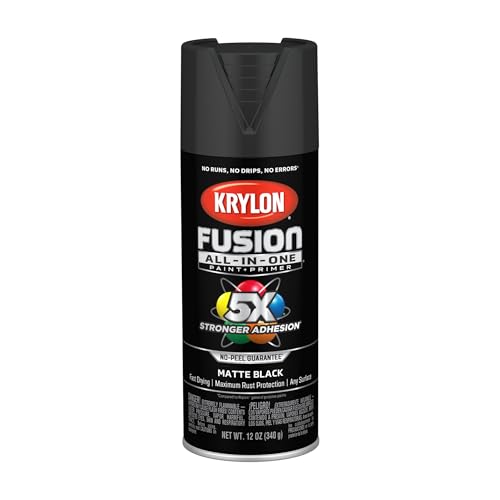
- ALL-IN-ONE SPRAY PAINT – Krylon All-In-One Spray Paint delivers best in class adhesion...
- STRONG ADHESIVE – This all-purpose spray paint bonds with 5X Stronger Adhesion to difficult...

- VERSATILE APPLICATION: These hot glue sticks bond to virtually all materials including paper, metal...
- MULTI-TEMP: AdTech 10 inch full size glue sticks work in high, low, dual and multi temperature hot...
- Permanent, protective gloss finish
- Non-yellowing
How Do You Make Pool Noodle Candles?
Six steps, about 30 minutes of hands-on time plus drying time for the glue and paint.
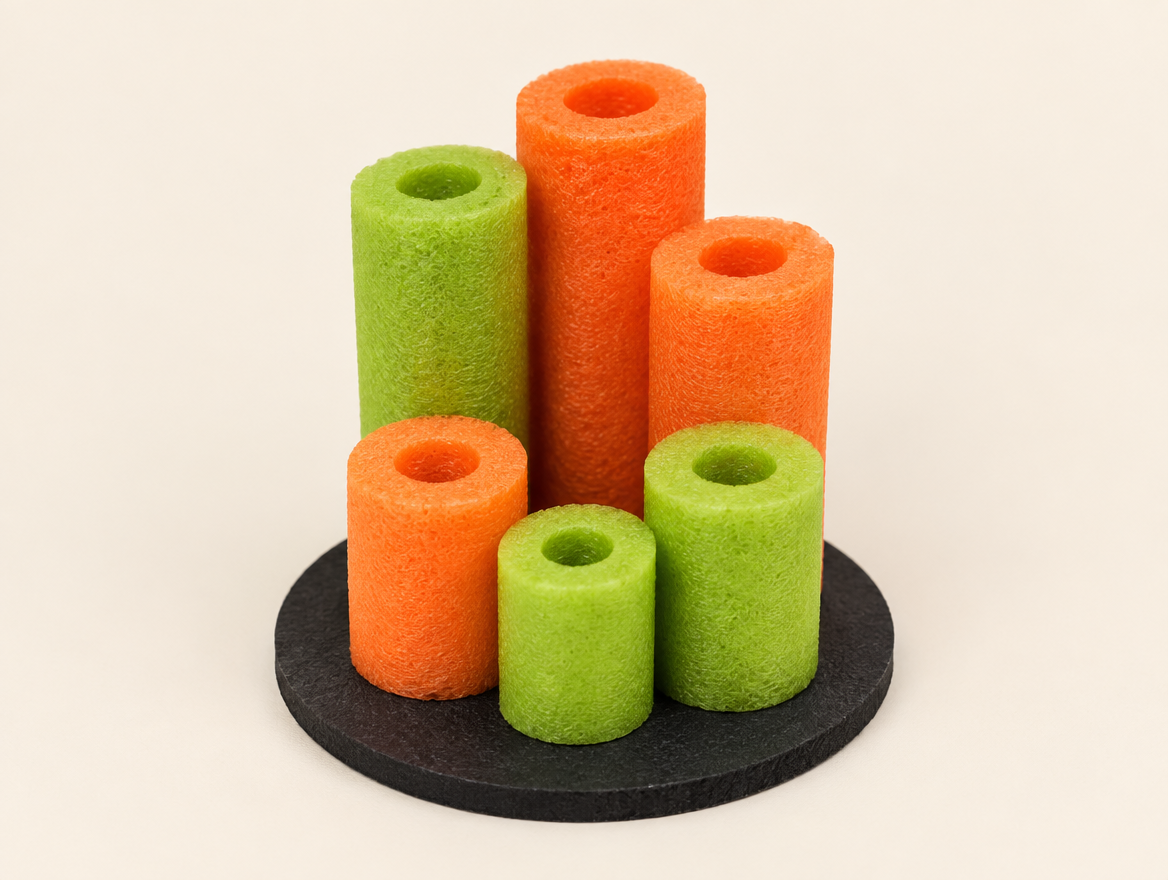
- Cut your pieces. Slice the pool noodles into six lengths between 6 and 24 inches. A utility knife goes through them easily. Cut a shallow scoop into the top of each one, angled toward the front, so a tea light will sit down inside it later.
- Arrange and glue. Group the pieces by height, tall ones toward the back, short ones toward the front, and glue each one to the base. Glue the pieces to each other where they touch too. Hold or rubber-band each piece for a minute while the glue grabs.
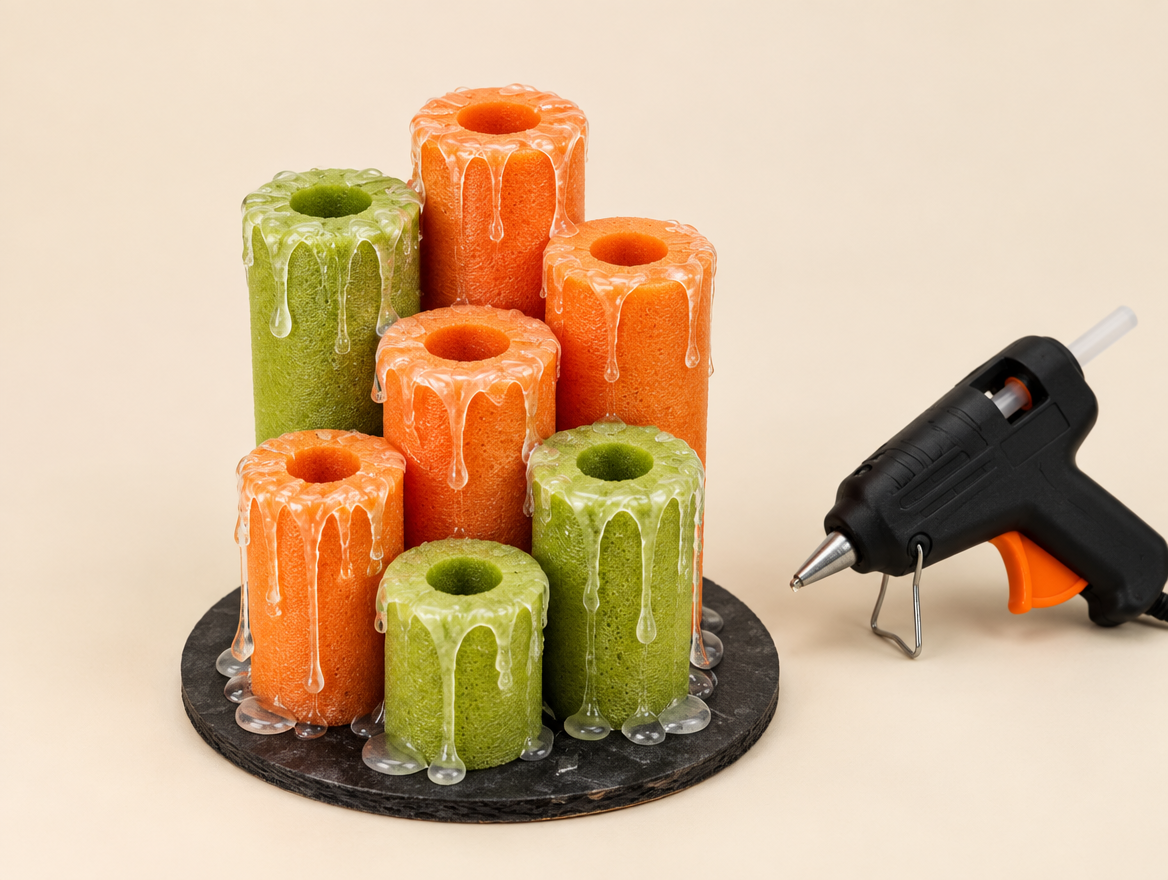
- Add the drip wax. Once everything is set, run a bead of hot glue from the top edge of each “candle” down the side, letting it pool and drip unevenly. This is the step that sells the whole illusion, so don’t rush it. Uneven drips read as real. Straight, even lines read as glue. If your glue gun runs hot enough to dent the foam a little where it touches, leave it. That dimpling only makes the wax look more used.
- Spray it matte black, in light coats. Hold the can about a foot away and spray sideways across the cluster rather than blasting straight down into it. Two or three thin passes beat one wet one, and each coat needs roughly 20 minutes before the next. If you’ve never used that particular can on foam, hit a scrap end first and check it after a minute. Ten seconds of testing is cheap insurance.
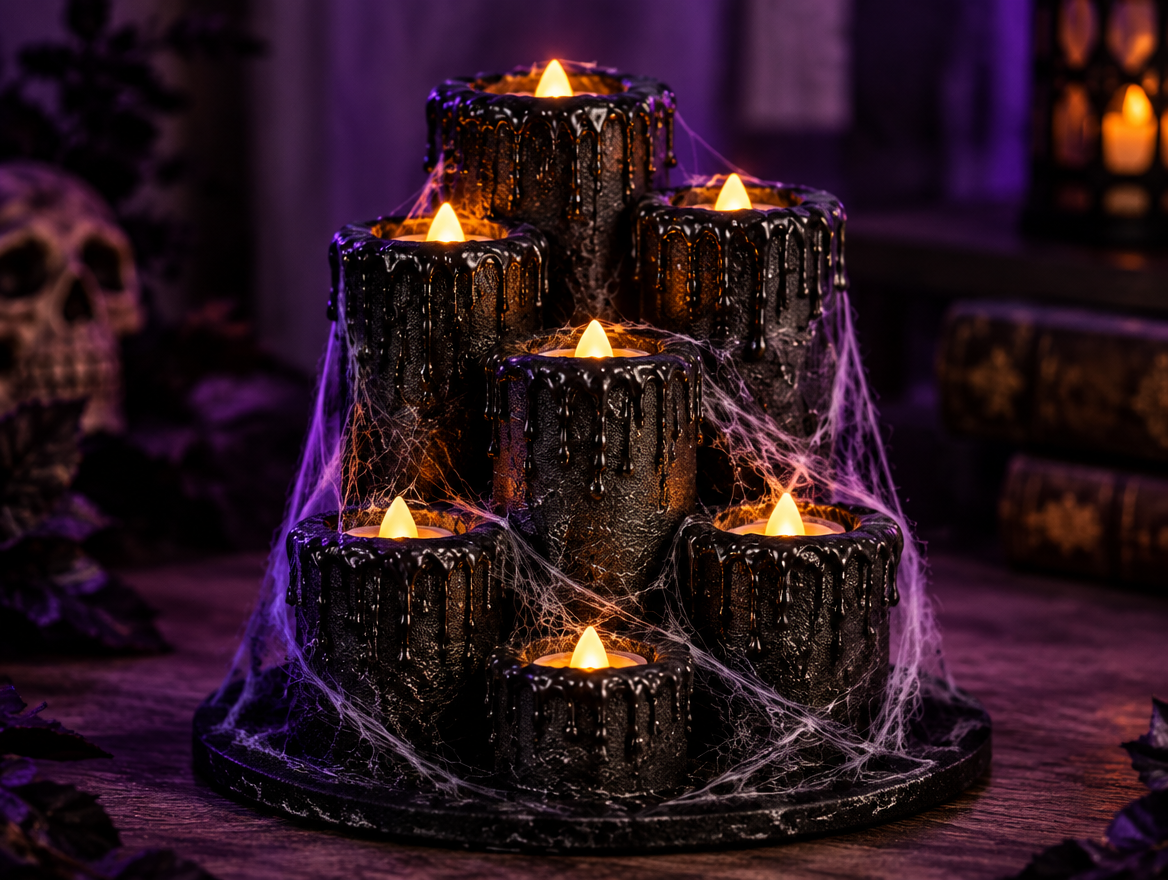
- Add the cobwebs. Stretch fake cobweb material across the base and up around the candles once the paint is fully dry. Pull it thin in spots so it looks blown by wind, not stuffed on.
- Add the lights. Drop a battery tea light into the scooped-out top of each candle. Switch them all on and check the glow in a dark room before you call it finished.
Three Ways to Build Pool Noodle Halloween Candles
Dollar-Store Build (about $10 to $15)
Two Dollar Tree pool noodles, a can of matte black spray paint, a pack of battery tea lights, and the glue gun you already own. This is the version doing the rounds on Facebook right now, and it’s genuinely enough.
Upgraded Build (about $25 to $35)
Add a water-based paint made for plastics, a can of clear sealant to lock the finish down, real spun cobweb material instead of the stretchy bag kind, warm white fairy lights woven through the cluster, and a wood or MDF base cut to size instead of cardboard.
Built-to-Last Build (about $45 to $50)
Add a second, heavier glue pass at every joint, a weighted base so the cluster can’t tip, and a labeled storage box sized to fit it. This is the version that comes back out looking the same every October instead of getting rebuilt from scratch.
Going outside? Paint doesn’t grip foam as hard as it grips wood, and flexing or weather will crack it eventually. A coat of clear sealant after the black dries solves it for a covered porch. Battery tea lights only, and never a real flame inside a foam candle. If you want this wired into an outdoor lighting display, buy an outdoor-rated product instead of running your own wiring.
You Nailed It If
Four quick checks tell you your pool noodle Halloween candles came out right.
- No two candles in the cluster are the same height.
- The drips look uneven and pooled, not like straight painted lines.
- The black finish is even and dry to the touch, with no tacky or sunken spots from a heavy coat.
- You can lift the whole cluster by the base and nothing shifts or pops loose.
Conclusion
Pool noodle Halloween candles are about as easy as Halloween decor gets. Cut, glue, drip, paint, and dress it up. Keep the spray can back a foot and build the color up in light passes, and the rest of the project is almost impossible to get wrong.
Build one cluster for a mantel or a few for a full Halloween tablescape. Once you’ve got the drip technique down, the second and third clusters go twice as fast as the first. Set them beside a glowing tomato cage witch or a batch of cheesecloth ghosts and the whole mantel is handled.
Show Us Your Cluster
Snap a photo for Instagram and tag us in it, pin this one to your Halloween board on Pinterest for next year, and drop your finished pool noodle Halloween candles on our Facebook page so we can see how creepy you got with it.
A few helpful answers
Pool Noodle Halloween Candles FAQs
The questions we hear most about this project.
Not the way people think. Pool noodles are polyethylene foam, not the polystyrene in white craft foam and foam balls. Polystyrene dissolves on contact with solvent paint. Polyethylene doesn’t. Heavy, soaking coats are what eat the surface, so hold the can about a foot back and build up in light passes.
Matte black spray paint, ideally a water-based or latex formula. Those behave best on foam. Chalk paint and craft acrylic also work and can be brushed on instead. Whichever you pick, the technique matters more than the label: light coats, a foot of distance, and drying time between passes.
Nothing but the foam itself. Cut a shallow scoop into the top of each piece while you’re cutting it to length, angled toward the front. The tea light sits right down in that scoop, no separate base needed.
Uneven hot glue drips, added before you paint. Run a bead from the top edge down the side and let it pool unevenly instead of smoothing it out. Straight, even lines read as glue. Uneven pooling reads as real wax once it’s painted over.
Yes, if the joints are reinforced before storage. Go back over every glued joint with a second, heavier bead once the first one cools. Paint doesn’t grip foam as hard as it grips wood, so a coat of clear sealant helps the finish survive handling. Store the cluster in a box sized to fit it so nothing gets crushed.
Still have a question? Ask in the comments.
Spray Paint Straight From the Can, or Test It First?
Here’s where builders split.
Tell us which can you reached for and how it turned out.