
At a Glance: DIY Sports Goal for Kids
- Skill Level: Beginner to Intermediate (Perfect first-time carpentry project!)
- Time Required: 3 to 4 Hours (An easy weekend afternoon project)
- What This Guide Features: Exact, waste-minimizing cut lists, highly structured step-by-step assembly phases, and collaborative “Family/Kids” tasks to get everyone involved.
If you’ve ever bought one of those cheap, plastic soccer goals from a big-box store, you already know exactly how this story ends.
One high-energy kick, a stray hockey puck, or a heavy gust of wind, and snap, you’re left cleaning up broken plastic shards on a Saturday afternoon. Your hard-earned money is headed to the landfill, and the kids are right back on the couch, glued to their tablets because their gear is broken.
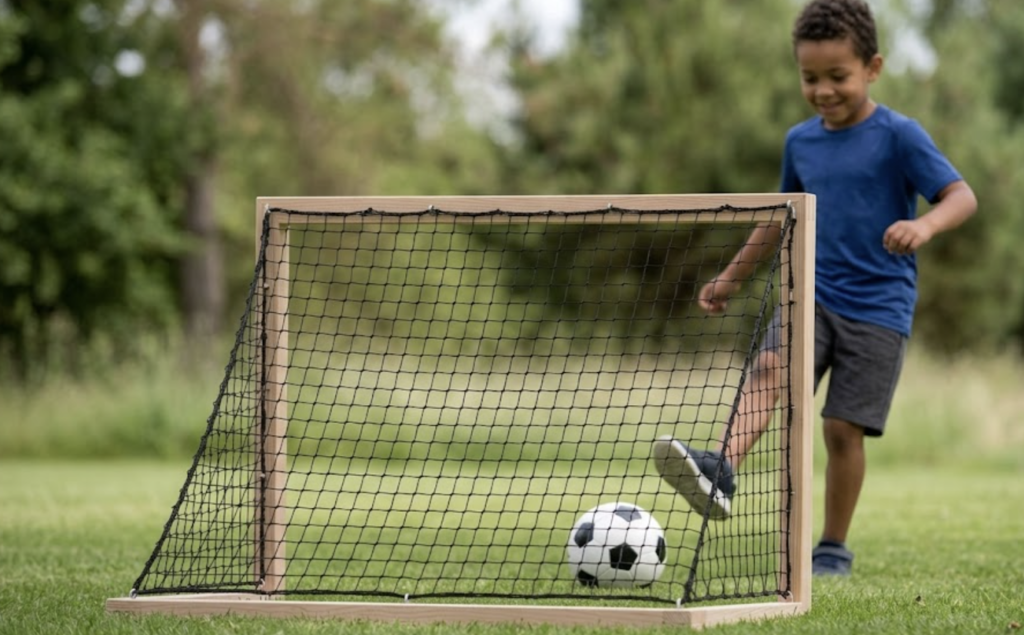
This heavy-duty wooden sports goal is the ultimate backyard savior. Built from durable, budget-friendly lumber, it’s tough enough to take a beating from the next generation of athletes, yet light enough to easily slide out of the way when it’s time to cut the grass. Best of all, it’s a project the whole family can build together in just a single afternoon.
🪵 Materials & Tools List
Materials
- Frame Lumber (2×4 studs): 3 pieces of 2×4 x 8′ exterior-grade wood (Sienna treated wood or cedar is perfect for outdoor durability).
- Base Rails (1×4 boards): 1 piece of 1×4 x 8′ exterior-grade board.
- Netting: 1 roll of 4′ x 10′ heavy-duty nylon sports netting or wire poultry netting (chicken wire).
- Fasteners:
- 1 box of 2-1/2″ exterior pocket-hole or deck screws (for 2×4 connections).
- 1 box of 1-1/4″ exterior deck screws (for 1×4 connections).
- 1 pack of heavy-duty staple gun staples or U-shaped poultry staples (to secure the netting).
- Finishing: Low-VOC exterior clear sealer or outdoor paint.
Tools Needed
- Miter saw or hand circular saw
- Power drill & driver bits
- Pocket-hole jig (optional, but great for hiding screws)
- Staple gun
- Tape measure & pencil
- Speed square
📐 The Complete Cut List
To minimize waste and keep your budget tight, cut your boards exactly as mapped below:
| Board Type | Target Part | Qty | Length | Cut Notes |
| 2×4 x 8′ Stud #1 | Front Vertical Posts (A) | 2 | 36″ | Clean, square cuts |
| 2×4 x 8′ Stud #2 | Top Crossbar (B) | 1 | 51″ | Clean, square cut |
| 2×4 x 8′ Stud #3 | Diagonal Braces (C) | 2 | 39-1/8″ | Parallel 23° miter cuts on both ends |
| 1×4 x 8′ Board | Side Bottom Rails (D) | 2 | 18-3/4″ | Square cuts |
| 1×4 x 8′ Board | Back Bottom Rail (E) | 1 | 51″ | Square cuts |
🔨 Step-by-Step Family Build Guide
Phase 1: Cutting and Angling
Step 1.1: Cutting the Straight Pieces
- 👨👩👧👦 Kids/Collab Task: Help measure and mark the 36″ front posts, the 51″ top crossbar, and the bottom rails (18-3/4″ and 51″) using a pencil and tape measure. Double-check the marks together!
- 🛠️ Adult Task: Use a miter saw to make clean, square cuts on all these marked pieces.
Step 1.2: The Diagonal Miter Cuts (The trickiest part!)
- 🛠️ Adult Task: Set your miter saw to 23°. Take your third 2×4 and make a miter cut on one end. Measure 39-1/8″ from the long point of that cut along the board, and make a parallel 23° cut on the other end. Repeat this for the second diagonal brace.
- Zero Guesswork Check: When laid flat on the workshop floor, the diagonal brace should stand at an angle, with both the top and bottom cuts sitting completely flush against the vertical post and the horizontal ground.
Phase 2: Assembling the Goal Frame
Step 2.1: Building the Front Face
- 👨👩👧👦 Kids/Collab Task: Lay the two 36″ front posts flat on the ground. Place the 51″ top crossbar across the top of both posts so the outer corners are perfectly flush.
- 🛠️ Adult Task: Drill pilot holes through the top of the crossbar into the ends of the vertical posts. Secure them tightly using two 2-1/2″ exterior wood screws per side.
Step 2.2: Attaching the Bottom Side Rails
- 👨👩👧👦 Kids/Collab Task: Hold the 18-3/4″ side rails against the outside bottom edges of the vertical posts.
- 🛠️ Adult Task: Secure the side rails to the posts using 1-1/4″ screws. Make sure the bottom edge of the rails is perfectly flush with the bottom of the posts so the goal sits flat.
Step 2.3: Adding the Back Rail & Diagonals
- 👨👩👧👦 Kids/Collab Task: Place the 51″ bottom back rail between the two side rails at the very back of the frame.
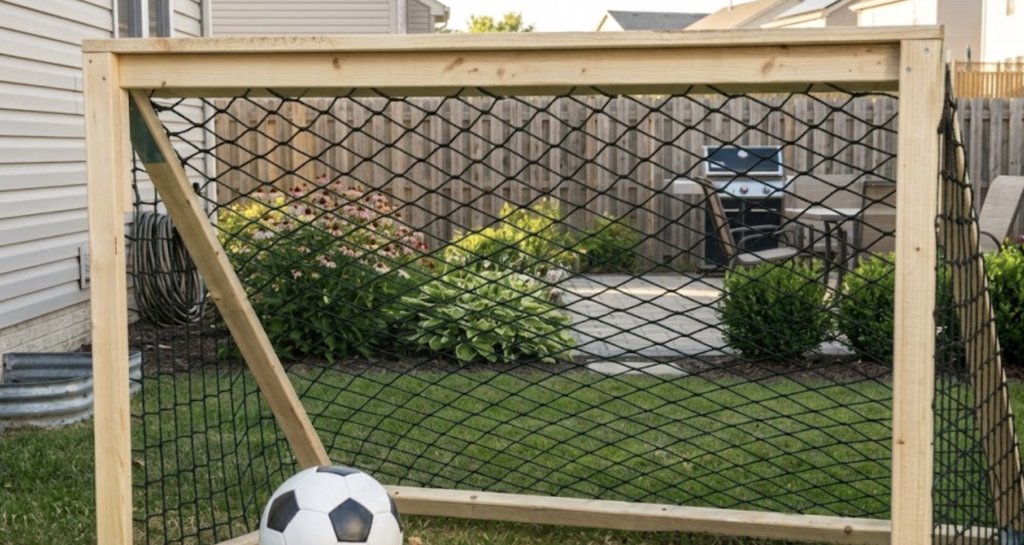
- 🛠️ Adult Task: Screw through the side rails into the ends of the back rail using 1-1/4″ screws. Next, slide your angled diagonal braces inside the side rails. Screw them into the back of the front posts at the top, and into the back corners at the bottom using your sturdy 2-1/2″ screws.
Phase 3: Netting & Finishing
Step 3.1: Stretching the Net
- 👨👩👧👦 Kids/Collab Task: Unroll your nylon sports netting or chicken wire. Work as a team to stretch the netting tightly over the back triangle and sides of the frame.
- 🛠️ Adult Task: Staple the netting to the wood frame every 4 to 6 inches using a heavy-duty staple gun. Trim away any excess netting cleanly with wire cutters or heavy-duty scissors.
Step 3.2: Sanding & Weatherproofing
- 👨👩👧👦 Kids/Collab Task: Give the kids sanding blocks and let them smooth out any rough edges, splinters, or sharp corners on the wood. Once clean and wiped free of dust, let them help brush on a child-safe, low-VOC clear exterior sealer or a bright coat of outdoor paint!
FAQs DIY Sports Goal Woodworking Project
1. Can I use PVC pipe instead of wood for this goal?
While PVC is lightweight and cheap, it degrades rapidly under UV sunlight, making it brittle and prone to shattering when struck by a hard shot. Wood offers vastly superior durability, can easily be repaired, and handles high-velocity impacts from soccer balls or hockey pucks much better.
2. What is the best type of netting to use?
Heavy-duty UV-resistant nylon netting is best for all-around sports (soccer, lacrosse, hockey) because it absorbs impact quietly and stretches. If you are primarily using this for hockey or want a highly durable backyard setup, wire poultry netting (chicken wire) is a tough, long-lasting alternative, though it is less forgiving to touch.
3. How do I keep the goal from tipping over during hard shots?
Because the goal is designed to be lightweight and portable, a hard shot might tip it forward. You can easily secure it to the grass using a pair of metal U-shaped garden ground staples over the bottom back rail, or by placing a sandbag across the back rail.
4. Can I scale up these dimensions to make a full-sized goal?
Yes! However, if you scale up the width (e.g., past 6 or 8 feet), you should upgrade the 1×4 ground rails to 2x4s to maintain structural integrity, and consider adding a center vertical support post along the back ground rail to prevent sagging.
5. How can I protect the bottom of the wood from rotting on wet grass?
To prevent rot, use pressure-treated exterior wood or rot-resistant cedar. Additionally, you can attach small plastic furniture glides or strips of outdoor rubber to the bottom of the rails. This lifts the wood slightly off the damp ground, allowing airflow and dramatically extending the lifespan of your goal.