
At a Glance: Washi Tape Plant Pot
- You only need four supplies, and most of them cost under $5 each.
- The sealer step is what most tutorials skip and it’s the reason most washi tape pots fall apart after one watering session.
- This project works for ages 4 and up, takes under an hour, and ends with a real, plantable pot your kid made themselves.
How to Decorate a Washi Tape Plant Pot
Last summer my daughter pointed at one of our sad, plain terracotta pots on the porch and said, “Can we make it pretty?”
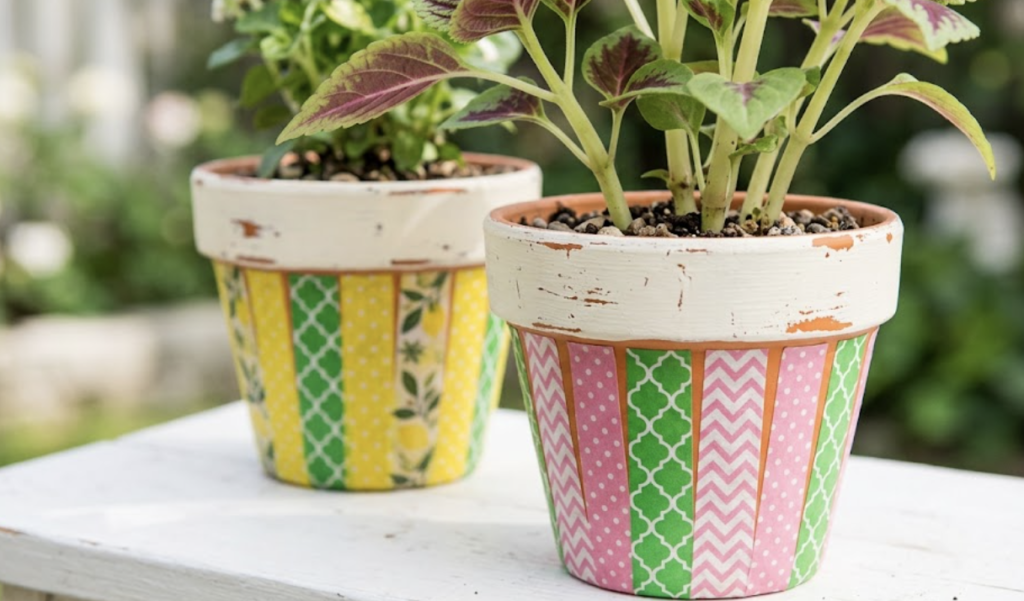
I’d seen the washi tape pot craft a hundred times on Pinterest, so I said why not? What nobody told me is that most of those pretty pots are decorative only. You water the plant once, the tape bubbles, the edges peel, and the whole thing looks like it survived a flood. That stings a little more when your kid made it. What we’re making today is a cute washi tape plant pot that looks cute and is actually functional.
If you’re a parent who wants a colorful craft your kid can enjoy making and a living plant to show for it at the end, this is the guide you’ve been looking for.
What You’ll Need
Work in a well-ventilated area when you’re using the decoupage sealer. Put down newspaper or a drop cloth first to protect your table from the sticky stuff.
Budget Build (under $15 total)
- Terracotta pot, 4″ or 6″
- Washi tape, assorted pack
- Americana DecouPage Outdoor/Exterior formula
- 1″ foam brush
Step-by-Step: How to Decorate Your Washi Tape Plant Pot
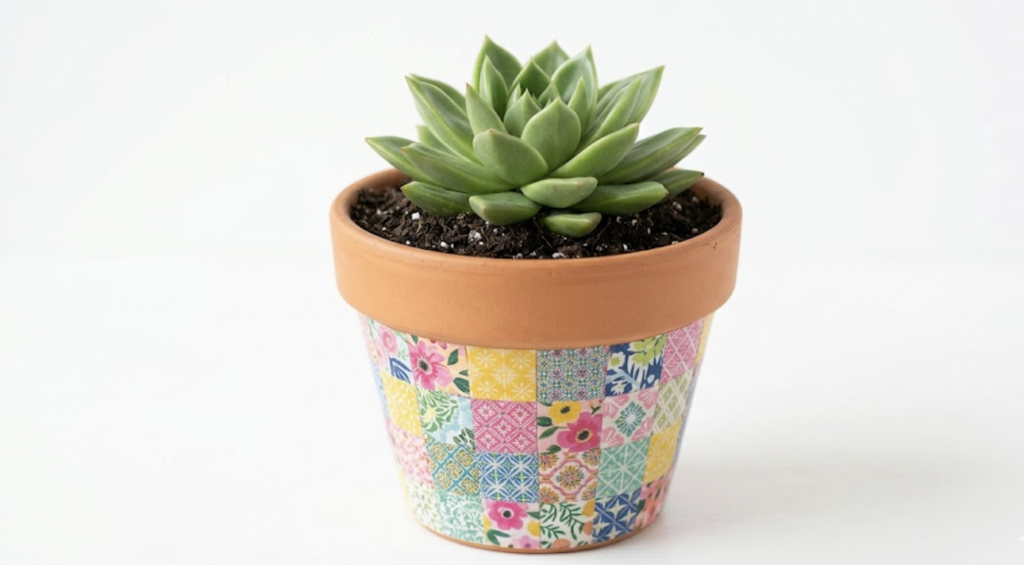
Step 1: Prep the pot
Wipe down the outside of your pot with a slightly damp cloth. Get all the clay dust off. Set it somewhere warm and let it dry completely for at least 15 minutes. If the surface feels even slightly cool to the touch, it’s still holding moisture. Wait it out. A dry surface is what makes the tape stick flat.
Step 2: Plan your pattern before you commit
Look at your tape rolls and decide on a color order before you pull a single strip. The most beginner-friendly design is stacked horizontal rings with stripes going around the pot from bottom to top. Lay your rolls out in the order you want them. It’s much easier to swap two rolls now than to peel tape off later.
Step 3: Apply the washi tape
Start near the bottom of the pot. Wrap your first tape strip horizontally all the way around. Keep it taut as you go by pressing your thumb firmly behind the tape as you lay it down to prevent air bubbles. When you get back to where you started, overlap the ends slightly at the back of the pot and snip cleanly with scissors.
(Parent only): Hold the pot steady and handle the scissors. (Kid): Choose the colors, lay the tape, and press it down.
Keep layering strips, stacking each one right above the previous. Mix solid colors with geometric or floral patterns to make it look more interesting.
Where I get my washi tapes:
No products found.
Step 4: Seal everything (don’t skip this)
This is the step that makes your washi tape plant pot last.
Dip your foam brush into the Americana DecouPage Outdoor medium. Apply an even, generous coat over all the tape. Make sure you seal the top and bottom edges of each strip because that’s where peeling starts if moisture gets in.
Let it dry completely. The manufacturer’s instructions say 15–20 minutes between coats. Apply a second coat. For a pot that’s going to live outside and get watered regularly, that second coat isn’t optional.
(Parent only): Apply the decoupage medium and handle the sealer. Kids can watch and be your assistant here.
The sealer dries clear with a slight gloss. It’s supposed to look that way. Once it’s fully cured, the pot is waterproof enough to hold a real plant.
Step 5: Plant it
Once the sealer is fully cured (give it a few hours, or overnight to be safe) add potting soil and your plant. A small herb like basil or mint works great. So does a succulent, or even a small flowering annual.
That pot is now your kid’s pot. They made it. Let them pick what goes in it.
The whole thing takes under an hour, costs less than a pizza, and ends with something alive in it. That’s a win.
Frequently Asked Questions
Can you use a washi tape plant pot for real plants? Yes, but only if you seal it first with an outdoor-rated decoupage medium. Without the sealer, the washi tape absorbs moisture, bubbles, and peels. With two coats of exterior decoupage, a washi tape plant pot can hold real soil and get watered regularly without falling apart.
How do you decorate a terracotta pot with washi tape? Wipe the pot clean and let it dry completely. Wrap strips of washi tape horizontally around the pot, pressing each strip flat as you go. Seal the entire surface with two coats of outdoor decoupage medium and let it cure before planting.
What kind of sealer do you use on a washi tape plant pot? Use an outdoor or exterior formula decoupage medium, specifically one labeled for outdoor use, like Americana DecouPage Outdoor. Standard indoor Mod Podge will turn white when it gets wet. The exterior formula dries clear and holds up to regular watering.
Where can you find cheap washi tape for this project? Dollar Tree, Walmart, and Amazon all carry multi-roll washi tape sets for $5–$12. Craft stores like Michaels and Hobby Lobby usually have them too, and they go on sale regularly. A 10-roll set is more than enough for several pots.
Can kids do this washi tape plant pot craft on their own? Kids ages 4 and up can handle the taping and color-picking steps independently. The scissor work and decoupage sealing are better handled by an adult, but the actual decorating is completely kid-friendly. It’s a great screen-free activity that ends with something they can take care of.