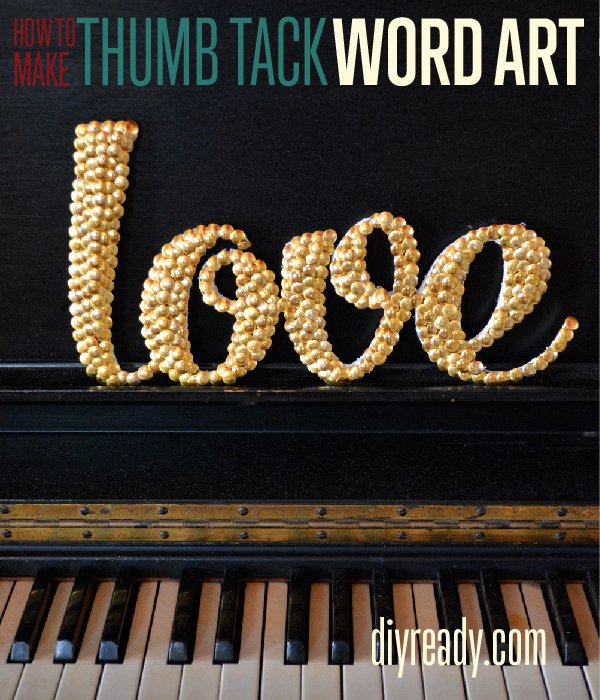
We’ve been wanting to make our own letter art for a while now. We had a major a’ha moment while in the dollar store and realized we could easily make the letter art we want with some gold tacks and foam core! (Total project cost: $3!)
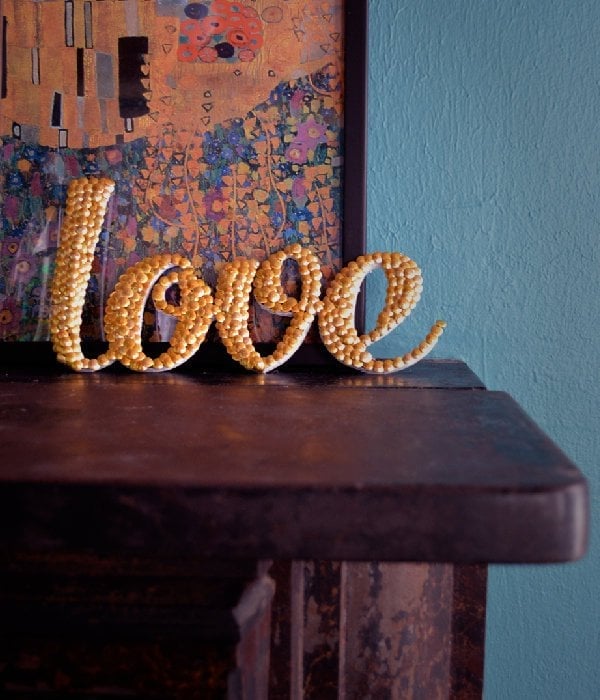
Follow the tutorial below to make your own letter art. If you like our “love” theme, click HERE to download our template. We kept our’s small because of where it was going on a wall, but you can easily scale this to any size.
How to Make Letter Art Using Thumb Tacks:
Supplies:
- Foam core board
- Tacks – we chose gold
- xacto knife
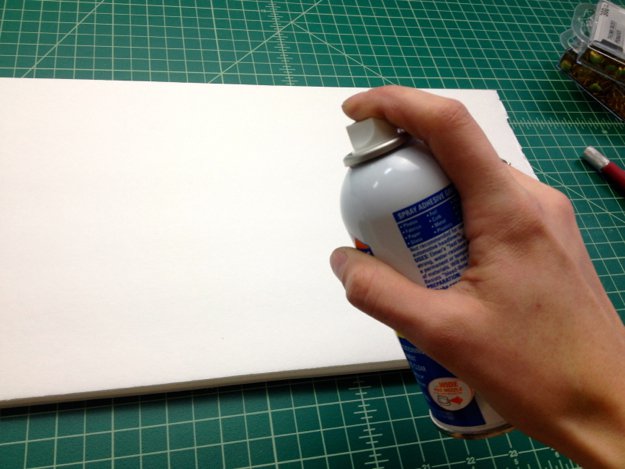
- Spray adhesive
Step 1:
The foam board at the Dollar Tree is 1/8″ thick. This is not thick enough to keep your letters together. Plus, the tacks will end up sticking out the back. Start by cutting the board down into two pieces and glue them together. Then glue your printout on top. (You can free hand your letting as well!)
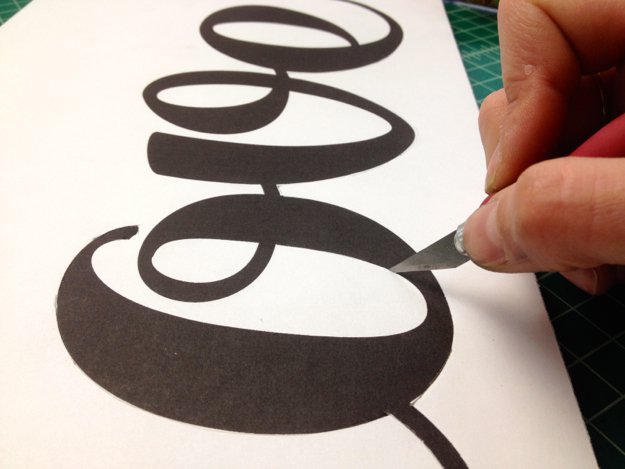
Step 2:
Now, grab your xacto knife and start cutting out the letters. Hint: Be sure to be patient during this step. Slowly cut layer by layer through the foam board. If you try to rush this part, you will end up with extremely messy edges.
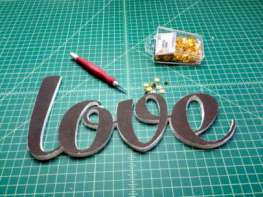
Step 3:
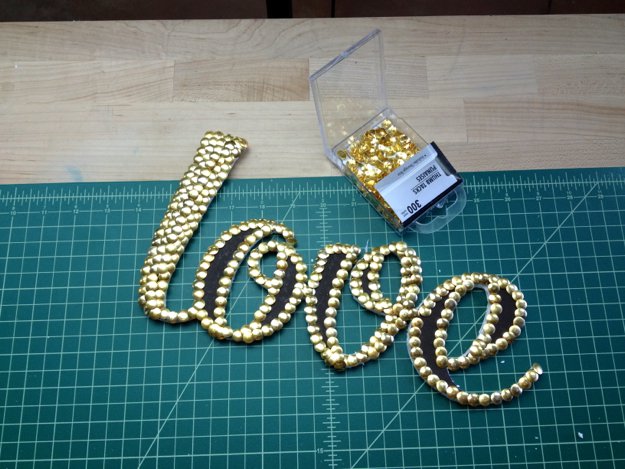
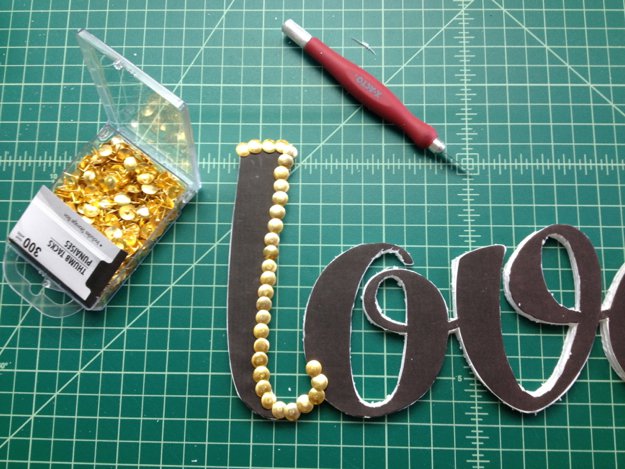
Now it’s time to grab your tacks and start decorating your letters.
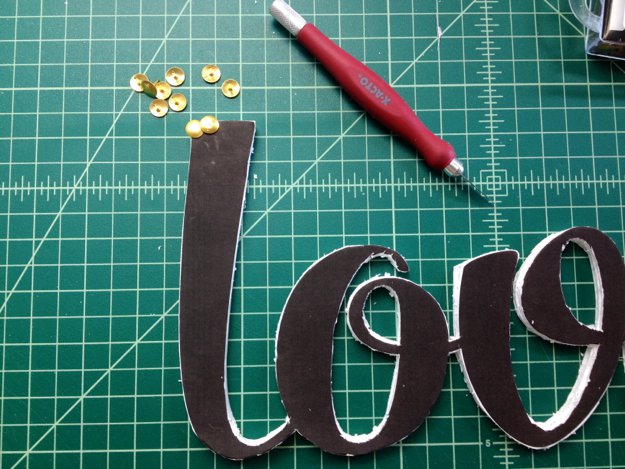
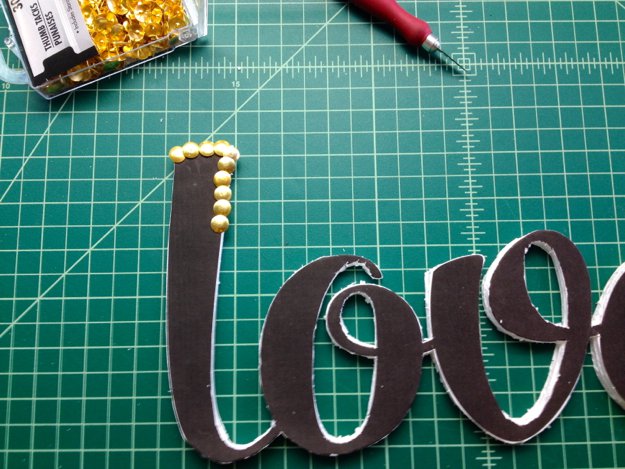
Hint: by working from the outside, in, you get a nice embossed look in the center of the word.
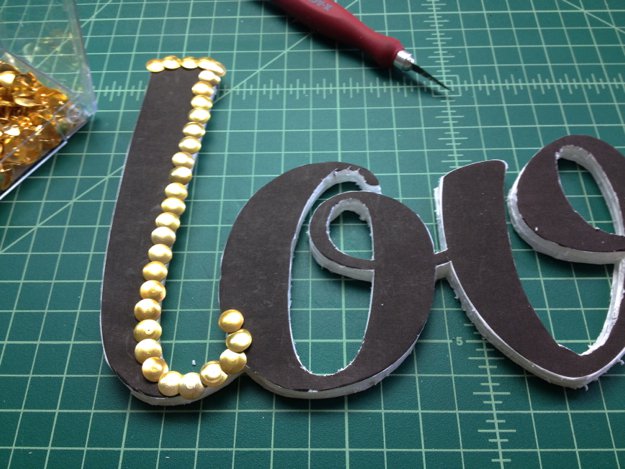
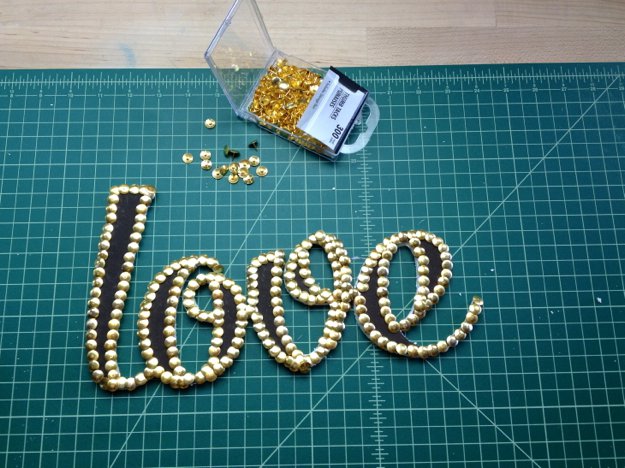
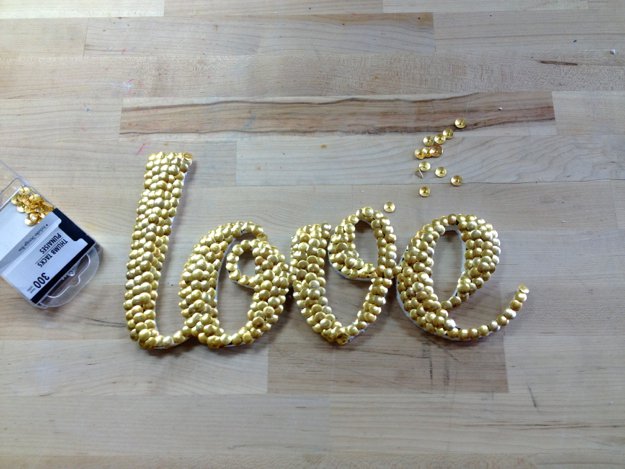
Step 4:
Once you’ve completed the outline, start to fill the rest in. Continue placing the tacks from the outside, inward.