


Light your video chats perfectly with this DIY LED Laptop Frame.
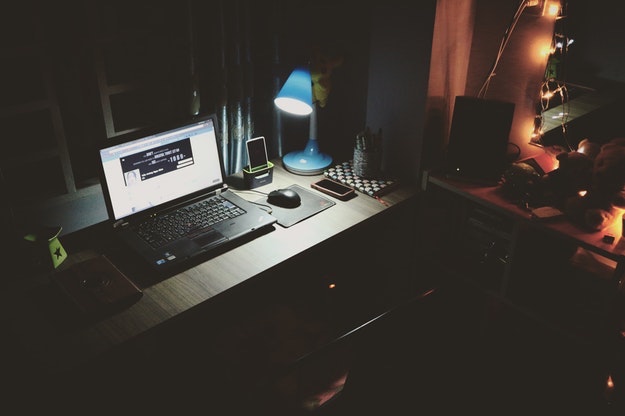
I don’t know about you, but I constantly struggle to find good, flattering lighting when I’m making video calls on Skype and Google Hang Outs. Not only does this make for unfortunate business meetings, it puts a damper on social calls with my folks and friends who live across the country! Thankfully, 23-year-old Kriss of the YouTube channel FastEasySmartTOOL posted an excellent DIY to remedy this common situation: a DIY LED laptop frame.
It’s a bit labor intensive and requires some tool/gadget know-how, but the result is worth it. Looking good in having live chat software on the website, well, priceless. And did we mention that this is definitely going to impress your friends??
Light Your Video Chats With This DIY LED Laptop Frame
If the person you’re video chatting with cannot clearly see you, you might as well just turn ff your camera. Forget trying to move around lamps to get the lighting you want — check out this handy step-by-step tutorial on how to make a DIY LED laptop frame. You’ll look fab in every chat. “Let there be LIGHT!”
Step 1. Measure the laptop’s display.

Measure the outside dimensions of my display and add 1/4″ overhang on all sides. Take care to design the frame so it doesn’t cover up the webcam!
Step 2. Cut

1/4″ plywood is cut into 1/2″ strips with a circular saw, and cross cut to length at the mitre saw.
Step 3. Sand
Eliminate pesky splinters with some sandpaper.
Step 4. Joinery

Just running down some joinery options. From the top down: a butt joint doesn’t provide a lot of glue surface, a 45 degree mitre is tricky to get right, but a half lap will be perfect (that’s the one at the bottom)!
Step 5. Routing

Half lap joints are easy to cut on the router table.
SAFETY FIRST! Don’t forget your push blocks.
Step 6. Glue

Just a standard assembly using Titlebond-3.
Step 7. Prepare LEDs.
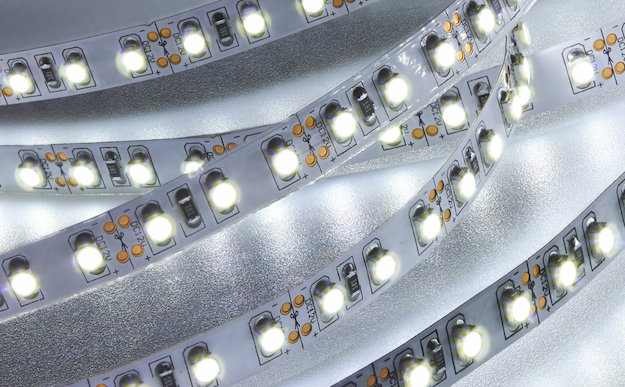
Cutting up an LED strip and sticking it down to the frame.
Step 8. Solder
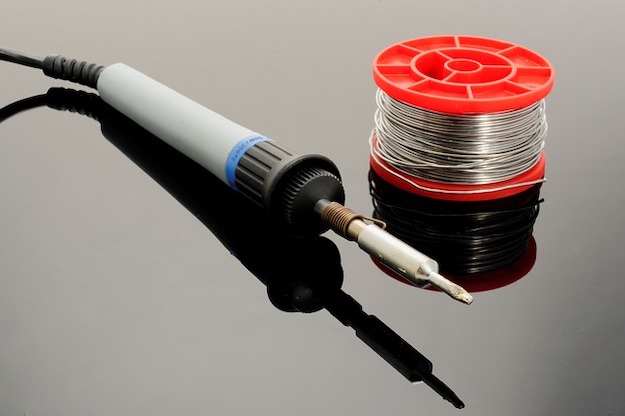
Since the LED strips was cut up, now it needs to be reconnected.
SAFETY FIRST! Don’t forget your soldering smoke absorber.
Step 9. Light up

Step 10. Dimmer Circuit
If you find the LED lights are too bright to use, you can create a dimmer circuit. This is cheaper than a commercial LED dimmer switch.
7x 1N4001 diodes in series on a breadboard provide 8 nodes with incrementally decreasing voltage. Each diode presents a voltage drop of about 0.7V (the power supply and LED strips are rated to 12V).
This LED strip is from Lee Valley (4000K 30 LEDs/m).
For a more detailed step-by-step tutorial, click here or watch the steps in action:
Enjoy chatting with your loved ones!
Did you enjoy our DIY LED Laptop Frame tutorial? Let us know in the comments section below!
Don’t forget to stay connected with us on Facebook, Twitter, Pinteres
Like this post? Then you’ll love…
Make Good Earbuds Better with this DIY Headphone Cover
10 DIY Back To School Supplies
This DIY Materials Transporter Was Made From an Old Airline Beverage Cart [VIDEO]


