


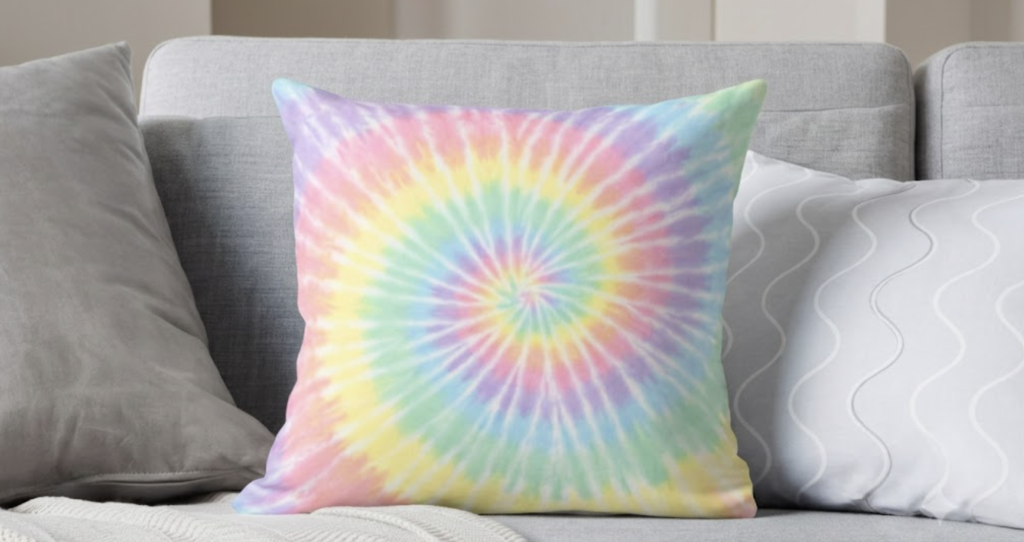

Key Takeaways
- Tie-dying is a fun, hands-on craft that easily gets kids away from their screens.
- You only need simple items like a plain cotton pillow cover, dye, and rubber bands.
- Waiting for the dye to set takes patience, but the colorful result is totally worth it!
“I’m bored!” How many times have you heard that from your kids? Children spend a lot of time staring at screens, and it can be hard to find fun activities that hold their interest while keeping them active.
A tie dye pillow case project is the perfect fix! This craft gets kids away from their tablets and lets them use their hands. It helps children build fine motor skills as they twist rubber bands and squeeze dye bottles. Best of all, it lets them express their creativity like real artists—and they will feel so proud seeing their own artwork on their bed every single day!
Materials:
- Plain pillow cover (100% cotton works best!)
- Tie-dye kit or fabric dyes
- String or thick rubber bands
- Plastic gloves (to keep hands clean)
- Plastic wrap and a large plastic tray
How to Make a Colorful Tie Dye Pillow Case (Step-by-Step)
Step 1: Twist and Tie
Lay your white pillow cover flat on a table. Pinch the middle of the fabric and twist it around in a circle to make a big swirl. Wrap string or rubber bands tightly around the swirl to hold its shape.
Adult Collaboration: Adults can help younger kids pull the rubber bands super tight so the pattern turns out sharp!
Step 2: Add the Colors
Put on your plastic gloves! Place the tied pillow cover on your plastic tray. Slowly squeeze your favorite tie-dye colors all over the fabric wedges. Be as creative as you want!
Adult Collaboration: Adults should supervise this step closely to make sure dye stays on the tray and away from carpets or furniture.
Step 3: Wrap and Wait
Wrap the wet, colorful pillow cover tightly in plastic wrap. Now comes the hardest part for kids: waiting! Let the pillow cover sit wrapped for 6 to 8 hours, or overnight for the brightest colors.
Step 4: Rinse It Out
Take off the plastic wrap. Rinse the tied pillow cover under cold water until the water runs completely clear and extra dye is gone.
Adult Collaboration: Adults, handling this step in a stainless steel sink or outside with a garden hose is recommended to avoid mess.
Step 5: Dry and Enjoy
Carefully take off the rubber bands to see your magic swirl design! Wash and dry the pillowcase by itself. Then, pop a pillow inside and enjoy your colorful new room decoration!
Making a tie dye pillow case is an amazing way to spend a weekend afternoon. It is a little messy, super creative, and brings out huge smiles. Try making one this week with your family to add a bright pop of color to your home!
Frequently Asked Questions (FAQs)
1. Can I use a pillow cover that is not cotton? Cotton works best for holding bright dye. Synthetic fabrics like polyester can cause the colors to wash out or look faded.
2. How long do I have to wait before washing it? Let the dye set wrapped in plastic for 6 to 8 hours first. After rinsing it out completely, you can run it through the washing machine.
3. Will the dye stain our clothes? Yes, tie-dye will stain normal clothing quickly! Wear an old shirt or an art smock while working.
4. Should we wash the blank pillow cover first? Yes! Washing the plain cover before dying removes chemical finishes and helps the dye absorb better.
5. How do I keep the colors looking bright forever? Wash the pillow case completely by itself for the first few washes, and always use cold water to prevent fading.









